5.0 from 27 votes
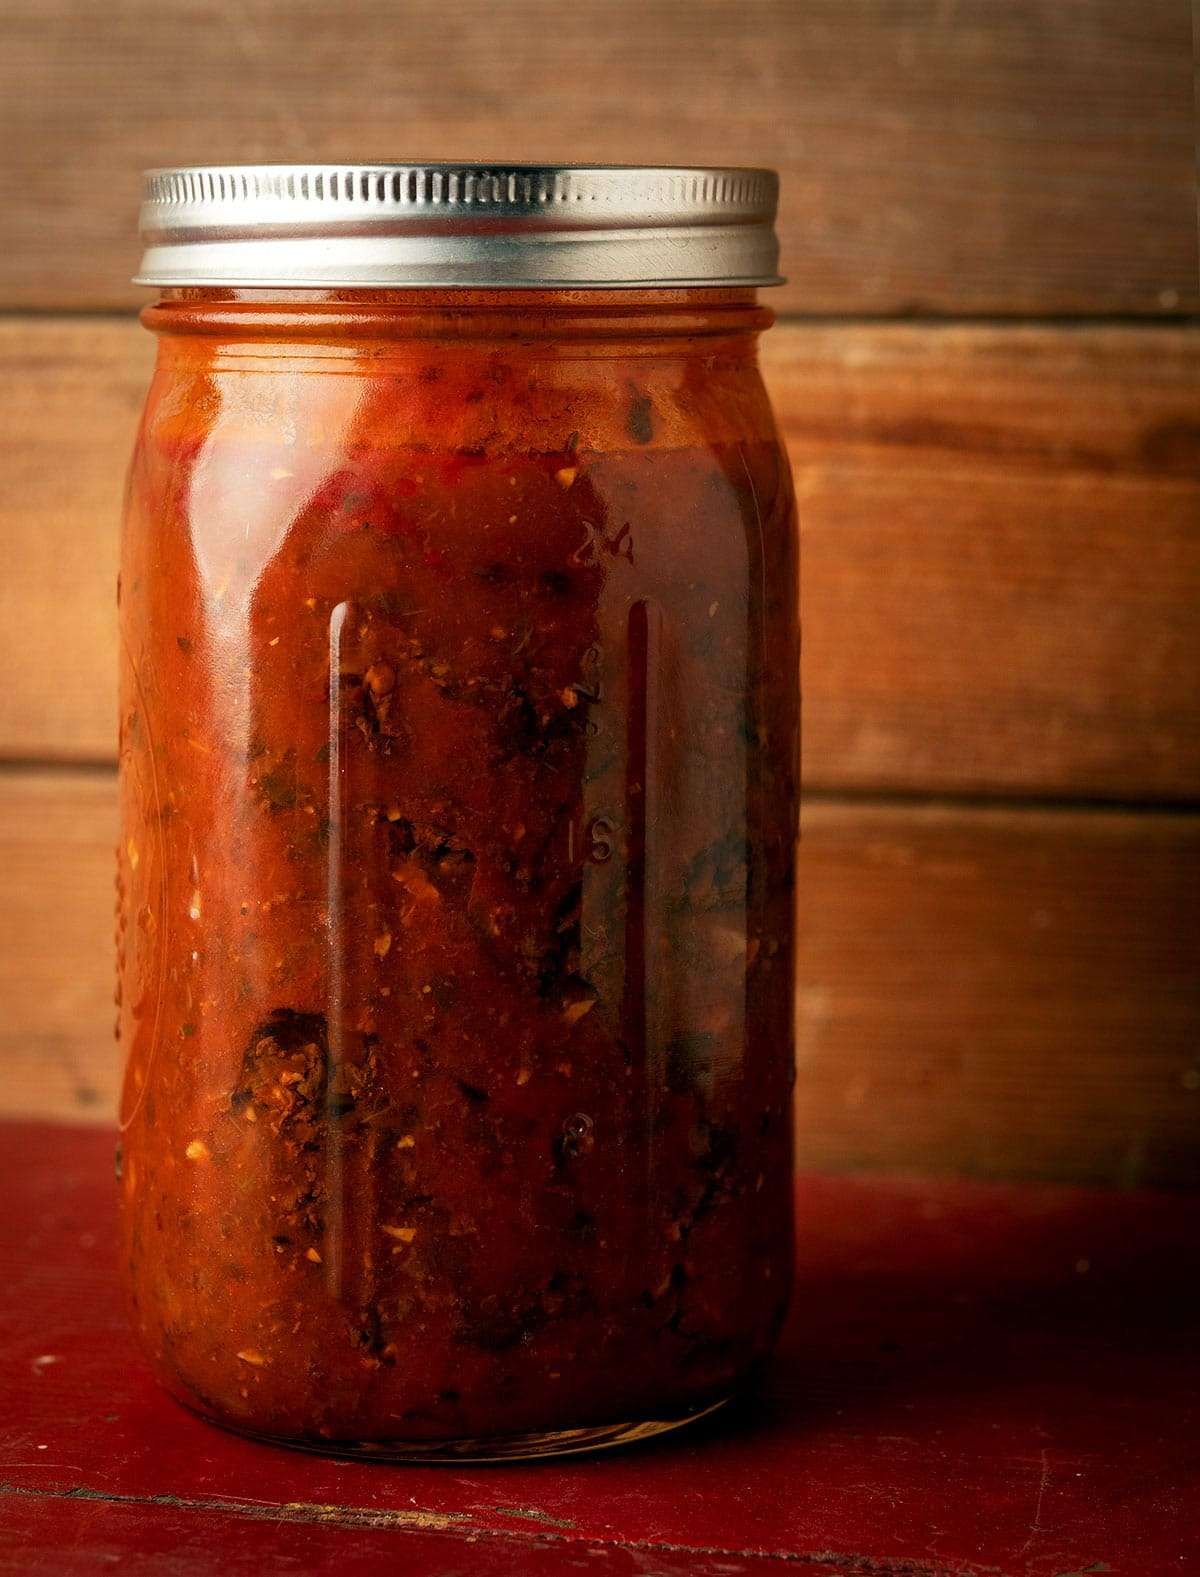
Canned Venison Spaghetti Sauce
This is my tried and true spaghetti sauce recipe, one I've been making for more than 30 years, with various meats. Any ground meat will work. And of course you need not pressure can this -- it's good as-is.
Prep Time
45 mins
Cook Time
1 hr 45 mins
Total Time
1 hr 55 mins
Servings: 16 servings
Calories: 168 kcal
Course:
Main Course , Condiments
Cuisine:
Italian
Ingredients
- 1/4 cup olive oil
- 2 1/2 pounds ground venison, or other ground meat
- 1 large yellow onion, minced
- 6 cloves garlic, minced
- 1 ix ounce can tomato paste
- 1 cup red wine
- 2 tablespoons dried oregano
- 1/4 cup minced fresh parsley
- 1/2 teaspoon red pepper flakes
- 2 ounce cans crushed tomatoes
- 1 quart venison or beef stock
- Salt, black pepper and sugar to taste
Instructions
- Sauté the venison in a large Dutch oven or similar pot over medium-high heat. Note, if your ground venison is already cut with fat, you might only need a splash of olive oil. You'll need the whole 1/4 cup if there is no fat in your ground venison.
- Once the meat browns, add the onion, stir and cook for about 8 minutes, stirring often. Stir in the garlic and cook another minute or two. Stir in the tomato paste and mix well. Let this cook a couple minutes. You want it to turn brick red.
- Stir in the wine and add the red pepper flakes and herbs. Boil the wine down by half, then add the crushed tomatoes and the stock. Bring this to a solid simmer and cook it down for about 30 minutes. Add salt, pepper and sugar to taste. I do like a hefty pinch of sugar, but no more than that.
- While the sauce is cooking down, get your pressure canner ready. Set out clean quart jars with new lids. Ideally you have a jar funnel, which will keep your rims clean. Even so, get a piece of paper towel ready, moistened a little with vinegar; this removes trace oil around the rim.
- Ladle the hot sauce into the jars, leaving 1 inch of headspace, or a touch more. Don't overfill. Hand seal the lids and set the jars in the canner. Repeat with the other jars. If you have extra, just put it in the fridge to eat that week.
- Seal the canner according to its directions, vent (mine takes 7 minutes to vent), then set the weight on the vent or set the gauge. Turn up the heat until you get to the pressure you need, normally 10 PSI for sea level to 1000 feet. Turn the heat to medium so the weight jiggles about 3 times per minute. Set the timer for 70 minutes.
- When the time has elapsed, turn off the heat and leave the canner alone for at least 1 hour, and 2 hours is better. You want the pressure to return to normal slowly, and you want the temperature to drop significantly. Carefully open the canner. Wait until all the jar lids have popped. Remove the jars to a cutting board and leave them overnight.
- Label and store in a cool, dry place for up to 2 years.
Cup of Yum
Notes
- This recipe yields about 4 quarts, and can be scaled up or down.
Nutrition Information
Calories
168kcal
(8%)
Carbohydrates
3g
(1%)
Protein
17g
(34%)
Fat
9g
(14%)
Saturated Fat
3g
(15%)
Polyunsaturated Fat
1g
Monounsaturated Fat
3g
Cholesterol
57mg
(19%)
Sodium
174mg
(7%)
Potassium
392mg
(11%)
Fiber
1g
(4%)
Sugar
1g
(2%)
Vitamin A
110IU
(2%)
Vitamin C
2mg
(2%)
Calcium
29mg
(3%)
Iron
3mg
(17%)
Nutrition Facts
Serving: 16servings
Amount Per Serving
Calories 168
% Daily Value*
| Calories | 168kcal | 8% |
| Carbohydrates | 3g | 1% |
| Protein | 17g | 34% |
| Fat | 9g | 14% |
| Saturated Fat | 3g | 15% |
| Polyunsaturated Fat | 1g | 6% |
| Monounsaturated Fat | 3g | 15% |
| Cholesterol | 57mg | 19% |
| Sodium | 174mg | 7% |
| Potassium | 392mg | 8% |
| Fiber | 1g | 4% |
| Sugar | 1g | 2% |
| Vitamin A | 110IU | 2% |
| Vitamin C | 2mg | 2% |
| Calcium | 29mg | 3% |
| Iron | 3mg | 17% |
* Percent Daily Values are based on a 2,000 calorie diet.