0.0 from 0 votes
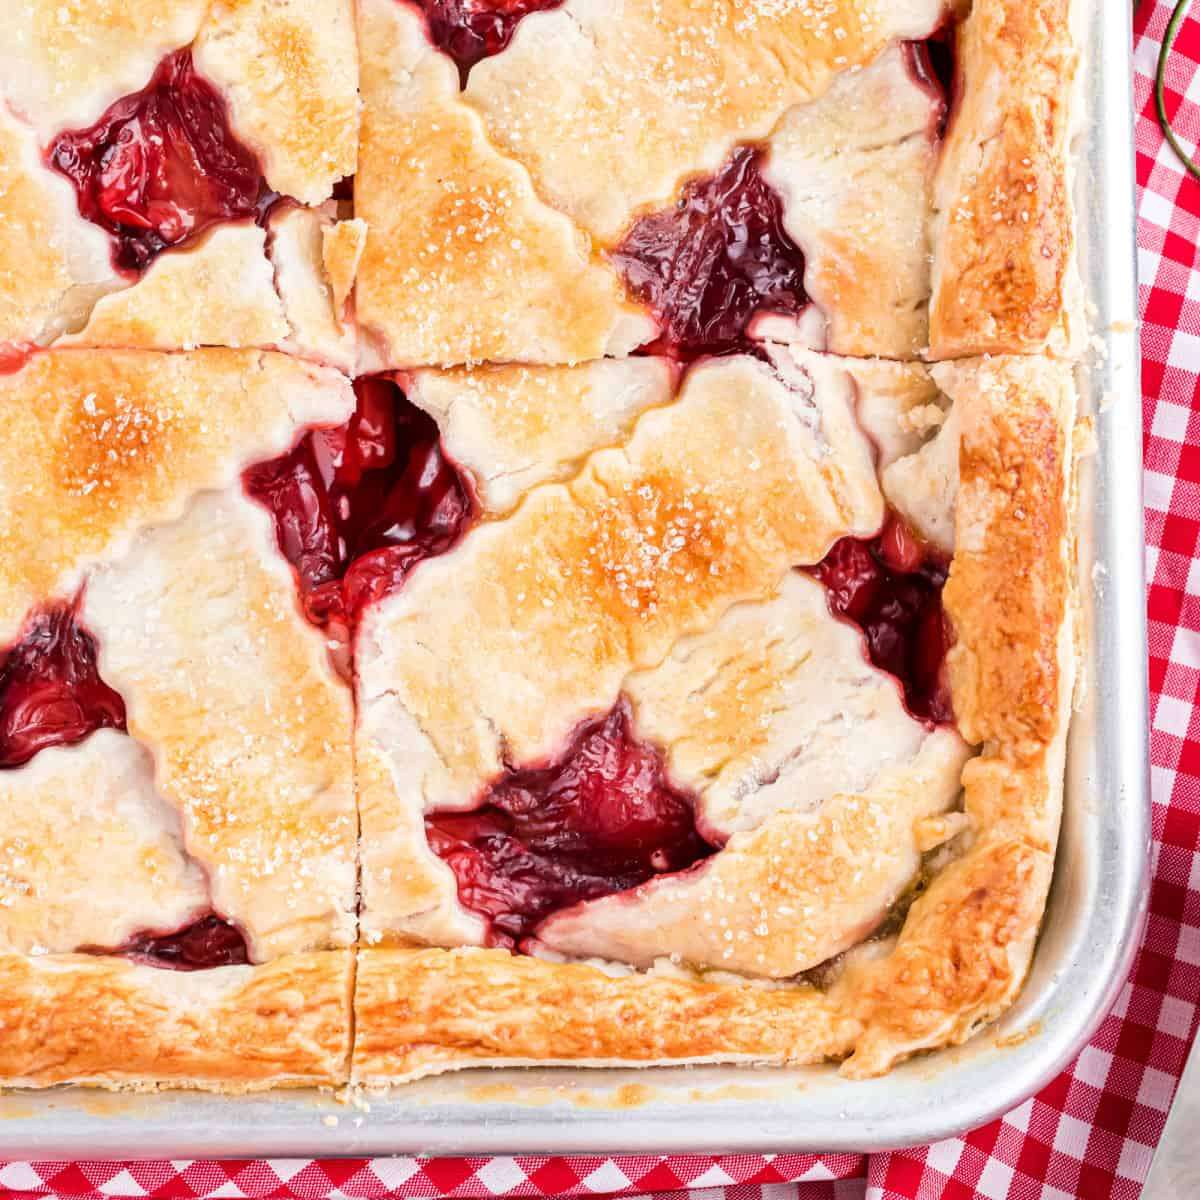
Cherry Slab Pie Recipe
This simple Cherry Slab Pie packs a ton of fruity flavor with minimal effort. The lattice crust topping creates a gorgeous, easy-to-cut dessert you’ll want to show off at your next potluck!
Prep Time
15 mins
Cook Time
15 mins
Total Time
45 mins
Servings: 12 pieces
Calories: 253 kcal
Course:
Baked Goods
Cuisine:
American
Ingredients
- 2 cans cherry pie filling 21 ounce each
- 1 teaspoon almond extract optional
- 3 refrigerated pie crusts thawed
- 1 egg lightly beaten
- Coarse sanding sugar for garnish
Instructions
- Preheat oven to 425℉.
- Empty 2 cans of cherry pie filling into a large bowl. Stir in almond extract and set aside.
- Lightly flour a work surface. Unroll 2 thawed pie crusts on top of each other.
- Using a large rolling pin, roll out the dough to about a 17”x14” rectangle.
- Transfer the dough to a 9”x13” pan and press the crust into the corners of the pan, allowing the dough to hang over the edges.
- Pour the pie filling into the prepared pan and spread it out in an even layer. Set aside.
- Roll out the third crust and, using a pastry cutter or knife, cut strips that are about ½-inch wide. There should be about 14-15 strips total.
- Begin laying the strips across the pan, starting with the longest strip of dough and placing it, diagonally, from corner to corner. The strips should be overlapping or almost touching the edges of the pan.
- Fold back every other strip of dough and begin laying the other pieces diagonally across the pan in the other direction from corner to corner. Repeat until the lattice design is formed.
- Roll the edges of the crust toward the center of the pan until an even edge is formed and all the ends of the pie crust strips have been concealed.
- Brush the crust with beaten egg and sprinkle with sanding sugar.
- Bake for 30 minutes or until crust is browned and cherry filling is bubbly.
Cup of Yum
Notes
- STORE: Store this slab pie covered, in the refrigerator, for up to 5 days.
- Freeze: To freeze, bake as directed. Let it cool completely and then wrap in plastic and then in foil. It can be frozen for up to 2 months. Thaw in the refrigerator before serving.
- To make transferring the rolled-out crust to the pan easier, roll the crust around the rolling pin, and secure it with your hand to ensure it doesn’t unroll. Then place the rolling pin at one end of the pan and carefully unroll the crust.
- To prevent a soggy bottom on the crust brush it with egg white just before adding the cherry filling (this is optional).
- To keep the edges of the crust from drying out when you’re rolling them up, dip your fingers in a bit of water before handling.
- The sanding sugar should be sprinkled on just before baking to add a sugary crunch. Although it won’t stick to the crust in the same way, you can add additional sugar immediately before serving.
Nutrition Information
Serving
1slice
Calories
253kcal
(13%)
Carbohydrates
29g
(10%)
Protein
3g
(6%)
Fat
14g
(22%)
Saturated Fat
4g
(20%)
Polyunsaturated Fat
8g
Cholesterol
16mg
(5%)
Sodium
228mg
(10%)
Fiber
2g
(8%)
Sugar
5g
(10%)
Nutrition Facts
Serving: 12pieces
Amount Per Serving
Calories 253
% Daily Value*
| Serving | 1slice | |
| Calories | 253kcal | 13% |
| Carbohydrates | 29g | 10% |
| Protein | 3g | 6% |
| Fat | 14g | 22% |
| Saturated Fat | 4g | 20% |
| Polyunsaturated Fat | 8g | 47% |
| Cholesterol | 16mg | 5% |
| Sodium | 228mg | 10% |
| Fiber | 2g | 8% |
| Sugar | 5g | 10% |
* Percent Daily Values are based on a 2,000 calorie diet.