0.0 from 0 votes
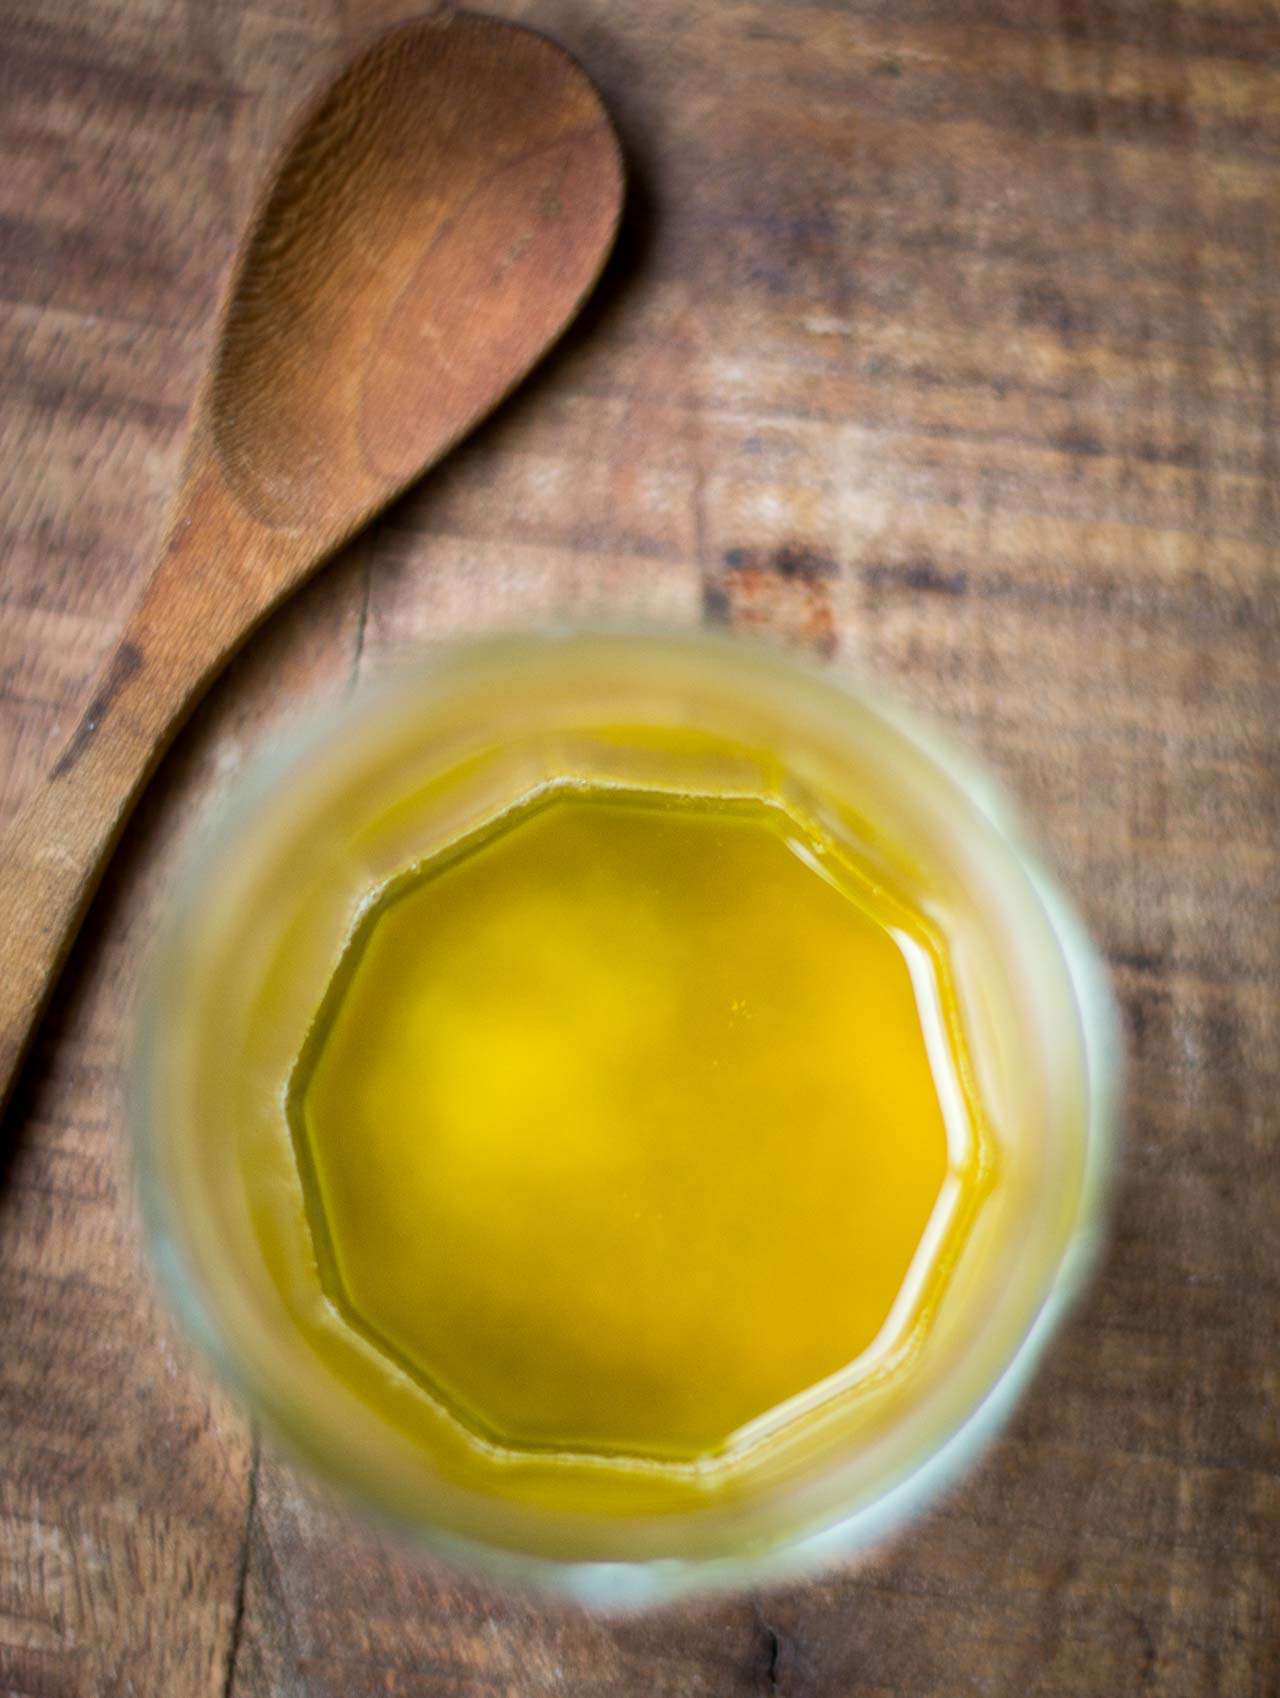
Clarified Butter
A versatile and tasty recipe that’s quick to prepare and easy to enjoy.
Course:
Baked Goods , Others
Ingredients
- unsalted butter cut into cubes
Instructions
- Heat the unsalted butter in a heavy-duty saucepan over very low heat, until it’s melted. Let simmer gently until the foam rises to the top of the melted butter. The butter may splatter a bit, so be careful.
- Once the butter stops spluttering, and no more foam seems to be rising to the surface, remove from heat and skim off the foam with a spoon. (It can be saved and added to soups, bread doughs, polenta, pilaf, or a bowl of warm oatmeal.) Don’t worry about getting every last bit; you can remove the rest when straining it.
- Line a mesh strainer with a few layers of cheesecloth or gauze, and set the strainer over a heatproof container.
- Carefully pour the warm butter through the cheesecloth-lined strainer into the container, leaving behind any solids from the bottom of the pan.
Cup of Yum
Notes
- Storage: Clarified butter will keep for 3 to 6 months in the refrigerator. Some say you can leave it at room temperature if the conditions are optimal, but I keep mine under refrigeration. It can also be frozen for a similar length of time.
- Note: If you continue to cook the butter in step #2, it’ll turn a nutty-brown color and take on a pleasant aroma, which the French call beurre noisette, because of the nut-like smell and taste. You can use it right away as is, with or without the foam, and it’s wonderful drizzled over steamed vegetables.