5.0 from 30 votes
Farofa
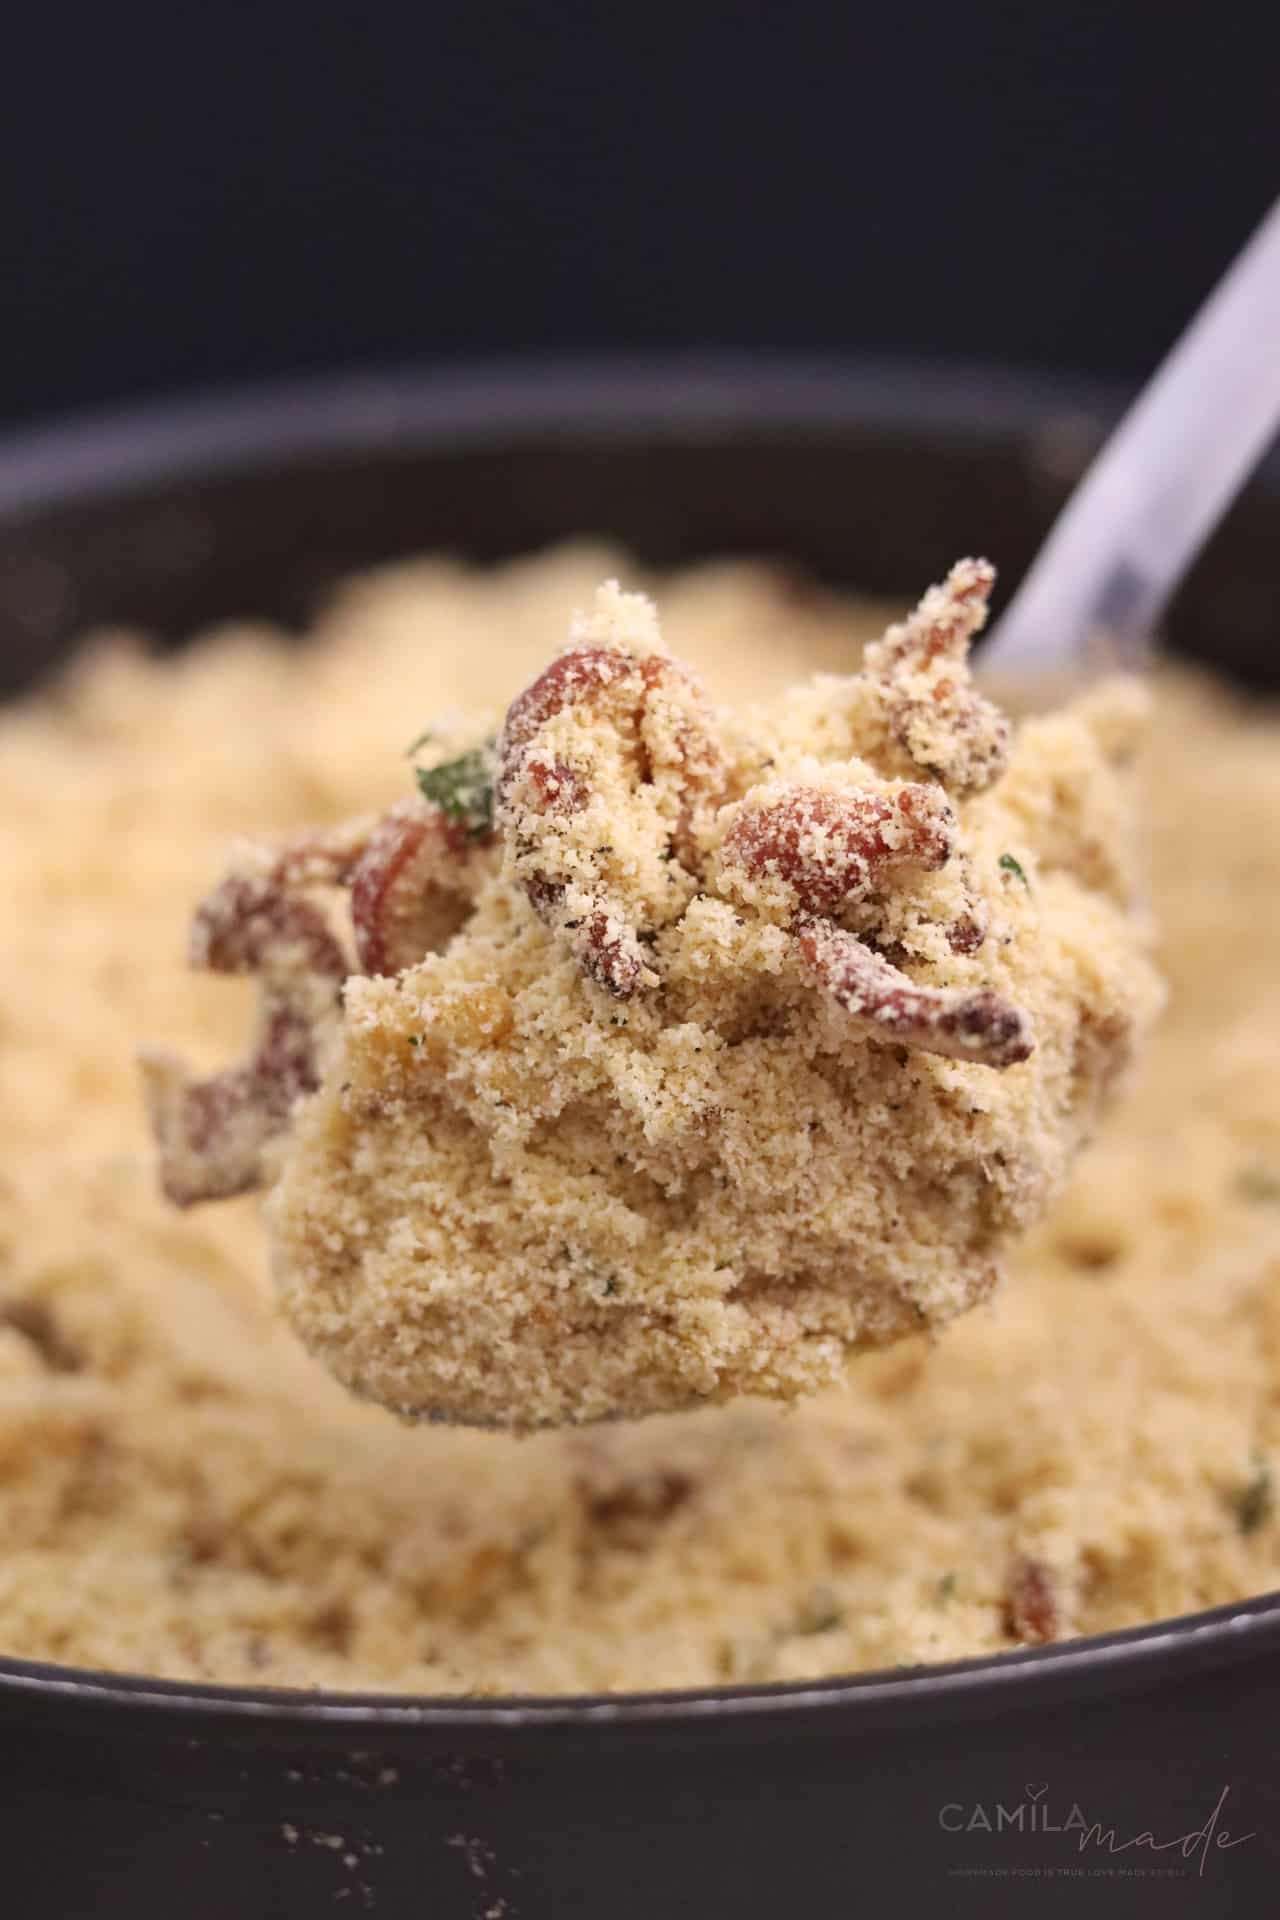
No Brazilian barbecue is complete without farofa, a toasted mandioca flour (farinha de mandioca) side dish that's a staple in Brazilian cuisine. This recipe uses mandioca flour and gets a special touch with Goya All-Purpose Seasoning. Farofa is also a delicious accompaniment to feijoada, grilled chicken, or fish.
Prep Time
5 mins
Cook Time
5 mins
Total Time
20 mins
Servings: 30
Calories: 221 kcal
Course:
Side Dish
Cuisine:
Brazilian
Ingredients
- 113 g unsalted butter , melted
- 1 kg ( 1 bag ) Goya Manioc Flour (Farinha de Mandioca/Roasted Torrada))
- 600 g thick Bacon , chopped into ¼-inch pieces
- 2 large sweet or yellow onion , chopped
- 8 cloves garlic , minced
- 4 teaspoons Goya adobo all-purpose seasoning with pepper , to taste
- 1 tablespoon ground black pepper , adjust to taste
- 1 teaspoon paprika
- ½ cup flat leave parsley , chopped
- ½ cup scallion , chopped
Instructions
- Start by cooking the chopped bacon in a large pan over medium heat until it becomes crispy and the fat has rendered out. Once done, remove the bacon and set it aside, but keep the bacon fat in the pan.
- Add butter to the pan along with the bacon fat and melt them together.
- Next, sauté the onions and garlic in the melted fats until they turn translucent and release their aromatic flavors, about 5 minutes.
- Stir in paprika, black pepper, and Goya seasoning to infuse the dish with a burst of flavor. Adjust the seasonings according to your personal taste.
- Gradually sprinkle in the cassava flour while stirring continuously. The flour should evenly toast and absorb the delicious flavors of the bacon, aromatics, and seasonings.
- Continue cooking and stirring for approximately 5 minutes or until the mixture takes on a golden brown hue with a crumbly texture.
- Add the crispy bacon back into the pan, making sure to mix it well with the farofa.
- Chop fresh parsley and scallions and fold them into the farofa for a delightful pop of color and a touch of freshness.
- If you have any additional ingredients, such as olives, eggs, or vegetables, now is the perfect time to incorporate them into the mixture.
- Taste the farofa and season it with salt as needed, keeping in mind the additional saltiness from the bacon and seasonings.
- Enjoy your homemade Farofa as a warm and delicious side dish or even as a standalone meal with the addition of some vegetables.
Cup of Yum
Notes
- How to Store & Re-Heat
- Homemade farofa can be stored in an airtight container in the refrigerator for up to 2 days. To maintain its crispness, it's best to reheat it in a skillet over medium heat, stirring frequently to prevent sticking. If you're in a hurry, you can also reheat farofa in the microwave until it's heated through.
- Make-Ahead & Freeze
- You can prepare it 2 days in advance and store it in the fridge until needed. Freezing is not recommended as it can affect texture and taste.