5 from 123 votes
Fermented Garlic Scapes (Traditionally Pickled)
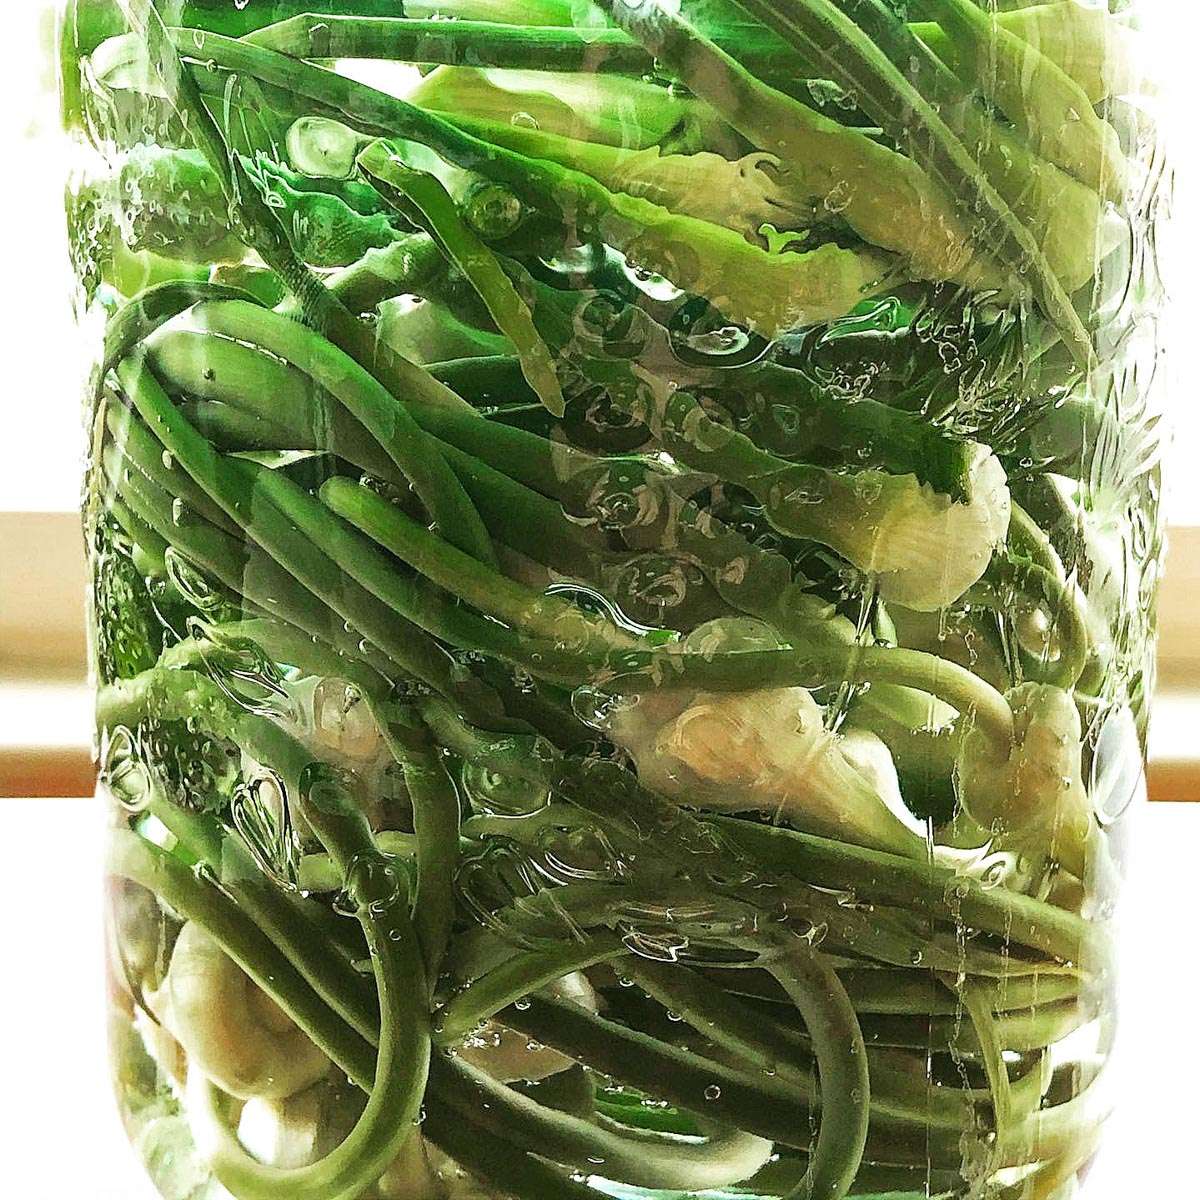
Fermented Garlic Scapes are pickled garlic stalks preserved in a salted brine with spices like peppercorns, fresh dill, and optional chili flakes. The scapes are packed into jars and submerged under brine to ferment, developing tangy and slightly spicy flavors with the crunch retained. This traditional fermentation method creates a long-lasting preserved vegetable that adds bold garlic notes and fermented complexity to meals.
Prep Time
30 mins
Total Time
30 mins
Servings:
16
servings
Calories:
105 kcal
Course:
Side Dish, Condiments
Ingredients
- 6 cups garlic scapes Trim any brown or tough bits off the ends and wash well
- 3 tablespoon kosher salt
- 1 tablespoon peppercorns
- 2-4 dill sprigs fresh dill stems with seed heads or dill fronds
- 1 teaspoon chili flakes optional, optional, use if you want spicy pickles
- 6 cups water or boiled 20 minutes and cooled to remove chlorine if on city water, filtered
Instructions
- Make a brine of 6 cups water to 3 tablespoon sea salt and stir to dissolve. (It is important to use dechlorinated water for this. You can filter the water or boil 20 minutes and cool before using)
- Place ½ tablespoon peppercorns, dill and chilis if using, in the bottom of each sterilized quart jar. Gently and loosely coil garlic scapes and place on top of spices. Pack them in as evenly as possible, leaving slightly more than an inch of headspace at top of jar.
- Pour brine over scapes, leaving 1 inch of headspace (you may have some brine leftover). Top with a fermenting weight to keep garlic scapes submerged. If you don’t have a fermenting weight or something similar, fill a small plastic bag with about ½ c water, seal and put on top of your veg. It is important to keep your vegetables submerged.
- Close jar with airlock or pickle pipe and fasten gently with jar ring. If you don’t have special airlock lids, put regular canning jar lids on and undo it once or twice a day to release gases (burping the jar) or use a coffee filter secured on top. Leave to ferment at room temperature 7-14 days. These will likely turn a bit cloudy as it starts fermenting and small bubbles will occasionally be rising. This is normal and often resolves or settles to the bottom by the time your ferment is ready. (Using some type of lid helps ensure no foreign bacteria gets in while the fermenting is happening.)
- Once the initial fermentation period is over (it is over when you decide you like how it tastes), it is ready to enjoy. Mine typically take 10-14 days until I am happy with the flavor. Top with a regular canning lid and move jar to cold storage if not storing in your refrigerator.
- Kept in the fridge, this will keep easily for 3 months or longer. In cold storage, you should plan to use within 3 months. Usually this won't actually go "bad" but will lose the crispness and bright color if left longer. If you end up with mold or a horrible smell that is not like vinegar or wine and garlic, toss it out and start again with fresh sterilized jars.
Cup of Yum
Notes
- Maintain a salt ratio of 2 tablespoons kosher salt per liter of filtered water for successful fermentation and preservation.
- Use dechlorinated water (filtered or boiled and cooled) to promote proper fermentation by removing chlorine.
- Fermentation can be adjusted by using airlock lids or loosening standard lids to release gases during the process.
- This recipe can be easily multiplied to fill multiple jars by keeping the brine ratio consistent.
Nutrition Information
Calories
105kcal
(5%)
Carbohydrates
23g
(8%)
Protein
5g
(10%)
Fat
1g
(2%)
Saturated Fat
1g
(5%)
Polyunsaturated Fat
1g
(6%)
Monounsaturated Fat
1g
(5%)
Sodium
1324mg
(55%)
Potassium
9mg
(0%)
Fiber
2g
(8%)
Sugar
1g
(2%)
Vitamin A
13IU
(0%)
Vitamin C
22mg
(24%)
Calcium
134mg
(13%)
Iron
1mg
(6%)
Nutrition Facts
Serving: 16 servings
Amount Per Serving
Calories 105
% Daily Value*
| Calories | 105kcal | 5% |
| Carbohydrates | 23g | 8% |
| Protein | 5g | 10% |
| Fat | 1g | 2% |
| Saturated Fat | 1g | 5% |
| Polyunsaturated Fat | 1g | 6% |
| Monounsaturated Fat | 1g | 5% |
| Sodium | 1324mg | 55% |
| Potassium | 9mg | 0% |
| Fiber | 2g | 8% |
| Sugar | 1g | 2% |
| Vitamin A | 13IU | 0% |
| Vitamin C | 22mg | 24% |
| Calcium | 134mg | 13% |
| Iron | 1mg | 6% |
* Percent Daily Values are based on a 2,000 calorie diet.