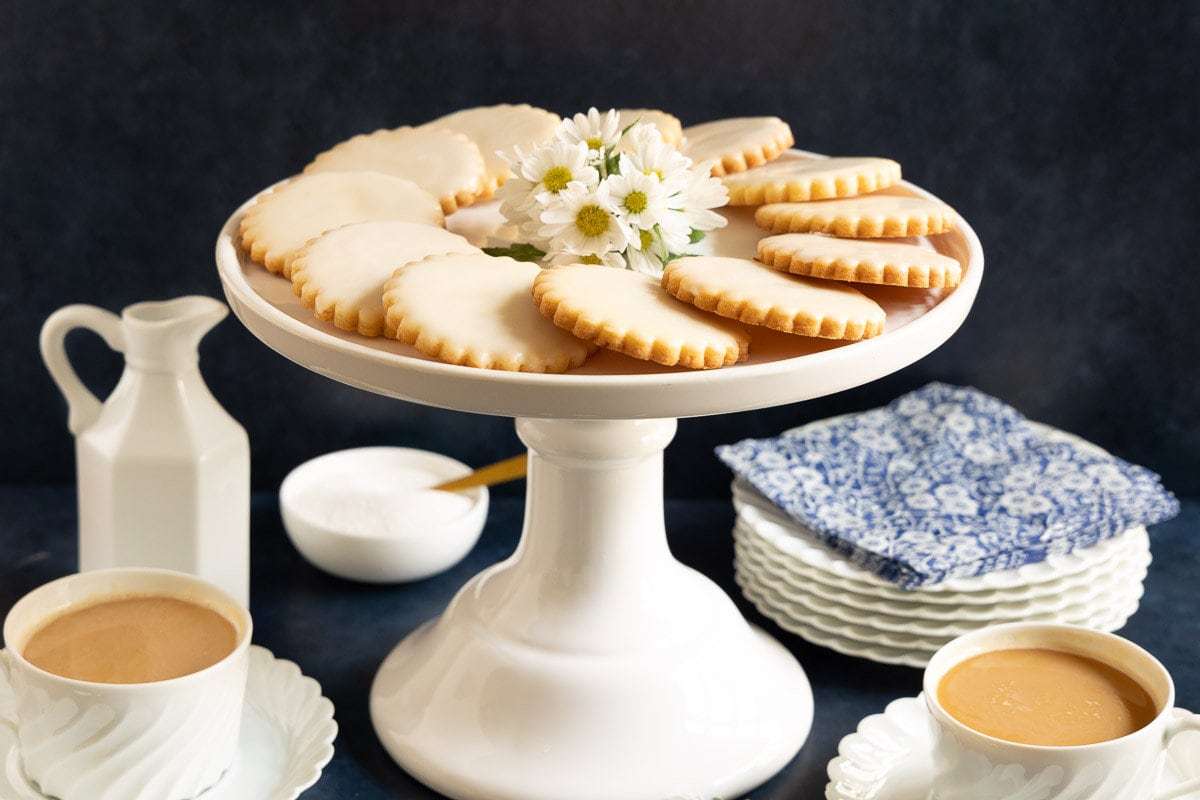
Lemon-Glazed French Sable Cookies
Lemon-Glazed French Sable Cookies feature a tender, crumbly texture from a rich butter dough enhanced with lemon zest for a bright citrus note. A smooth lemon glaze adds a glossy finish and tangy-sweet flavor. The dough includes a mix of granulated and powdered sugar, egg yolks, vanilla, and either all-purpose flour or a blend with cornstarch for added crispness. These cookies are rolled to your preferred thickness and cut into scalloped shapes. The glaze uses powdered sugar balanced with fresh lemon juice and a touch of vanilla, creating a refreshing topping for these classic French treats.
Ingredients
For the cookies:
- 1 cup butter I use salted butter, very soft
- ¼ cup granulated sugar
- ½ cup powdered sugar
- 2 egg yolks from 2 large eggs
- 1 teaspoon vanilla extract
- lemon zest finely grated from 2 large lemons
- 2 cups plus 2 tablespoons all-purpose flour Or you can use 2 cups of flour and 2 tablespoons of corn starch. I like the cornstarch as it gives a little extra crispness.
For the glaze:
- 2 cups powdered sugar
- 3 tablespoons lemon juice fresh
- ½ teaspoon vanilla extract
- 1-2 tablespoons half and half
Instructions
For the cookies:
- Preheat the oven to 350˚F. (177˚C.) Line two baking sheets with parchment paper. Set aside.
- In a medium size bowl, combine the soft butter and sugar. Stir until smooth and well combined.
- Add the egg yolks, vanilla extract and lemon zest. Stir to combine. Add the flour and stir until well incorporated and the dough starts to come together. The mixture will seem crumbly at first. Just keep stirring until it comes together.
- Sprinkle a work surface with flour. Have some extra flour on the side in a small cup.
- Turn the dough over several times to coat lightly with the flour then divide the dough in two and cover one half with a piece of plastic wrap.
- Keeping the surface and your rolling pin lightly dusted with flour at all times, roll out the dough to the desired thickness. I like mine about a ¼ thick for thinner cookies and closer to ⅜ for thicker ones. You can go thinner or thicker it’s just important to keep the surface underneath the dough lightly floured as you roll. (I also like to dip my cookie cutter in flour before cutting each cookie to keep the dough from sticking to the cutter.)
- Use a cutter of your choice (I used a scalloped 2.5-inch cutter) to cut out the cookies, transferring them to one of the prepared sheet pans as you go. Space the cookies 2 inches apart.
- Bring the dough scraps together then roll out more cookies until the dough is used up. Repeat with second ball of dough. Chill the cookies in the refrigerator for 30 minutes before baking.
- Bake the cookies for 12-16 minutes or until light golden brown. If the cookies have puffed a bit or have some little bubbles, you can flatten them at this point with the back of a flat metal spatula. Transfer the cookies to a wire cooling rack to cool completely.
For the glaze:
- Combine powdered sugar, lemon juice, 1 tablespoon half and half and vanilla extract in a medium-size bowl. Mix until smooth. The glaze should be fairly thick, but pourable. Add a little more half and half if too thick. Add more powdered sugar if it’s too thin. (See picture above in the post.)
- Transfer the glaze to a small shallow bowl (a little larger than your cookies). Slowly stir the glaze to release and air bubbles.
- Holding onto the edges of one cookie, dip the top surface into the glaze, being sure all of the surface touches the glaze. Pull cookie straight up out of the glaze and allow excess glaze to drip into the bowl for about 15-20 seconds. (You can gently shake the cookie back and forth and up and down to get it to drip a little faster.) Then quickly flip the cookie to the right side up and give it a gentle jiggle to allow the glaze to flow evenly over the surface. If the glaze drips over the edge of the cookie, you didn’t let it drip quite long enough.
- Repeat the dip, drip and flip technique with the remaining cookies. Place cookies on a cooling rack and allow the glaze to dry for 20-30 minutes. If you want to stack the cookies in a storage container or box for gifting, you’ll need to let the glaze dry for at least 8 hours. I like to let them sit out overnight before stacking.
- Store in an airtight container. These cookies actually keep well for several weeks once the glaze is set and dry.
- (You'll have a fair amount more glaze than you need, however, to the dip, drip and flip technique properly, you need this amount. You can use it for something else, if desired but it will probably end up with some crumbs in it.)
Notes
- Use a combination of flour and cornstarch to achieve a slightly crisper cookie texture.
- Keep your rolling surface and rolling pin lightly floured to prevent dough sticking while rolling.
- The yield depends on the cookie cutter size; a 2.5-inch scalloped cutter makes about 28-30 cookies.
- Allow the glaze to set on the cookies for a smooth finish before serving.
Nutrition Information
Nutrition Facts
Serving: 30 cookies
Amount Per Serving
Calories 120
% Daily Value*
| Calories | 120kcal | 6% |
| Carbohydrates | 14g | 5% |
| Protein | 1g | 2% |
| Fat | 7g | 11% |
| Saturated Fat | 4g | 20% |
| Polyunsaturated Fat | 0.3g | 2% |
| Monounsaturated Fat | 2g | 10% |
| Trans Fat | 0.2g | 10% |
| Cholesterol | 29mg | 10% |
| Sodium | 50mg | 2% |
| Potassium | 15mg | 0% |
| Fiber | 0.2g | 1% |
| Sugar | 8g | 16% |
| Vitamin A | 208IU | 4% |
| Vitamin C | 1mg | 1% |
| Calcium | 5mg | 1% |
| Iron | 0.4mg | 2% |
* Percent Daily Values are based on a 2,000 calorie diet.