5 from 107 votes
No Knead Cinnamon Raisin Bread (Dutch Oven)
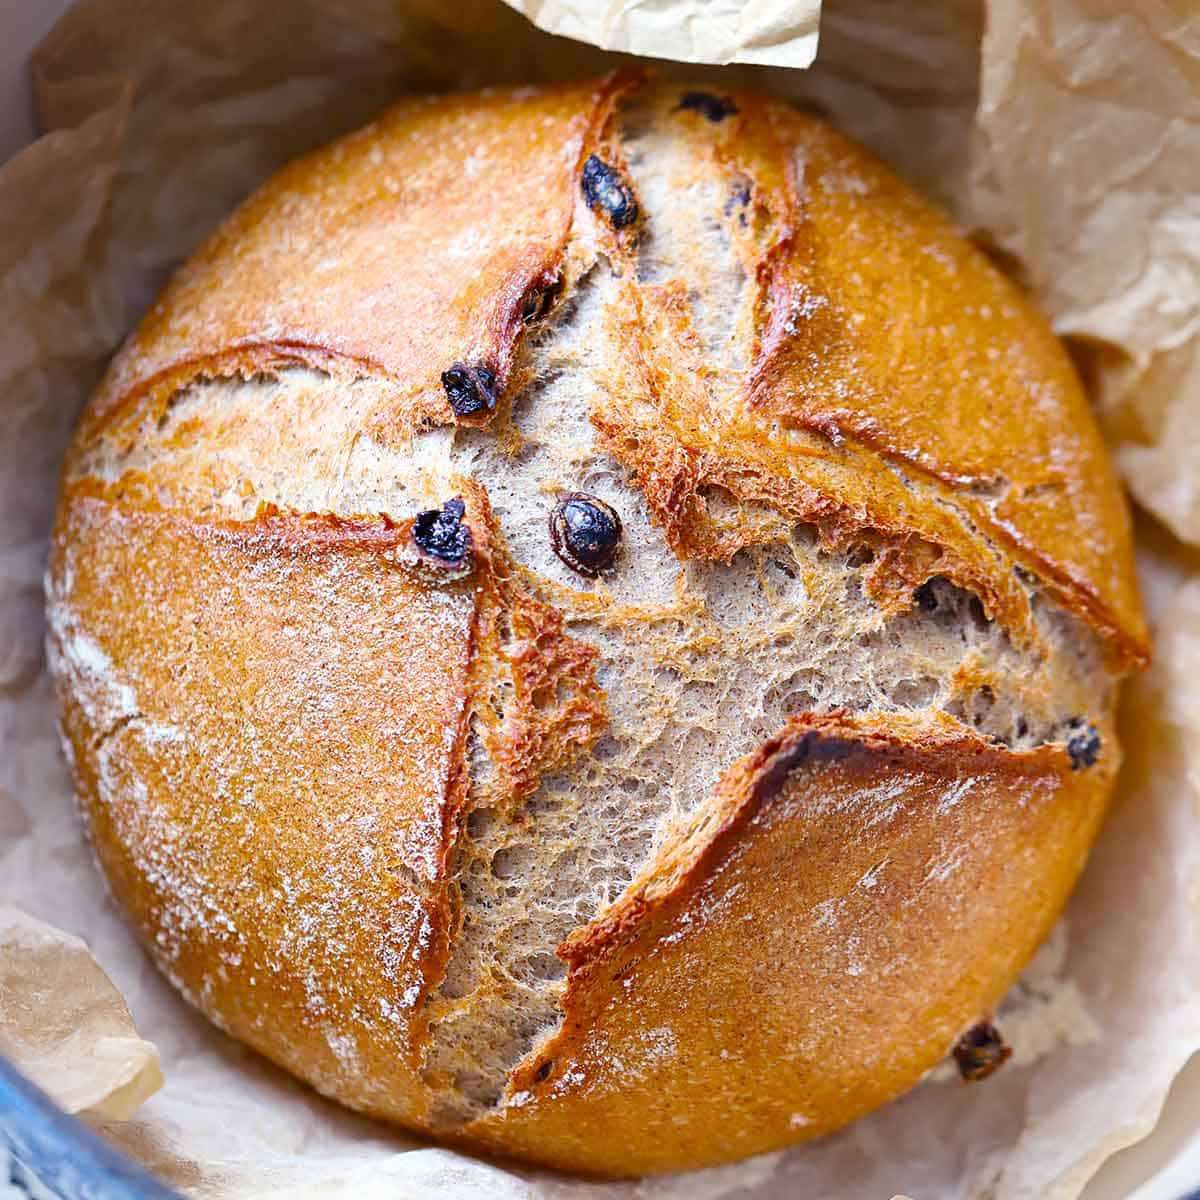
No Knead Cinnamon Raisin Bread uses a dough made with active dry yeast, sugar, cinnamon, raisins, salt, all-purpose flour, and water. The process avoids kneading by mixing and allowing the dough to rise before baking it in a preheated Dutch oven. The raisin pieces add sweetness and texture within a soft crumb with spiced cinnamon flavor throughout.
Prep Time
5 mins
Cook Time
40 mins
cooling time
1 hr
Total Time
45 mins
Servings:
8
servings
Calories:
256 kcal
Course:
Bread
Cuisine:
American
Ingredients
- 1 ½ cups water
- 2 ¼ teaspoons active dry yeast (one packet, see notes)
- 2 tablespoons sugar more if you want it extra sweet
- ¾ cup raisins
- 1 tablespoon cinnamon
- ½ tablespoon salt fine grain
- 3 ½ cups all-purpose flour see notes, plus more for dusting/shaping
Instructions
- Microwave the 1 ½ cups water until it's 100 degrees F - 110 degrees F (this takes one minute on high in my microwave). In a large bowl or the bowl of a standing mixer, mix 1 cup of the warm water with the 2 ¼ teaspoons active dry yeast and 2 tablespoons sugar and stir until everything is dissolved. Allow to stand for 10 minutes, after which the yeast should have started multiplying resulting in the mixture foaming up to about double its size.
- Meanwhile, pour the remaining ½ cup of warm water over the ¾ cup raisins in a small bowl and mix together and allow to sit for 10 minutes. This will rehydrate the raisins a bit and make them plumper and softer.
- Add the raisin and warm water mixture, the 1 tablespoon cinnamon, the ½ tablespoon fine grain salt, and the 3 ½ cups all-purpose flour to the bowl with the water yeast mixture. Mix using a dough hook on the standing mixer, or with a sturdy wooden spoon if mixing by hand, for at least 1 minute, until all the ingredients are well combined. (If using a standing mixer or you want a great arm workout, mix for longer, which will develop more gluten and result in a stronger dough).
- Gather the dough at the bottom of the bowl by scraping the sides down. Cover the bowl with plastic wrap or a damp towel and allow to rise in a warm place for about 2 hours, or until the dough has doubled in size (see notes for recommendations on warm places to allow dough to rise. At this point, if you like, you can refrigerate the dough for up to 7 days and bake when you are ready. A cold dough has some benefits, as it is easier to shape and form, and the longer the dough sits the more developed in flavor it will be. Or, you can bake immediately!)
- Optional: during the last 30 minutes of the dough rising, preheat your Dutch oven by placing it, covered, in your oven while it preheats to 450 degrees F. This isn't entirely necessary but the extra heat will give the dough a bit of a boost when it comes to how tall and fluffy it comes out.
- Carefully and gently transfer the dough to the edge of a piece of parchment paper that has been sprinkled with a dusting of flour (or on the counter, depending on how you want to shape it). Shape the dough into an oval or circular loaf shape (see notes for tips on shaping). Score the top of the loaf with a sharp knife or razor blade.
- Using the parchment paper, transfer the loaf AND the parchment paper into the Dutch oven. If you preheated the Dutch oven, be very careful doing this as it will be very hot, and do NOT FORGET to grab the lid using potholders, for the love of all that is good and holy.
- Optional: If you want, you can place a couple of ice cubes on the side of the Dutch Oven in between the parchment and the side of the pot. This will melt and create more steam as it bakes, but it's not 100% necessary.
- Place the lid on the Dutch oven and bake at 450 degrees F for 35 minutes. Then, uncover and bake for another 5-10 minutes, until nice and brown on top.
- Remove loaf (CAREFULLY!) from the hot Dutch Oven and place on a cooling rack. Ideally, wait for one hour minimum before slicing into it, otherwise the texture may be a bit gummy if it's too hot when you cut into it.
Cup of Yum
Notes
- Transferring dough to a lightly oiled bowl after mixing can make it easier to remove after rising.
- Instant or rapid rise yeast can speed up the rising time; monitor carefully to avoid over-proofing.
- Flour brand affects dough consistency; King Arthur flour is recommended, but bread or whole wheat flour can be used with adjustments to water.
- To avoid a hard bottom crust, place a baking sheet on the lower oven rack during baking.
- Cooling the dough briefly in the fridge before baking makes it easier to handle.
- Shaping the loaf on floured parchment paper and flipping can help form the dough for baking.
Nutrition Information
Calories
256kcal
(13%)
Carbohydrates
57g
(19%)
Protein
6g
(12%)
Fat
1g
(2%)
Saturated Fat
0.1g
(1%)
Polyunsaturated Fat
0.2g
(1%)
Monounsaturated Fat
0.1g
(1%)
Sodium
442mg
(18%)
Potassium
183mg
(4%)
Fiber
3g
(12%)
Sugar
3g
(6%)
Vitamin A
3IU
(0%)
Vitamin C
1mg
(1%)
Calcium
23mg
(2%)
Iron
3mg
(17%)
Nutrition Facts
Serving: 8 servings
Amount Per Serving
Calories 256
% Daily Value*
| Calories | 256kcal | 13% |
| Carbohydrates | 57g | 19% |
| Protein | 6g | 12% |
| Fat | 1g | 2% |
| Saturated Fat | 0.1g | 1% |
| Polyunsaturated Fat | 0.2g | 1% |
| Monounsaturated Fat | 0.1g | 1% |
| Sodium | 442mg | 18% |
| Potassium | 183mg | 4% |
| Fiber | 3g | 12% |
| Sugar | 3g | 6% |
| Vitamin A | 3IU | 0% |
| Vitamin C | 1mg | 1% |
| Calcium | 23mg | 2% |
| Iron | 3mg | 17% |
* Percent Daily Values are based on a 2,000 calorie diet.