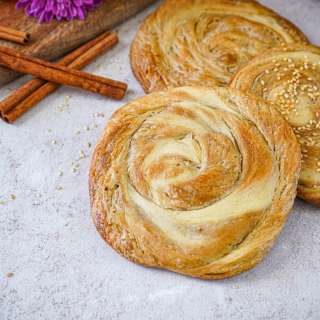
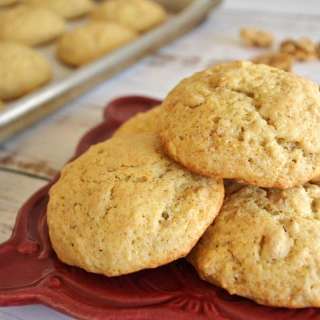
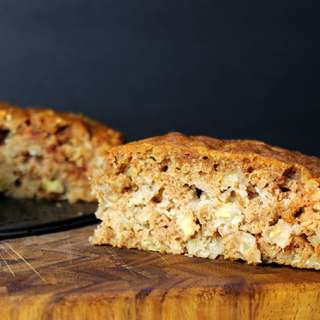
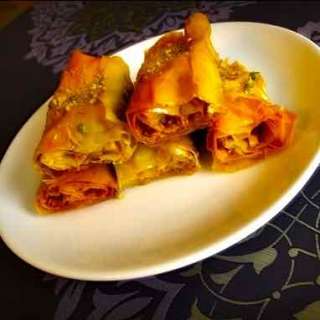
Armenian Gata
User Reviews
4.9
159 reviews
Excellent
Armenian Gata
Report
Gata is easily one of the most beloved Armenian desserts. It's a pastry with similarities to both croissants and rugelach, but with a personality of its own. Some call it nazook, but this typically refers to a walnut-filled version made by Iranian Armenians. Crisp on the outside, flaky within, with spirals of vanilla-laced sweetness throughout, it's a divine dessert any time of year.
Share:
Ingredients
Dough:
- 454 grams (16 ounces) full-fat sour cream
- 6 grams (1 teaspoon) baking soda
- 4 grams (1 teaspoon) baking powder
- 500 grams (4 cups) all-purpose flour
- 255 grams (2 ¼ sticks or 9 ounces) unsalted butter, cold, cut into 1 tablespoon-sized pieces
Filling (”Khoreez”):
- 188 grams (1 ½ cups) all-purpose flour
- 170 grams (1 ½ sticks or 6 ounces) unsalted butter, cold, cut into 1 tablespoon-sized pieces
- 300 grams (1 ½ cups) granulated sugar
- 1 teaspoon pure vanilla extract
To Finish:
- 1 egg chalaza removed (thick white part by the yolk–use the egg shell to remove it), beaten
Instructions
Dough:
- The dough needs to be made the day or night before you assemble and bake your gata. Start by adding the baking soda and baking powder to the sour cream and mix it until thoroughly combined. Set aside.
- Add half the flour and half the butter to the bowl of a food processor (if you have a really large food processor bowl you can do it all at once, but it’s best to split it up if not). Pulse the mixture several times until it looks sandy and contains small pea-sized bits of butter.
- Add half the sour cream mixture and mix until it comes together into a doughy mass. Remove the dough to a lightly floured cutting board or work surface and repeat with the remaining flour, butter, and sour cream mixture in the food processor. Add the other half of the dough to the dough already on the work surface and gently press it together to form a single dough (do not knead it, but just absorb one dough half into the other).
- Cut the dough into 4 equal parts. One at a time, on a lightly floured surface, use your hands to press each dough piece flat, about ½-inch thick, then fold it into thirds like a letter, turn 90 degrees and fold again into thirds to yield a perfect square. Use your hands to straighten the edges and make sure the corners are relatively sharp. Wrap in plastic wrap and place in an air-tight container. Repeat with the three other pieces of dough and add them to the air-tight container. Cover and refrigerate overnight.
Filling (”Khoreez”):
- The following day, make the filling. Add the flour and butter to the bowl of a food processor and pulse the mixture several times until it looks sandy and contains small pea-sized bits of butter. Add the sugar and vanilla and quickly pulse just a few more times to combine, but not enough to form a dough. Pour this crumbly filling into a wide, flat bowl and use a large spoon to divide it into 4 quadrants (just draw lines). Set aside.
Assembly:
- Preheat the oven to 350°F with the oven rack in the center. Line 3 baking sheets with parchment paper and set aside.
- Remove 2 of the refrigerated dough squares from the refrigerator at a time. Lightly flour a work surface and gently roll out one of the dough squares into a rectangle about 1/16th-inch thick and about with dimensions of about 12-by-15-inches (this doesn’t have to be perfect, and may be slightly different in size if your four pieces of dough weren’t divided evenly). Do your best to create straight edges and corners for your rectangle, and an even thickness, dusting with minimal flour as necessary. Arrange the rectangle so the longest edge is facing you with the shorter edges on either side.
- Add ¼ of the filling to the rectangle and use your hands to spread it over the surface, leaving about a 1-inch border at the furthest edge clear of filling, but otherwise spreading the filling from edge to edge. Use the palms of your hands to firmly press the filling into the dough. This will make it easier to roll without the filling falling out too much.
- Beginning with the edge closest to you, start rolling the dough tightly. Sometimes it’s easier to simply make a small fold across the length, using your dough scraper for assistance, and then continue with the rolling. When finished rolling, gently press the top of the roll to help seal.
- Carefully move your roll to a clean piece of parchment or wax paper on your work surface. Lay it diagonally if you must so it doesn’t hang off the edges. Use your rolling pin to gently flatten the roll starting at the center and moving outward, and then again starting at the center and moving outward in the opposite direction. You are not rolling it out, but just using the natural momentum of the rolling pin to flatten it so it’s not rounded like a jelly roll.
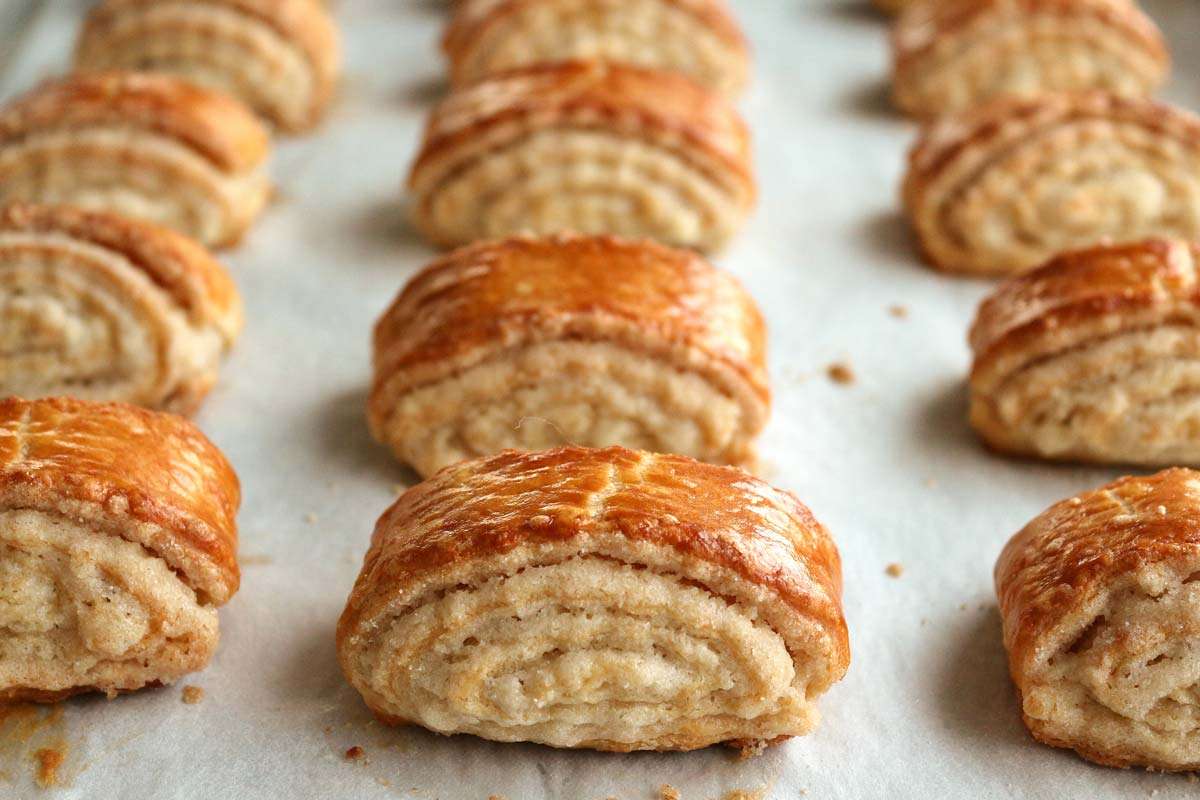
- Brush the top and sides of the roll with the beaten egg. Use a serrated vegetable cutter (if you have one–and if not, a dough scraper will work but won’t yield the pretty serrated edges) to cut the dough into 1 ¼-inch slices. Very gently use a small spatula or your dough scraper to remove each piece to the prepared pans. The end pieces aren’t pretty, but will still be delicious for the chef, so make sure you add those to your pan as well.
- When finished with the first roll, dump out any extra crumbs from your parchment paper (as long as they’re not eggy) back into the bowl of filling, and use your dough scraper to clean any extra crumbs from you original work surface and add those back to the bowl as well.
- Repeat the process with the remaining dough squares on your clean, lightly floured work surface (you can fold the parchment in half lengthwise and reuse it again once more, and then start fresh on dough #3 with a clean piece).
Baking and Finishing:
- Bake the gata one tray at a time for about 25 to 35 minutes, rotating the pan from front to back about halfway through baking, until the tops are dark golden brown, and the dough on the sides is no longer pasty looking, and appears to be cooked through (it may even start to look slightly golden). Remove from the oven and replace with the next pan of gata. Repeat the baking process until all pans are baked, one at a time.
- Cool the gata completely before removing from the baking sheets. To store, place them either on a large baking sheet, pan, or serving dish, but cover with a large tea towel as opposed to foil or plastic wrap, which will cause the gata to soften.
- You may freeze the gata in a sealed container lined with parchment or wax paper on the bottom, on top, and in between the layers. Refresh the thawed gata, if needed, in a 350°F oven for about 5 minutes or until they are heated through. This will help re-crisp them if they have softened (you can also use this trick if your gata softens after a few days of standard storage). The final result should be crisp on the outside, and flaky throughout.
Nutrition Information
Show Details
Serving
1gata
Calories
168kcal
(8%)
Carbohydrates
18g
(6%)
Protein
2g
(4%)
Fat
9g
(14%)
Saturated Fat
6g
(30%)
Monounsaturated Fat
2g
Cholesterol
31mg
(10%)
Sodium
19mg
(1%)
Potassium
20mg
(1%)
Sugar
7g
(14%)
Nutrition Facts
Serving: 45to 50 servings
Amount Per Serving
Calories 168 kcal
% Daily Value*
| Serving | 1gata | |
| Calories | 168kcal | 8% |
| Carbohydrates | 18g | 6% |
| Protein | 2g | 4% |
| Fat | 9g | 14% |
| Saturated Fat | 6g | 30% |
| Monounsaturated Fat | 2g | 10% |
| Cholesterol | 31mg | 10% |
| Sodium | 19mg | 1% |
| Potassium | 20mg | 0% |
| Sugar | 7g | 14% |
* Percent Daily Values are based on a 2,000 calorie diet.
Genuine Reviews
User Reviews
Overall Rating
4.9
159 reviews
Excellent
Other Recipes
You'll Also Love


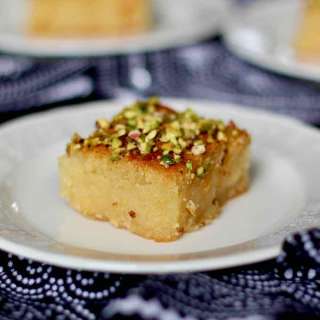
Basbousa
Mediterranean, Greek, Middle Eastern, Israeli, Turkish, Lebanese, Syrian, Armenian, Balkan, Jordanian
5.0
(3 reviews)

Basbousa
Mediterranean, Greek, Middle Eastern, Israeli, Turkish, Lebanese, Syrian, Armenian, Balkan, Jordanian
5.0
(3 reviews)
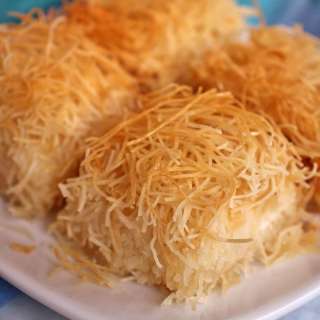
Kadaif or Kadayif (Ricotta Cheese Kunafa)
Mediterranean, Greek, Middle Eastern, Turkish, Lebanese, Arabian, Syrian, Armenian
5.0
(27 reviews)

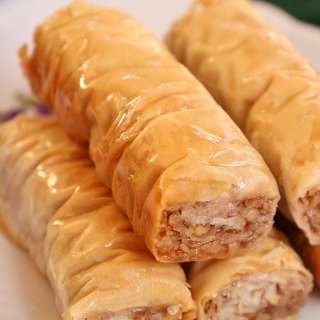
Sari Burma (Burma Baklava/Rolled Baklava)
Mediterranean, Greek, Middle Eastern, Turkish, Armenian
4.8
(30 reviews)