Blood Orange & Lemon Mousse Cake
User Reviews
5.0
3 reviews
Excellent
-
Prep Time
40 mins
-
Cook Time
40 mins
-
Additional Time
30 mins
-
Total Time
1 hr 30 mins
-
Servings
12 servings
-
Course
Dessert
-
Cuisine
International
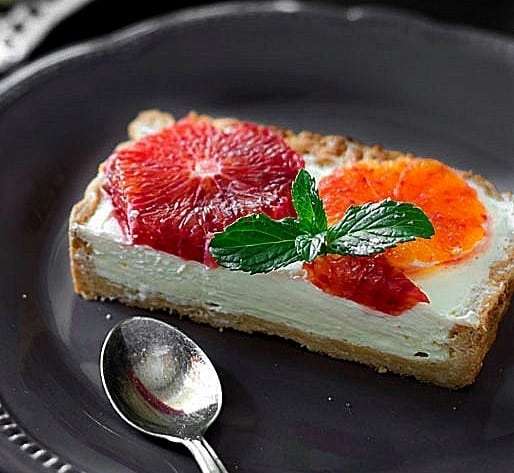
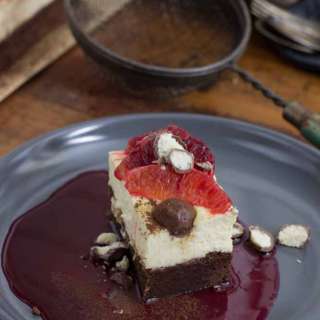
Blood Orange & Lemon Mousse Cake
Report
A sweet and sour cake that perfectly highlights the delicious flavor of citrus fruits.
Share:
Ingredients
For the tart base:
- 200 g flour you can also use whole-wheat flour
- 50 g chopped walnuts/almonds Optional: These ingredients are not mandatory, but they significantly enhance the flavor of the cake base
- 120 g butter
- 1 tbsp brown sugar
- ½ tsp salt
- 60 ml cold water
For the lemon mousse:
- 3 large eggs
- 150 g sugar
- 75 ml lemon juice freshly squeezed
- 60 g butter
- 1 tsp lemon zest
- 125 ml Whipped Cream
For decorating and serving:
- 2 blood oranges or other favorite citrus fruit or other type of fruit
Instructions
For the cake base:
- Place all the solid ingredients (flour, nuts, sugar, salt) in the bowl of a food processor (either KA or a regular food processor with an attached blade) and process for 10 seconds. Then add the diced cold butter and process until a crumbly mass forms! Gently add the cold water to bind the dough. Let the food processor blend the ingredients until a compact ball forms.
- Wrap the dough in plastic wrap and refrigerate for at least half an hour. This will make it easier to shape!
- Take the dough out of the fridge and roll it out with a rolling pin into a rectangular 5-6mm (~1/4-inch) thick sheet. Place the sheet in a rectangular tart tin lined with butter and flour. Press the pastry sheet against the edges of the tin with your fingers and cut off the excess pastry with a knife. Place a piece of parchment paper over the whole sheet of pastry and sprinkle beans on top to prevent the dough from rising as it bakes. Bake for about 20 minutes at 180°C/356° F.
For the lemon mousse:
- In a Jena glass bowl (recommended) whisk the eggs as if making an omelet, then add the sugar and lemon juice. Place the bowl in a saucepan of water ensuring the water does not spill into the mixture, and cook, stirring vigorously and constantly with a whisk, until it has a creamy consistency.
- After the first five minutes, the mixture will foam on the surface (you can see it in the second picture below), but after about 15 minutes, the cream thickens and you can see the traces left by the whisk (as you can see in the last picture in the set below).
- Take the bowl out of the saucepan and add the diced butter. Stir until the butter melts, then place a plastic wrap over the entire surface of the cream (to avoid crusting) and chill the bowl! The resulting cream, or lemon curd, is extremely tasty and can be used successfully in many desserts.
- After it has cooled completely, mix the lemon curd with the whipped cream. Use a spatula, not a mixer, making wide circular top to bottom moves.
- Fill the base (when completely cooled) with the lemon foam and decorate with slices of red orange as you desire. Garnish with fresh mint leaves. Serve immediately!
Notes
- It is possible to use only lemon curd to fill the base.
- You can use any fruit you like in combination with the refreshing taste of lemon.
- If you prepare the cake a few hours before serving, I recommend that you decorate it with the red oranges just before serving, so that the fruit is as fresh as possible.
Genuine Reviews
User Reviews
Overall Rating
5.0
3 reviews
Excellent
Other Recipes
You'll Also Love


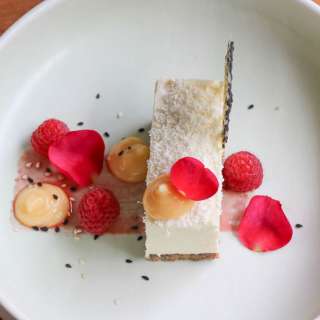
White Chocolate Mousse Cake with Yuzu and Black Sesame
International, Cakes, Alergy friendly
5.0
(6 reviews)