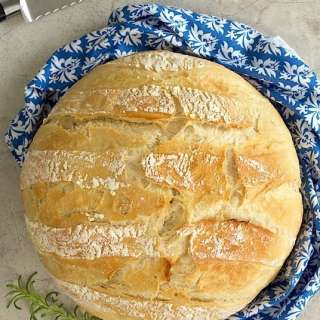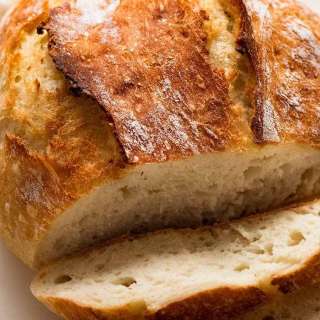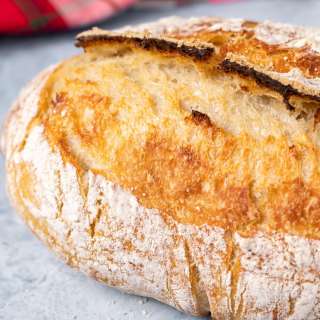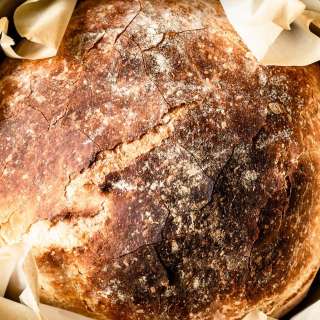
Cranberry Pecan Five Minute Artisan Bread
User Reviews
0.0
0 reviews
Unrated
-
Prep Time
2 hrs 59 mins
-
Cook Time
2 hrs 59 mins
-
Servings
2 large or 4 smaller loaves
-
Course
Bread
Cranberry Pecan Five Minute Artisan Bread
Report
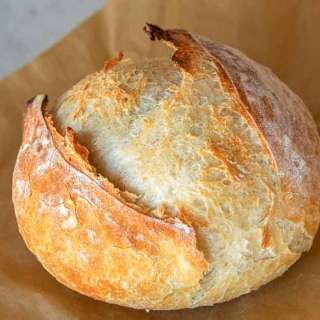
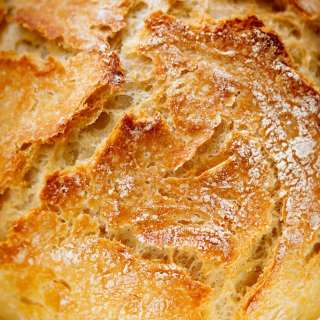
An amazingly simple way to have delicious, crisp European-style crusts and tender insides in your next batch of homemade bread.
Share:
Ingredients
- 2-¾ cups lukewarm water
- 1-½ tablespoon granulated yeast
- 1 ¼ tablespoons sea salt if you don't have sea salt or kosher salt, use regular salt but only use 1 tablespoon
- ¼ cup sugar
- ¼ cup extra virgin olive oil
- 6-½ cups unbleached all-purpose flour
- ½ cup chopped toasted pecans
- 1 cup dried cranberries
Instructions
- Mix the yeast, salt, sugar, and olive oil with the water in a 5-quart bowl, or a lidded (not airtight) food container. Stir to combine and add the dried cranberries and pecans.
- Mix in the flour without kneading. I used this fun whisk (thanks again Annie - I love it!) but a sturdy wooden or metal spoon would be fine. This is when you have to get out a bit of elbow grease - the dough will be quite thick and shaggy. Just mix until all the flour has been incorporated.
- Cover (not airtight), and allow to rest at room temperature until dough rises and colapses (or flattens on top), 1- 2 hours, depending on how warm your kitchen is and what kind of mood the yeast is in.
- Sprinkle your counter liberally with flour. Take out half of the dough (or a quarter of the dough if you want smaller loaves) and place in on the flour covered counter. Place the rest of the dough in the refrigerator - it will keep for 4-5 days or until whenever your ready to make your next loaf! Using a bowl scraper or rubber spatula, scrape the dough into a mound on top of the floured surface. Turn it over to coat the entire ball of dough with flour - this will help it lose some of it's stickiness. Using floured hands or a bowl scraper, lift the outside edges toward the center, working around the entire piece to make a smooth round ball.
- Lay a thin cotton or linen tea towel (not terry cloth, which tends to stick) or a large cloth napkin on your work surface. Generously sprinkle the surface of the towel with flour. Using your hands or scraper, gently lift the dough on to the prepared towel and place seam side down. Dust the top of the dough with more flour. Cover the dough with the sides of the towel and place in a warm, draft-free spot to rise, about 1 hour or until almost doubled in size.
- About a half an hour before the end of the second rise, place a rack in the lower third of the oven and preheat to 475º F and place a 3-4-quart heavy pot or cast iron dutch oven with a tight fitting lid in the center of the rack (mine holds exactly 3 quarts and is 6 inches wide by 33/4 inches tall. If you are making a small loaf with just a quarter of the dough, use a smaller pot).
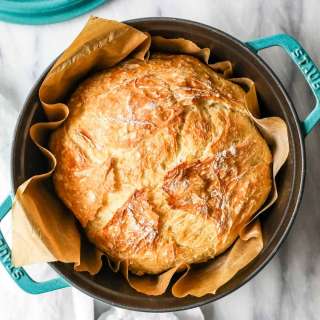
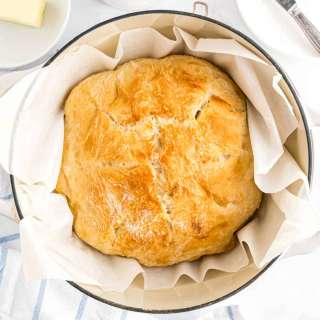
- When the dough is ready to bake, carefully remove the HOT dutch oven from the oven using oven mitts; remove the lid. Unfold the towel, gently slide your hand under the dough and gently invert the dough into the hot pot. (I like to do this step over my kitchen sink - any excess flour will fall into the sink and it's easier for me to do this step with my pot lowered into the sink a bit.) If any dough clings to the top or sides unevenly, quickly run an off-set spatula or knife around the edges to even. The dough will eventually even itself out while baking.
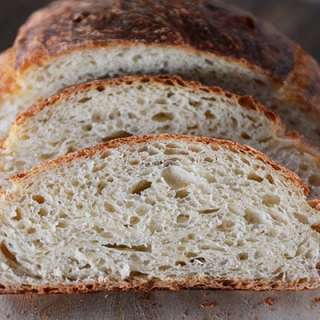
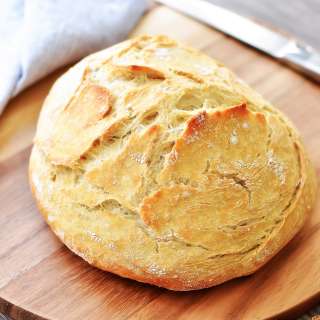
- Using oven mitts, place the hot lid back on the pot and return to the oven. Bake for 20-25 minutes. Using oven mitts, remove the hot lid and continue baking until the bread is a deep, golden brown, about 15-20 minutes more. Remove from the oven. Invert the pan to release the bread or use a thin handle of a spatula to carefully lift the bread out of the pot and place it on a rack to cool completely before slicing, about 2 hours.
Notes
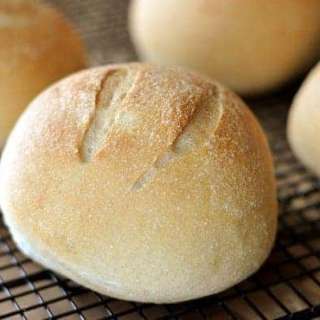
- Makes 2 large or 4 smaller loaves - the dough will keep in your refrigerator for 4-5 days - just allow for a longer rising time if you start out with cold dough.
- Adapted from Artisan Bread in Five Minutes and The Galley Gourmet
Genuine Reviews
User Reviews
Overall Rating
0.0
0 reviews
Unrated
Other Recipes
You'll Also Love