5 from 21 votes
Gluten-Free Sourdough Starter
The Gluten-Free Sourdough Starter recipe provides a method to cultivate a bubbly, active starter using gluten-free or grain-free flours combined with filtered water. This starter can be fed regularly over several days to develop fermentation suitable for gluten-free bread baking. The approach allows adjustment of flours to fit dietary needs and supports grain-free alternatives with ingredients like coconut flour or cassava flour.
Course:
Bread
Cuisine:
Vegan, AIP
Ingredients
Gluten-free Sourdough Starter
- 6 cups gluten-free flour or grain-free flour
- 5 1/4 cups water filtered
Coconut Flour Sourdough Starter
- 1/2 cup coconut flour
- water filtered
Instructions
Gluten-free Sourdough Starter
- Combine 1/2 cup flour (whatever gluten-free flour or gluten-free flour blend you like) and a scant 1/2 cup filtered water in a medium to large bowl.Whisk until smooth and cover the gluten free sourdough starter with a cheesecloth or clean dishtowel to allow air to circulate but prevent particles from falling in.Set the bowl in a warm area where it will not be disturbed. A kitchen counter, pantry cabinet, or patio can all be good options.
- Wait 12-24 hours.
- At least twice a day for the next six days, at regular intervals, add 1/2 cup of flour and a scant 1/2 cup of filtered water to the existing starter. Mix until smooth, and cover.This is called feeding the starter.Make sure to watch your starter carefully.
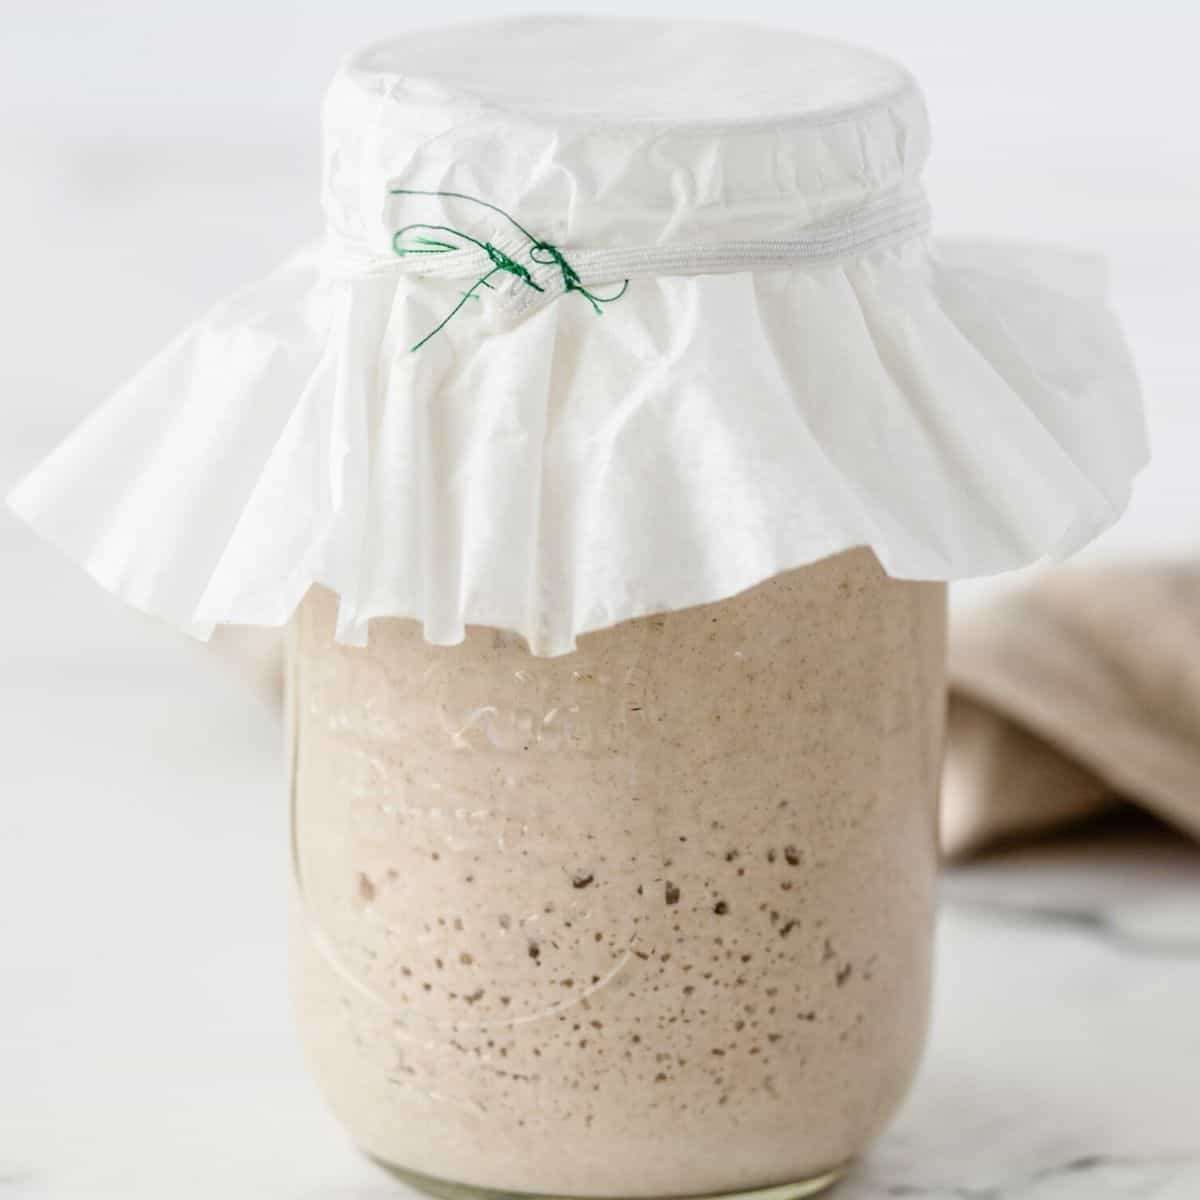
- When your gluten-free sourdough starter is very bubbly and creates a dome on top 2-3 hours after each feeding (like the above picture), you are ready to make bread. This is often called the sponge and typically it takes 5-7 days for this to happen.
- Use your starter for making the sourdough bread of choice. See above this recipe card in the post for some great options!
Cup of Yum
For Coconut Flour Starter
- Combine 1/8 cup coconut flour with 1/2 cup filtered water in a large bowl. Whisk until smooth. The mixture should be pourable but not thin.
- Cover the bowl with a plate or other air tight cover, making sure there’s at least a 1/2-inch gap of air at the top.
- Approximately every 12 hours add another 1/8 cup of coconut flour and ½ cup purified water. Stir well and cover.
- In 24–48 hours the mixture should get bubbly and smell fermented. If no bubbles form, try increasing the frequency of feedings to every 8-10 hours.
- If at any time there isn't a 1/2 inch gap at the top of the starter, move it to a larger bowl.
Notes
- Feed the starter at least twice daily for 5 to 7 days until it becomes bubbly and active.
- Using a blend of gluten-free flours yields better bread texture compared to a single flour type.
- Filtered water is recommended to avoid chlorine or contaminants that can inhibit fermentation.
- A grain-free version can be made using organic cassava or tiger nut flour as alternatives.
- Keep the starter covered with a breathable cloth to allow air but prevent contamination.