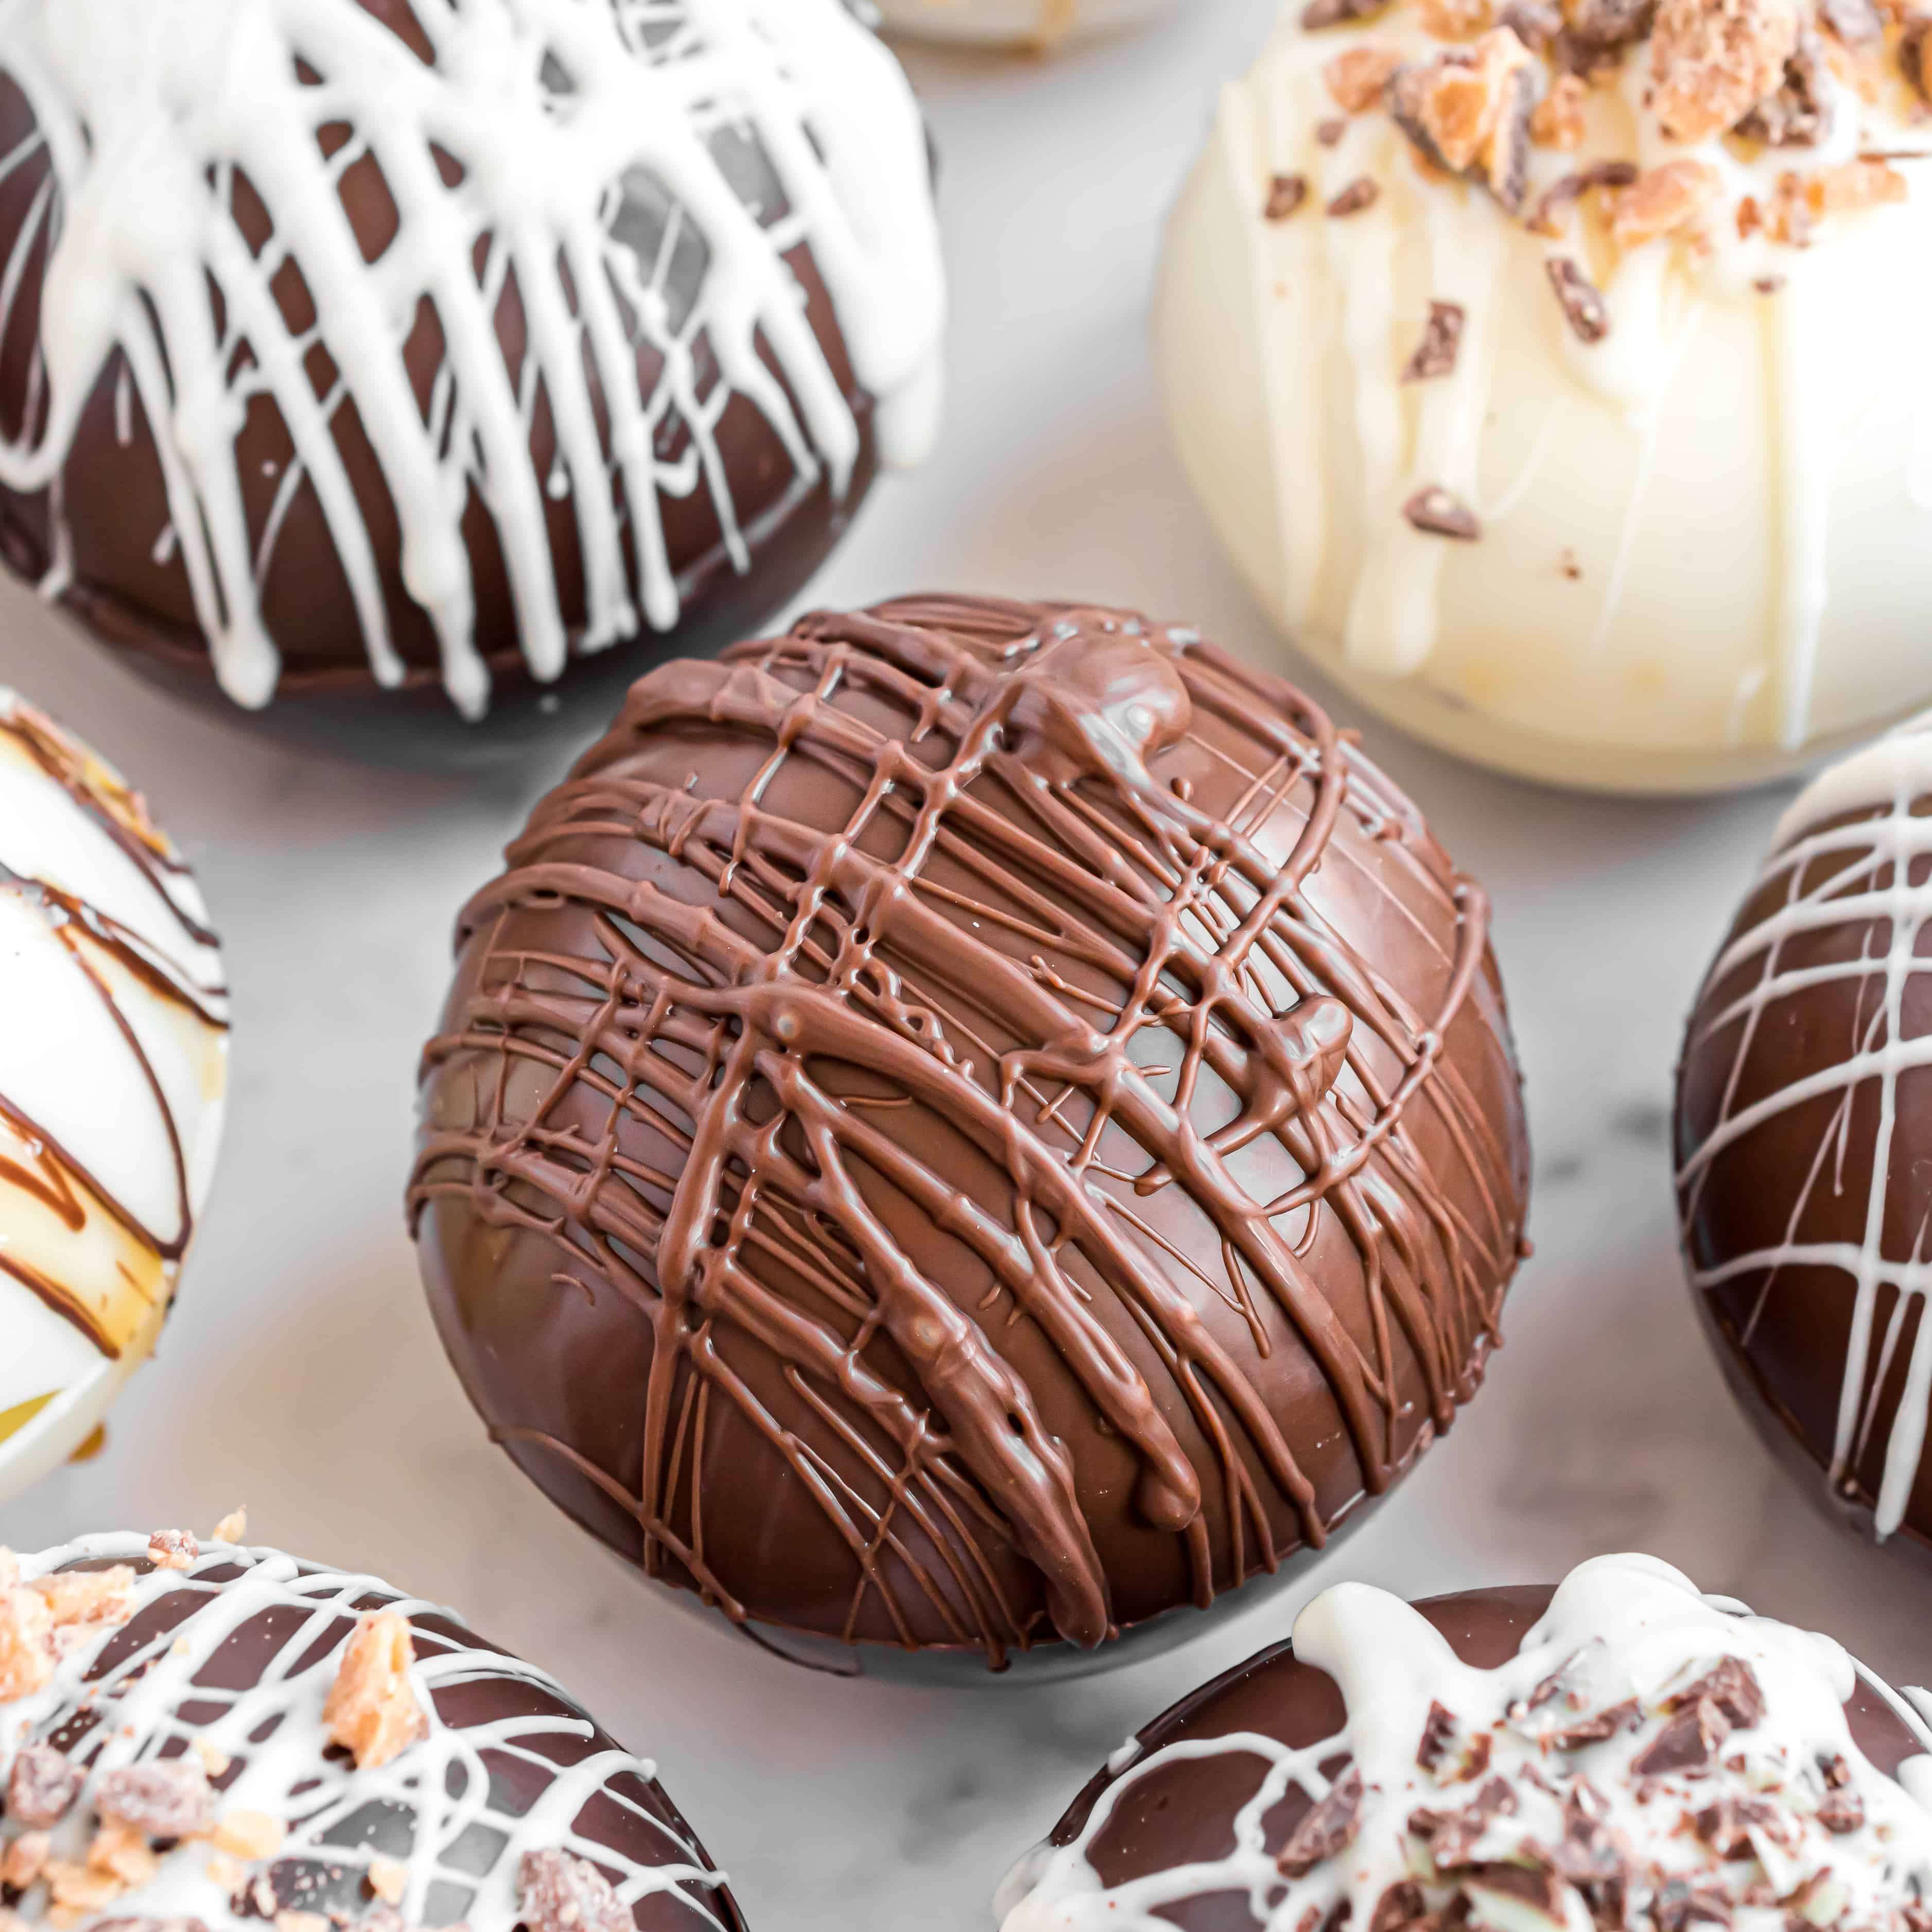
Hot Chocolate Bombs Recipe
User Reviews
4.0
3 reviews
Good

Hot Chocolate Bombs Recipe
Report
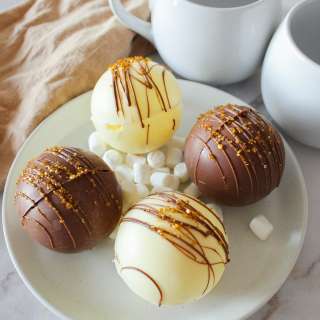
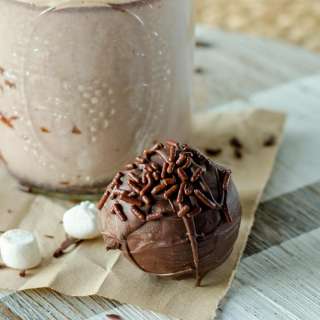
Hot chocolate is so much more fun when you make it with Hot Cocoa Bombs! Learn how to make hot cocoa bombs in all kinds of flavors to give as a gift with this easy-to-follow guide.
Share:
Ingredients
- 10 oz Ghirardelli milk dark or white chocolate melting wafers
- 6 Tablespoon hot cocoa mix
- 1 cup mini marshmallows
For serving:
- 6 cups Hot Milk
Instructions
Make the Chocolate Mold
- In a microwave safe bowl, melt chocolate according to the package. Stir until smooth.
- Place the silicone mold on a cookie sheet, jelly roll pan, or something that will support your mold and can be placed into the freezer.
- Put about ½-1 Tablespoon of melted chocolate into the well of the silicone mold. Using the back of a spoon, push the chocolate up the sides until the entire mold is covered with a layer of chocolate. (When I was doing this step, I thought of the circle like a clock face and I pushed the chocolate up to each number. This helps make sure the sides get covered.) Pay special attention to the sides making sure the chocolate completely covers the mold. You can even tilt the mold slightly as you are using the back of the spoon to coat the mold - it helps with the visibility of the mold.
- Transfer the baking sheet to the freezer for about 10 minutes.
- Remove the tray from the freezer and make sure there is chocolate going all the way up the side of the mold. If the chocolate layer seems thin at the edge, add a little more chocolate to thicken the edge using a spoon, small spatula or food-safe paintbrush. It is better to do 2 thin coats. If you try to put too much chocolate in on the first layer, it all runs down and makes a very thick layer on the bottom. Don’t worry about how the shell looks from the inside - it won’t be visible when the bomb is complete. Return to the freezer for 5 minutes.
- Remove the mold from the freezer and flip the mold over, rounded side facing up.
- Gently press the center of each well and peel the silicone mold back from the edge of the chocolate sphere to remove the hardened chocolate. If you press too hard on the center of the mold, it can cause the shell to crack on the edges.
- Heat a small skillet, saucepan or plate until it is warm. Place one half of the chocolate shell, rounded side up, on the hot surface, just until the edge begins to melt and creates an even edge for sealing the bomb. Keep your hot surface away from the other shells, as they are very heat sensitive and can begin to soften.
- Place this half of the chocolate bomb on a cookie sheet and fill with 1 Tablespoon of hot chocolate mix and 10-12 mini marshmallows.
- Place the other half of the chocolate bomb on the heated skillet, saucpan or plate. Place it gently on the filled shell. The melted chocolate edges will meet and act as a “glue” to hold the 2 halves together.
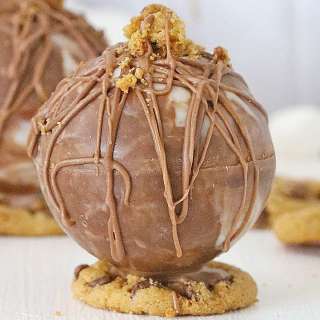
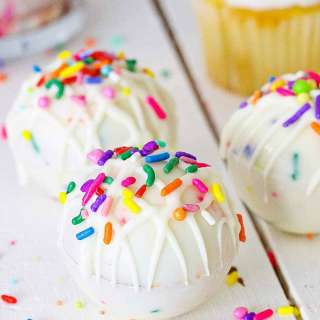
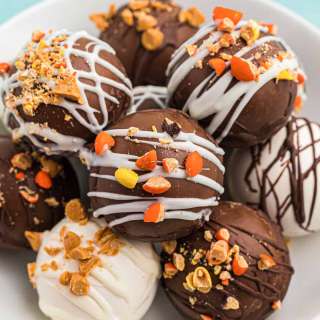
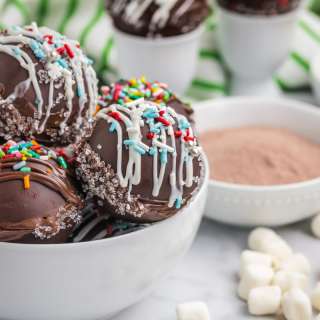
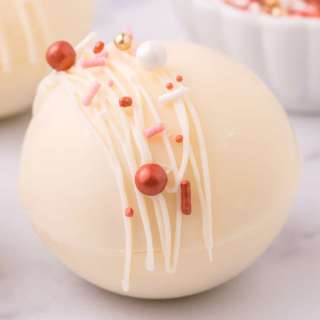
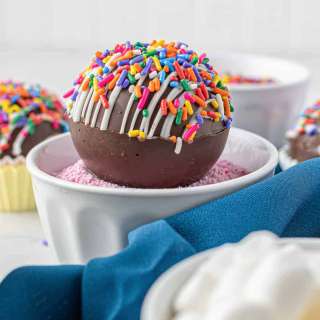
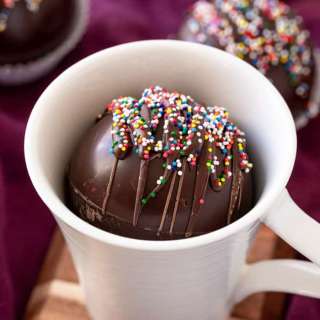
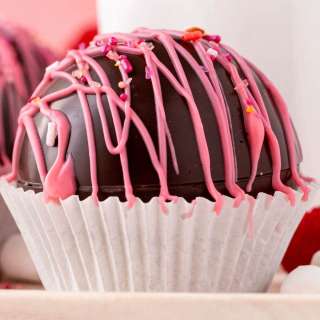
- Decorate by drizzling melted chocolate that matches the shell or contrasting melted chocolate to make a pretty design.
To Serve
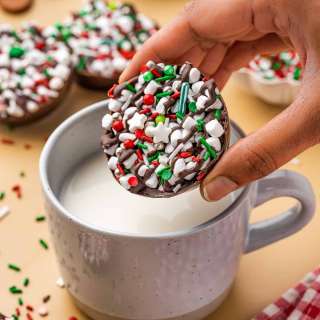
- Add hot chocolate bomb to mug.
- Pour 6-8oz. of hot milk over bomb. Stir to dissolve and enjoy!
Equipments used:
Notes
- Tempering chocolate - If using Ghirardelli melting wafers, you will not need to temper the chocolate as many recipes direct.
- Do not use chocolate chips. Melting can be problematic and they include additives that will affect the taste of the different flavors.
- Flavored cocoa mix is a great option. A variety of different flavors can be purchased on amazon.
- Double layer of chocolate was needed when using the white chocolate for making the chocolate shell. It is important to do 2 thin coats as opposed to trying to make the shell thick in just one layer. If you add too much chocolate on the first step, it just ends up running down and making the bottom thick. When in doubt, do a double layer to make sure the shell is thick enough.
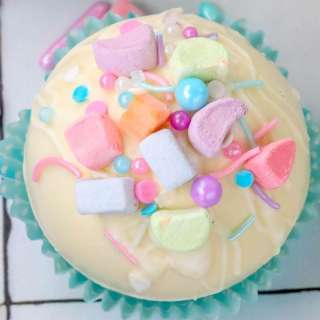
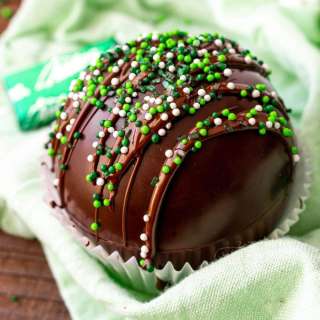
- If issues making a pretty seal, it can be disguised by placing the bomb in a jumbo cupcake liner or drizzling melted chocolate over the top. It took me a few before I really got the hang of it. But, it was a pretty fast learning curve and it didn’t take long before I had a pretty seal.
- I ended up using a small skillet to melt the edges. It was the best at holding the heat for a long time. But, if you are doing 2 different color melts, make sure that you only melt that color chocolate in one spot and another color in a different spot. Otherwise the colors will mix.
- The larger molds are better. If you get a mold that’s too small, it’s hard to get the mix and fillers into the bomb. We used this one. It is about 2.5” in diameter.
- Make sure to wash the molds in between different colors of bombs. It’s very easy to have tiny chocolate pieces left over that get in your next color.
- Do not use the same silicone mold for food that is used for other crafts (bath bombs etc.)
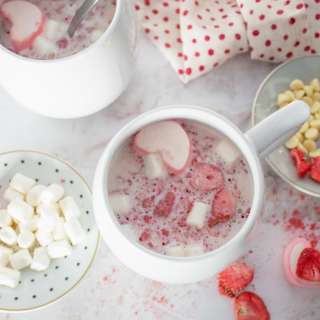
- Mini marshmallows work well. You could also add dehydrated marshmallows or Lucky Charms marshmallows.
- For the different versions, make sure to chop up the items added for flavor finely to make sure they melt when the milk is pour over top.
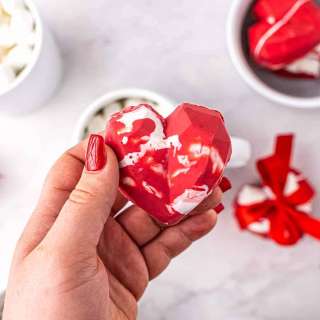
- See blog post for all the flavor variations.
Nutrition Information
Show Details
Serving
1bomb
Calories
641kcal
(32%)
Carbohydrates
85g
(28%)
Protein
15g
(30%)
Fat
27g
(42%)
Saturated Fat
16g
(80%)
Polyunsaturated Fat
9g
Cholesterol
30mg
(10%)
Sodium
341mg
(14%)
Fiber
4g
(16%)
Sugar
56g
(112%)
Nutrition Facts
Serving: 6servings
Amount Per Serving
Calories 641 kcal
% Daily Value*
| Serving | 1bomb | |
| Calories | 641kcal | 32% |
| Carbohydrates | 85g | 28% |
| Protein | 15g | 30% |
| Fat | 27g | 42% |
| Saturated Fat | 16g | 80% |
| Polyunsaturated Fat | 9g | 53% |
| Cholesterol | 30mg | 10% |
| Sodium | 341mg | 14% |
| Fiber | 4g | 16% |
| Sugar | 56g | 112% |
* Percent Daily Values are based on a 2,000 calorie diet.
Genuine Reviews
User Reviews
Overall Rating
4.0
3 reviews
Good
Other Recipes
