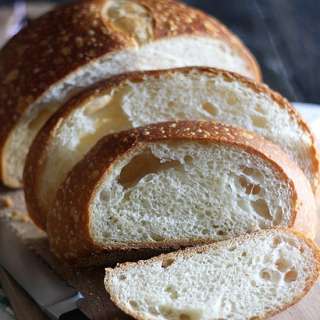
Roasted Garlic Sourdough
User Reviews
5.0
9 reviews
Excellent
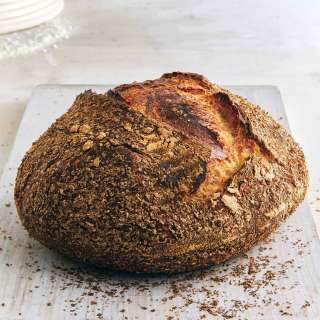
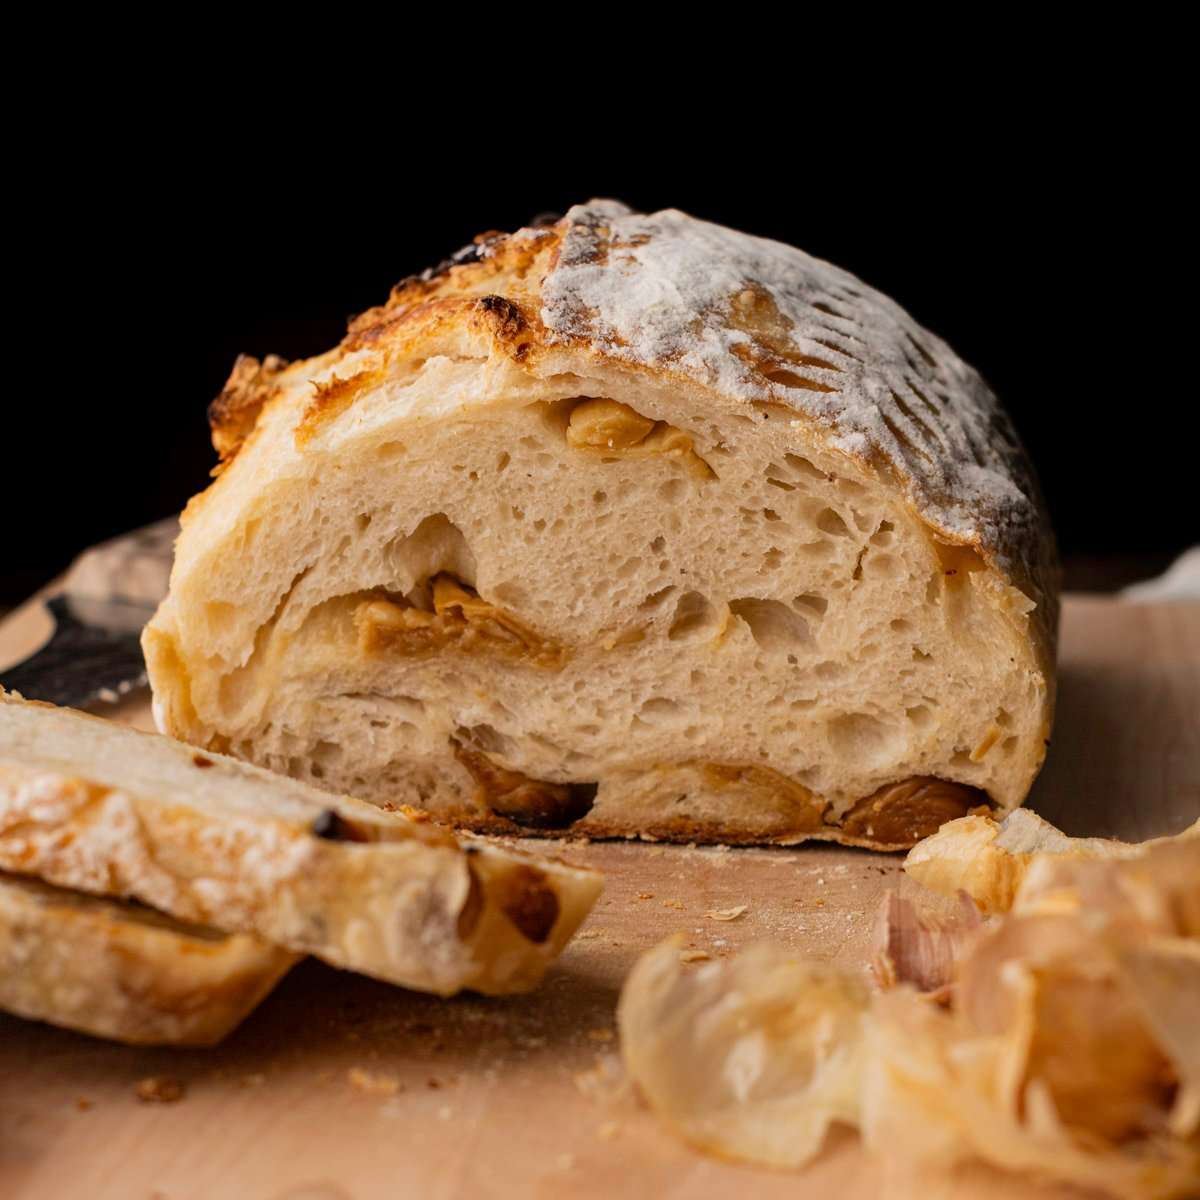
Roasted Garlic Sourdough
Report
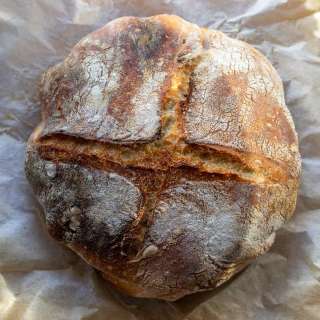
Perfectly fluffy sourdough bread studded with velvety smooth morsels of roasted garlic in every slice. The roasted garlic adds a savory depth to the sourdough, creating a deliciously aromatic bread.
Share:
Ingredients
Roasted Garlic:
- 3-4 bulbs garlic
- 1 tablespoon olive oil
- sea salt, to taste
Bread:
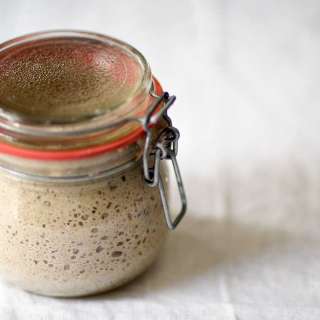
- 125 g active sourdough starter
- 350 g lukewarm water
- 10 g fine sea salt
- 500 g bread flour
Instructions
Roasted Garlic:
- Preheat oven to 350°F. Line a small baking dish with aluminum foil.
- Cut the top ¼-½" off every bulb of garlic. Cut the root ends off too if the garlic doesn't sit flat on the bottom.
- Place the garlic bulbs in the foil-lined dish. Drizzle with olive oil. Spread the olive oil over each bulb of garlic. Then, sprinkle with sea salt.
- Fold the aluminum foil over the garlic to seal them into a packet. Be careful not to let the foil touch the cut edges of garlic because they will stick to the foil.
- Roast for 1-2 hours, or until each clove is golden brown and the juices are starting to caramelize. The roasting time will depend on the size of both the bulbs of garlic and the cloves inside the bulbs.
- Let the garlic cool until it is cool enough to handle. Remove the cloves from the skins. You can squeeze from the bottom to remove all the cloves or remove them individually. Refrigerate the roasted cloves in an airtight container until ready to use.
Dough:
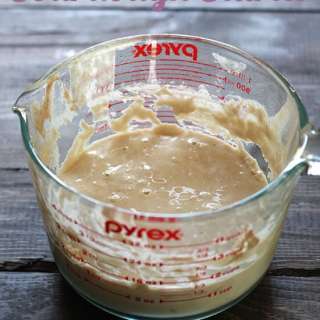
- To a large mixing bowl, add 125 g of active sourdough starter and 350 g of lukewarm water. Whisk the mixture with a dough whisk until the starter is somewhat dispersed in the water. It doesn't have to be a homogenous mixture.
- Add 10 g of salt and 500 g of bread flour. Stir with the dough whisk until a shaggy dough forms. Cover the bowl and let it rest for 30 minutes. I like to use a shower cap to cover my bowl and banneton so I don't use a bunch of plastic wrap and they're easier to fit around the bowl.
- Use a silicone bowl scraper to pull the dough away from the bowl edges. Gently stretch the dough between your hands. Then fold the dough in half, grab the sides with the seams, and stretch it in the opposite direction. Repeat until dough starts to feel tight and resists stretching, about 3-4 times. Cover the bowl and let the dough rest for 30 minutes.
- Repeat the stretching, folding, and resting process 3 more times. Cover the dough and let it sit on the counter overnight, about 8-12 hours.
Shaping and Baking:
- The next morning, remove the dough from the bowl onto a lightly floured work surface. Gently pull the dough into a large rectangle (about 10" x 16") if you're shaping a batard or into a large circle if you're shaping a boule.
- Arrange the roasted garlic cloves all over the dough. Lightly press the cloves into the dough to keep them from moving when you shape the loaf.
- Batard Shaping: Fold the long sides of the dough into the center to form a thin rectangle. Don't overlap the sides.
- Fold the short end of the rectangle over itself and start rolling the rectangle into a cylinder.
- As you roll the dough into a cylinder, gently stretch the sides to start to form a longer cylinder.
- Fold the short ends of the dough under the dough ball.
- Use a bench scraper to pull the long sides of the dough under the bottom and shape the dough into a more uniform cylinder. This creates surface tension on the outside of the loaf which helps it rise better in the oven. Repeat on both long sides of the dough ball until a uniform cylinder is formed. The outer layer of dough should be stretched tight around the inside dough.
- Boule Shaping: Fold the edges of the dough towards the middle.
- Fold all the edges toward the middle to form a round shape.
- Squeeze the seams together to form a ball.
- Flip the dough ball over and use a bench scraper to pull the sides of the dough under the bottom. This creates surface tension on the outside of the loaf which helps it rise better in the oven. Repeat on all sides of the dough ball until a uniform circle is formed and the outer layer of dough is stretched tight over the inside dough.
- Place the shaped dough seam-side up in a floured banneton or cloth-lined bowl.
- Seal the bottom edges of the dough ball together. Cover the banneton and refrigerate for at least 1 hour or up to 24 hours for a really crispy crust. The sweet spot is around 3-4 hours for this recipe.
- Place the Dutch oven in a cold oven and preheat it to 500°F. Preheat for at least 1 hour.
- Place the shaped dough, seam side down, on a piece of parchment paper. Score it with a razor blade or bread lame. It needs at least one big slash on the side of the dough to let out steam as it rises. You can add decorative scoring as well, but it isn't necessary.
- Place the dough on parchment paper in the preheated Dutch oven and cover it with the Dutch oven lid. Reduce the oven heat to 450°F. Bake for 23 minutes.
- Remove the lid and bake for an additional 12 minutes.
- Remove the bread from the oven and let it cool completely on a cooling rack.
Sample Schedule:
- 10 am: Feed the starter.
- 10 am: Make roasted garlic. This can be done anytime the day before baking.
- 6:30 pm: Make the dough. Cover the starter with the lid and refrigerate for up to a week before feeding again.
- 7 pm: Stretch and fold the dough, and cover the bowl.
- 7:30 pm: Stretch and fold the dough, and cover the bowl.
- 8 pm: Stretch and fold the dough, and cover the bowl.
- 8:30 pm: Stretch and fold the dough. Cover the bowl and leave it on the counter overnight.
- 6:30 am (next day): Shape the dough and place it in a floured banneton or cloth-lined bowl. Cover and refrigerate.
- 10 am: Place the Dutch oven in the oven and preheat the oven.
- 11 am: Score dough, reduce the oven temperature and bake. Let the bread cool completely on a wire rack.
- 3 pm: Place the bread in a zippered bag to soften the crust (optional).
- 6 pm: Eat!
Equipments used:
Notes
- Not all bread flours are created equal. The protein content and type of wheat used can drastically affect the outcome of your bread. I get the best results with King Arthur flour which has a higher protein content than most bread flours. That's not to say you can't use any type of bread flour, but you may have to test the recipe a few times and adjust it to your liking.
- To make roasted garlic, you need whole garlic bulbs. Keeping the cloves in the skins protects them from burning during the roasting process.
- For best results, make sure the foil packet is sealed well. This helps provide moist heat to the garlic which helps keep it from burning.
- Make sure you spread the garlic cloves evenly on the dough rectangle so all the garlic doesn't end up in the center of the dough.
- Not all bread flours are created equal. The protein content and type of wheat used can drastically affect the outcome of your bread. I get the best results with King Arthur flour which has a higher protein content than most bread flours. That's not to say you can't use any type of bread flour, but you may have to test the recipe a few times and adjust it to your liking.
- Stretching and folding should occur 4 times, every 30 minutes but this doesn't have to be exact. You can let the dough rest for as little as 20 minutes up to an hour between stretching and folding if you forget about it.
- Shaping is super important to creating surface tension on the outside of the dough to help the dough rise during baking. See the recipe post for a full photo tutorial of stretching, folding, and shaping.
- Oven times are what works for my oven. I have a gas oven. Your oven is likely different and it may take some time to get the timing right!
- Let the bread cool fully before slicing it. The bread continues to bake and set up as it cools. As tempting as it may be to cut into it right away, don't do it! You'll likely end up with gummy slices of bread.
- Placing the bread in a zippered bag or airtight container lets the moisture from the inside of the loaf soften the crust so it's easier to slice. It's not a necessary step but can be helpful.
Nutrition Information
Show Details
Calories
2047kcal
(102%)
Carbohydrates
387g
(129%)
Protein
63g
(126%)
Fat
23g
(35%)
Saturated Fat
3g
(15%)
Polyunsaturated Fat
5g
Monounsaturated Fat
11g
Sodium
4197mg
(175%)
Potassium
513mg
(15%)
Fiber
13g
(52%)
Sugar
2g
(4%)
Vitamin A
10IU
(0%)
Vitamin C
1mg
(1%)
Calcium
94mg
(9%)
Iron
5mg
(28%)
Nutrition Facts
Serving: 1loaf
Amount Per Serving
Calories 2047 kcal
% Daily Value*
| Calories | 2047kcal | 102% |
| Carbohydrates | 387g | 129% |
| Protein | 63g | 126% |
| Fat | 23g | 35% |
| Saturated Fat | 3g | 15% |
| Polyunsaturated Fat | 5g | 29% |
| Monounsaturated Fat | 11g | 55% |
| Sodium | 4197mg | 175% |
| Potassium | 513mg | 11% |
| Fiber | 13g | 52% |
| Sugar | 2g | 4% |
| Vitamin A | 10IU | 0% |
| Vitamin C | 1mg | 1% |
| Calcium | 94mg | 9% |
| Iron | 5mg | 28% |
* Percent Daily Values are based on a 2,000 calorie diet.
Genuine Reviews
User Reviews
Overall Rating
5.0
9 reviews
Excellent
Other Recipes
You'll Also Love