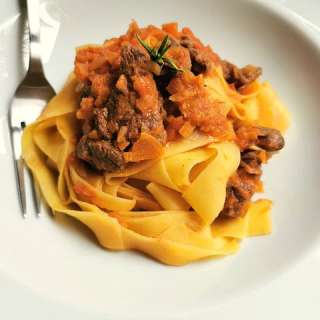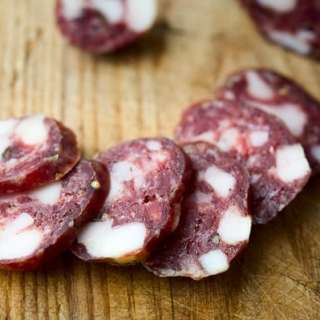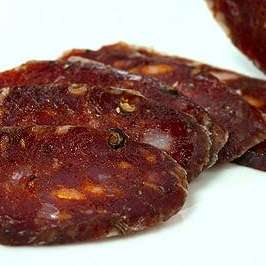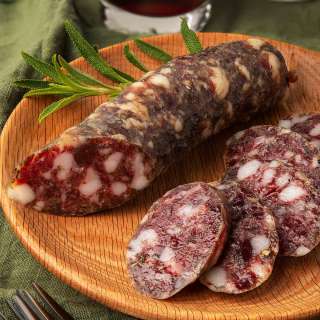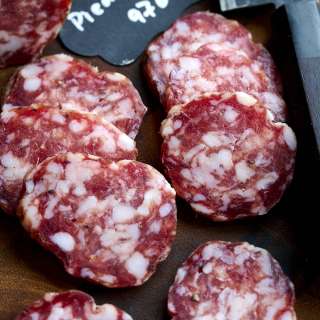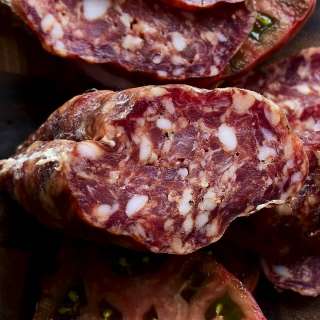
Wild Boar Salami
User Reviews
5.0
6 reviews
Excellent
-
Prep Time
1 hr 30 mins
-
Fermenting Time
2 d
-
Total Time
2 d 1 hr 30 mins
-
Servings
3 pounds
-
Course
Main Course
-
Cuisine
Italian
Wild Boar Salami
Report
You want to have about 25 to 30 percent fat in the mix here, whether it's all wild hog fat or wild meat plus domestic fat. And if you have the choice, you want a grain-finished pig because its fat will be firmer, which is better for salami.
Share:
Ingredients
- 4 pounds wild boar or pork, cut into 1-inch chunks
- 1 pound pork back fat
- 51 grams kosher salt
- 6 grams Instacure No. 2
- 1 teaspoon Bactoferm T-SPX starter culture
- 1/4 cup Distilled Water
- 10 grams dextrose
- 1/4 cup Angelica, white Port, or another sweet white wine
- 10 grams cracked black pepper
- 2 grams fennel seeds
- 5 crushed dried California bay laurel leaves, or regular bay
- 2 grams crushed dried California black sage leaves, or regular sage
- 15 grams fresh minced garlic
- 3 grams fennel pollen (optional)
- Beef casings, about 8 feet worth
Instructions
- Cut the pork fat into small dice, no larger than 1/4 inch. Set in the freezer.
- Refrigerate the Angelica. Mix the the Instacure and regular salt together well. Cut the meat into chunks that will fit into your grinder and combine well with the two salts. Put in a covered container and let this rest overnight.
- The next day, soak the casings, which will be salted, in tepid water.
- Mix 1/2 the black pepper, then the sage, bay leaves, fennel pollen and garlic together. Add to it the dextrose. Mix this with the meat chunks and grind through your coarse die; I use a 8 mm grinder plate here, but 6.5 mm is fine, too. Check the temperature of the meat, and if it is warmer than about 35°F, put it in the freezer to chill down. If you need to do this, chill your grinder attachment, too.
- Meanwhile, gently stir the Bactoferm T-SPX into the distilled water. Let this set at room temperature at least 10 minutes, and up to 30 minutes.
- When you are ready, grind 2/3 of the meat through the fine die (4.5 mm) into a cold bowl. Add to it the fat, the rest of the meat, the fennel seeds, the other half of the black pepper, the chilled Angelica and the starter culture. Mix with your (very clean) hands for 90 seconds to 2 minutes. You want the mixture to cohere to itself, forming a paste. You know your mix is cold enough if your hands ache from the cold. Alternatively, you can mix the sausage on a Kitchenaid's lowest level for 2 minutes.
- Rinse your casings out and thread them on the stuffer. Pack the sausage mixture into the stuffer and stuff your casings. I prefer salami about 10 inches long or so. The longer they are the harder it is to tie them without commercial sausage netting (available through Butcher and Packer), and leave at least 2 inches of casing on either side as a "tail." You will find that beef casings are too wide for a normal stuffing tube, so regulate it with your hand, letting out more casing only when the section being filled is full.
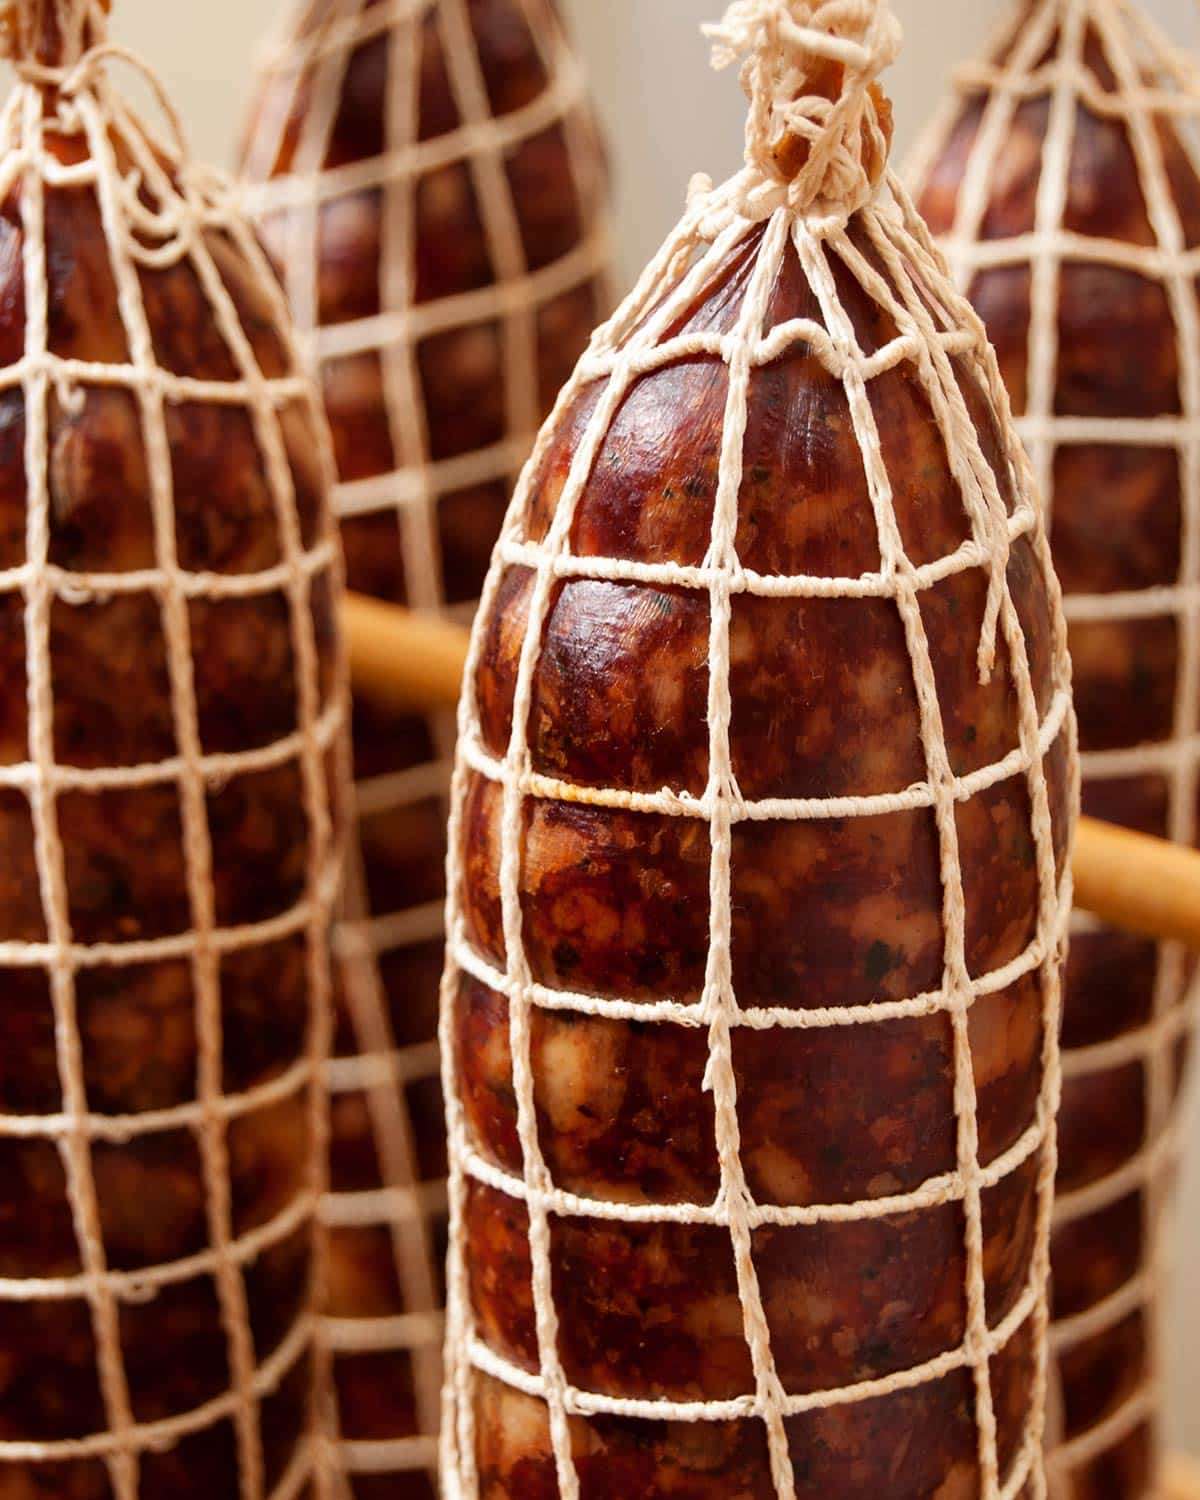
- Get some clean kitchen string and tie off your casings. I use a butterfly knot, which entails cutting your casing vertically, then making a series of knots both around the casing itself and then the strips you've just cut. Bertolli has the best description of it in Cooking by Hand. If you keep your salami shorter than 10 inches or so, you can go with regular knots. I also use commercial salami netting, which helps with compression and pushes air bubbles to the surface. Slip it on in stages, with a jerking motion. Do this a little at a time, so you do not damage the salami.
- Once they are netted and tied, hang in a warm, humid spot for 36 to 48 hours. When I mean warm and humid, I mean 70 to 85°F and as close to 90 percent humidity as you can get. I hang my salami on a clothes-drying rack and then tent it over with heavy plastic sheeting. I stick a humidifier underneath -- and then I still mist the salami with water twice a day.
- After the salami have cured, move them to a cooler place to age. My curing box is an old fridge with a regulator set at 55°F. I have a desktop humidifier in there that keeps the air at about 70 to 75 percent humidity. Hang the salami a month to 6 weeks before slicing to check. They can hang for a long time in that environment, so better to err on the longer side. To store, vacuum seal and freeze, or just leave in the curing box.
Genuine Reviews
User Reviews
Overall Rating
5.0
6 reviews
Excellent
Other Recipes
You'll Also Love