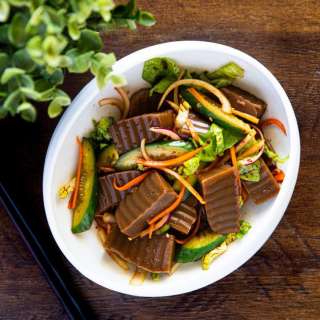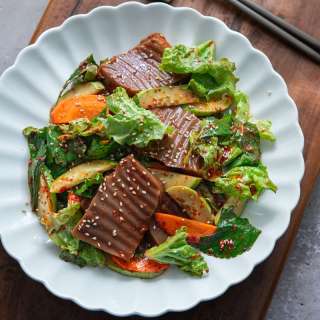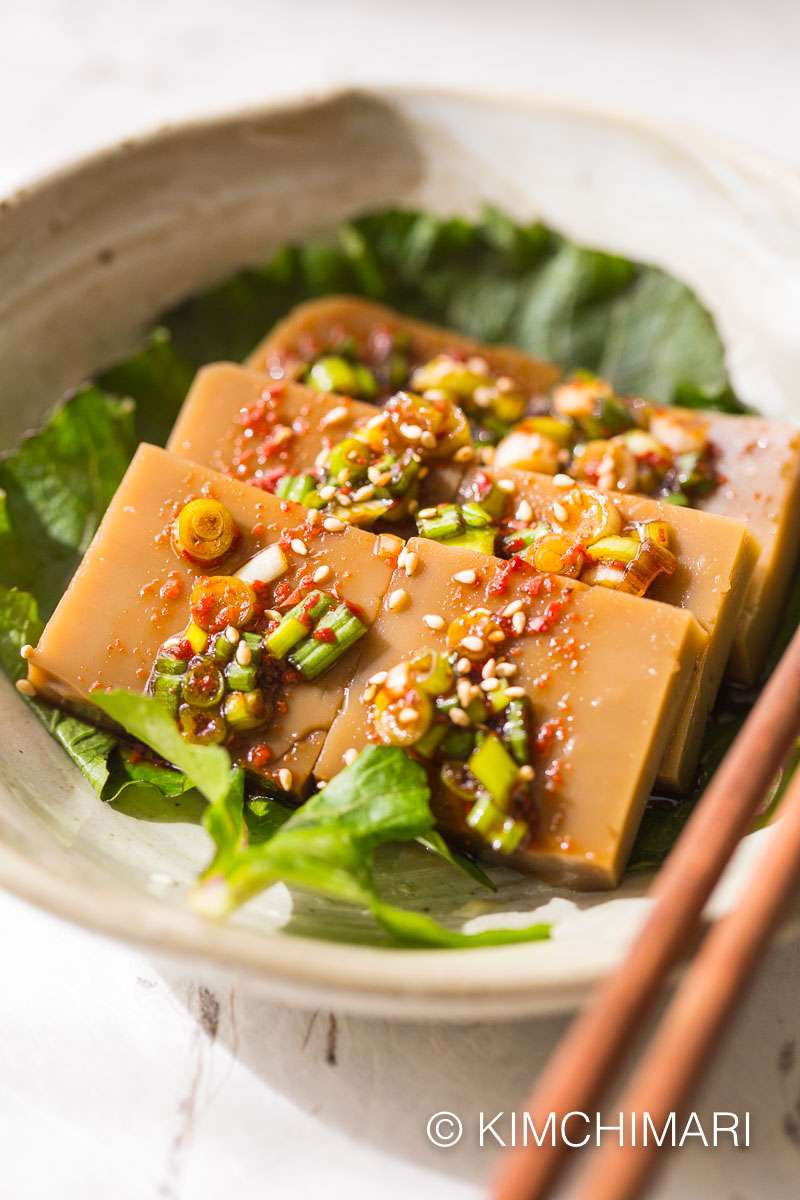
Acorn Jelly (Dotorimuk)
User Reviews
5.0
9 reviews
Excellent
Acorn Jelly (Dotorimuk)
Report
How to make Acorn Jelly (dotorimuk) from dried acorn powder. It's easier then you might think and tastes wonderful with my sauces (I have 2 sauce versions so you are bound to like one!). This jelly is low calorie and healthy - makes a great side dish or good as a salad meal.
Share:
Ingredients
Acorn Jelly
- 100 g dried acorn powder (dotorimuk garu) (100% acorn flour should be gluten free - 100g is about 3/4 to 1 cup)
- 4.5 cup water
- 1 tsp sea salt
- 1 tsp vegetable oil
Sauce 1 (less sweet and classic)
- 3 Tbsp soy sauce (jin ganjang (sempio or kikkoman), for GF use GF soy sauce)
- 1 Tbsp water (or anchovy stock)
- 2 tsp Korean red chili powder (gochukaru)
- 1/2 tsp sugar
- 2 tsp sesame seeds
- 1 tsp sesame oil
- 2 green onion (chopped)
Sauce 2 (sweeter, tangy and spicy) - great with more veggies
- 2 Tbsp soy sauce (jin ganjang (sempio or kikkoman))
- 1.5 Tbsp Korean red chili powder
- 1.5 tsp vinegar
- 1 Tbsp cooking sake (rice wine or mirin)
- 1.5 tsp sesame oil
- 0.75 tsp sugar
Instructions
Make Acorn Jelly
- Measure acorn jelly (dotorimuk) powder in a bowl and add cold water. Mix well.
- Add salt and mix again.
- Transfer acorn mixture into a pot and turn on heat to medium. Stir occasionally the first 3-4 minutes to make sure it heats evenly. At about 4 min, you will see tiny bits of gelatin forming and the mixture starting to thicken. Stir now continuously for another 4 min or so (total of 8 -9 min) while it becomes thick and peaks are formed (much like whipped cream) and holds shape.
- Add oil and cook for another 1 minute. Keep stirring so oil is all mixed in. Don't stop right away after it forms peaks, make sure you cook 9-10 min in total or more to ensure it's fully cooked. See video.
- Prepare a rectangular glass container or a baking pan (8"x 5" x 2(H)"works for my basic 4 servings recipe).
- Transfer the cooked, hot dotorimuk mixture from the pot onto the container in 3. Jiggle the container a bit to evenly spread the mix. With a spatula smooth out the top as much as you can.
- Loosely cover the muk with wrap or parchment paper. Cool for 5 hrs or overnight until it's firm and bounces back when touched. It should be firmer than jello. The longer you cool, the firmer it will get up to a certain point of course. If the temperature is warm where you are, you can also let it cool in the fridge but it's better not to if you can.
Make Yangnyeomjang (Sauce)
- While it's cooling, make Yangnyeomjang sauce. I share 2 recipes so choose one. Sauce 1 is more simple, less sweet, spicy and not tangy - more traditional flavors. Sauce 2 is more modern and stronger tasting, sweeter, spicier, garlicky and tangy. Sauce 2 works well if you add more fresh veggies like lettuce, perilla, chrysanthemum leaves and escarole. See recipe card and make them ahead.
- In a bowl, add soy sauce, water or anchovy broth, Korean red chili pepper powder, sesame seeds, sugar, sesame oil, chopped green onions.
Assemble
- When the acorn jelly is firm, loosen it by tilting the container to one side, the opposite side should start to come away from the walls. When you have done this with all 4 sides, place a plate or cutting board on top and turn it over (like how you do with baked cakes when you want to get it out of the pan). And VOILA! You should have the muk on your cutting board now.
- Cut muk into thick (1/2 inch) slices across and then again into smaller squares. Plate them and pour Yangnyeomjang sauce over them when you are ready to eat.
Notes
- Acorn powder weight vs volume varies depending on the brand. 100g can be anywhere from 3/4 cup to 1 cup. So focus on the instructions on the package and experiment a bit.
- Check water: acorn powder ratio from the Dotorimuk powder package that you have. The ratio varies. Just from 3 different packages (actually one is homemade from my mother-in-law's friend), the ratio ranges from 6:1 to 4.5:1. So it may be a bit of test and see for some of you.
- When cooking, keep watch and keep stirring to avoid lumps and from the bottom burning. It will start to thicken suddenly so don't walk away!
- Cool completely until it's completely firm (4-5 hrs to overnight) - it should jiggle but firmer than jello. If room temp is too warm, it may be safer to cool in the fridge although it's not the best way.
- Store leftovers in fridge up to 4 days and can be eaten cold right out of the fridge!
Nutrition Information
Show Details
Calories
34.81kcal
(2%)
Carbohydrates
4.46g
(1%)
Protein
0.75g
(2%)
Fat
1.41g
(2%)
Saturated Fat
0.53g
(3%)
Sodium
496.24mg
(21%)
Potassium
18.03mg
(1%)
Fiber
0.31g
(1%)
Sugar
1.11g
(2%)
Vitamin A
178.16IU
(4%)
Vitamin C
0.56mg
(1%)
Calcium
12.9mg
(1%)
Iron
0.2mg
(1%)
Nutrition Facts
Serving: 8people
Amount Per Serving
Calories 3481 kcal
% Daily Value*
| Calories | 34.81kcal | 2% |
| Carbohydrates | 4.46g | 1% |
| Protein | 0.75g | 2% |
| Fat | 1.41g | 2% |
| Saturated Fat | 0.53g | 3% |
| Sodium | 496.24mg | 21% |
| Potassium | 18.03mg | 0% |
| Fiber | 0.31g | 1% |
| Sugar | 1.11g | 2% |
| Vitamin A | 178.16IU | 4% |
| Vitamin C | 0.56mg | 1% |
| Calcium | 12.9mg | 1% |
| Iron | 0.2mg | 1% |
* Percent Daily Values are based on a 2,000 calorie diet.
Genuine Reviews
User Reviews
Overall Rating
5.0
9 reviews
Excellent
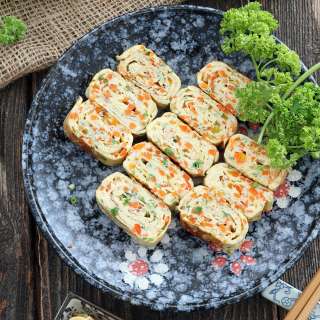
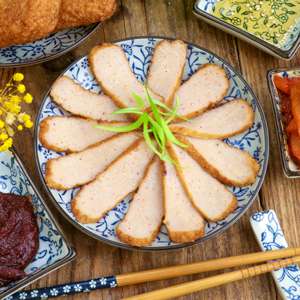
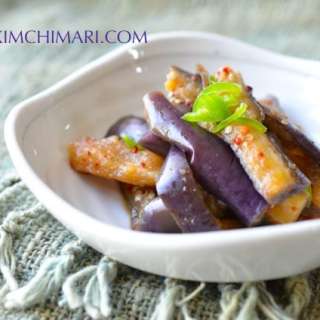
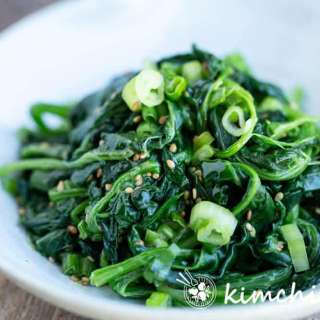
Other Recipes
You'll Also Love