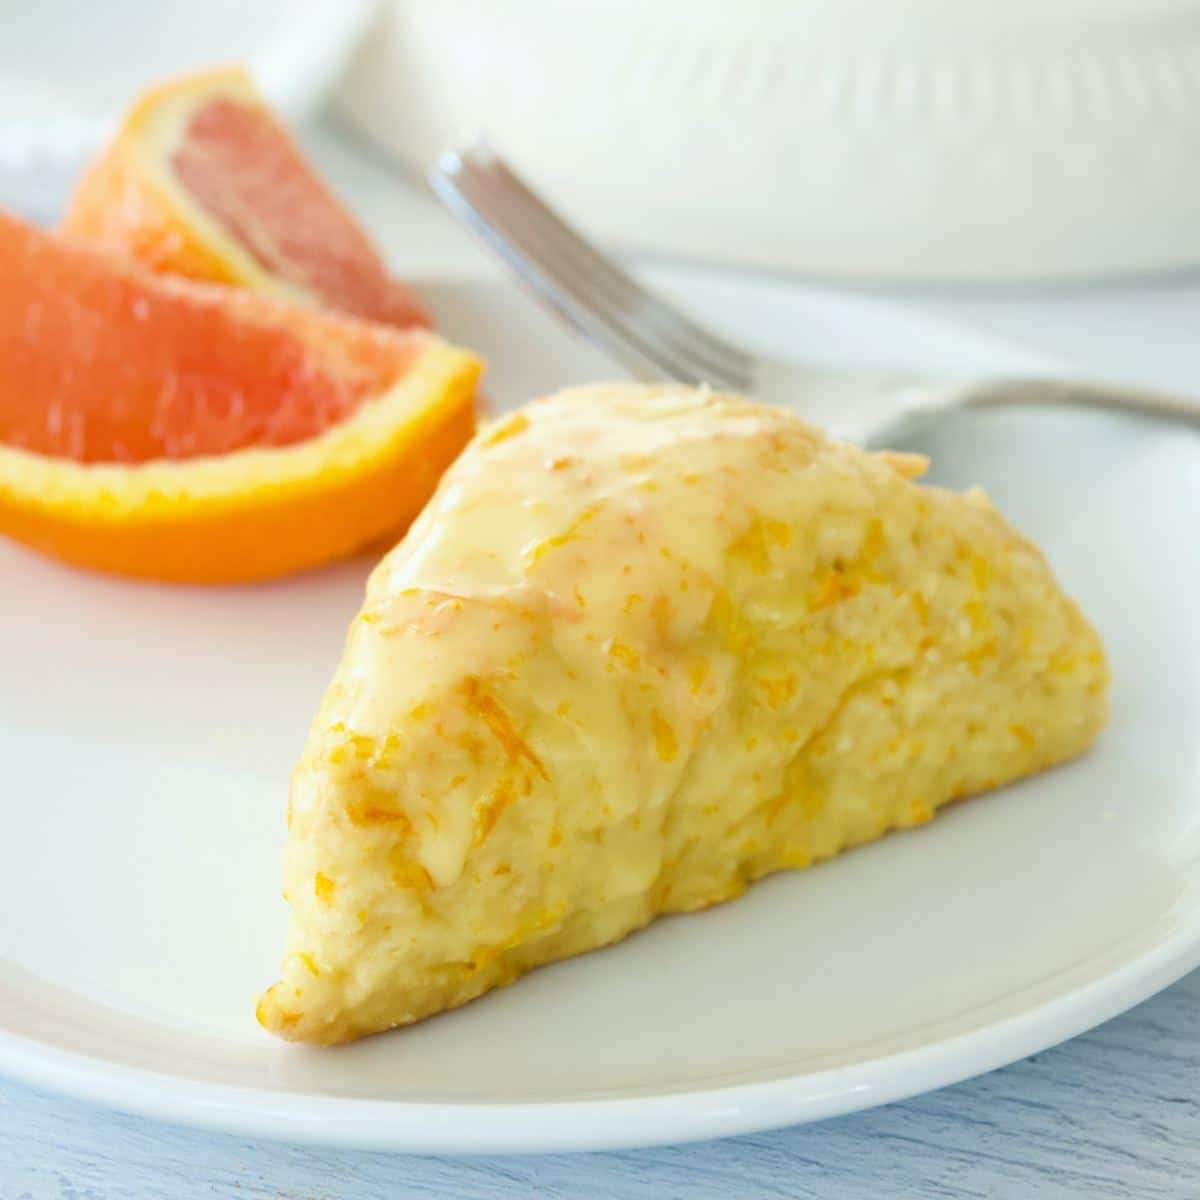
Easy Glazed Orange Scones with Fresh Orange
User Reviews
5.0
90 reviews
Excellent

Easy Glazed Orange Scones with Fresh Orange
Report
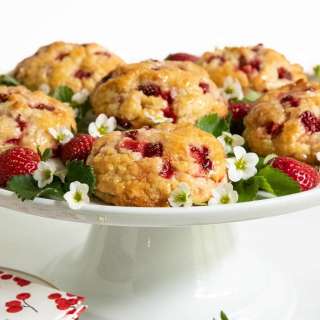
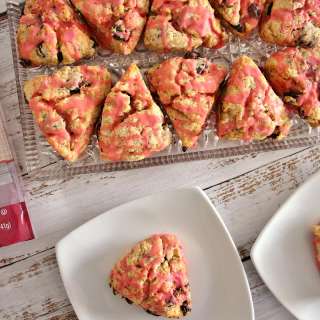
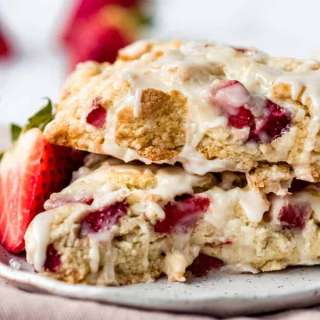
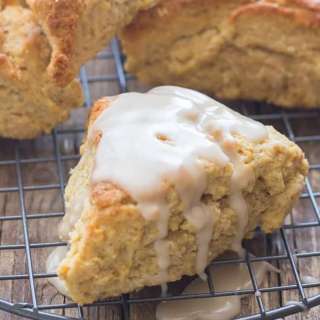
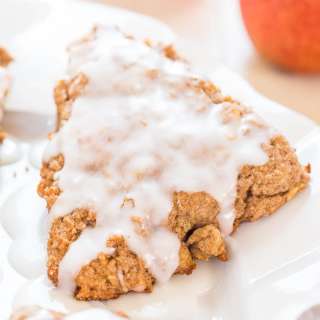
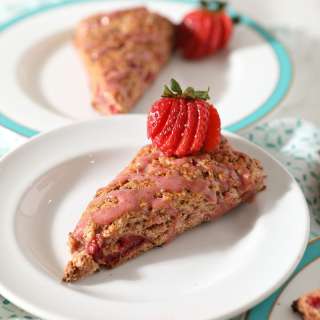
Light, tender, moist and flaky Orange Cream Scones are better than Panera! Made with fresh orange juice and zest, these scones are bursting with bright orange flavor while not overwhelming the scone. Glazed with fresh orange vanilla butter icing, bound to bring a smile to anyone!
Share:
Ingredients
Orange Scones
- 1 3/4 cups all-purpose flour I use organic unbleached all-purpose flour
- 1/4 cup granulated sugar I use all-natural cane sugar, regular sugar may be used (some say they like sweeter scones, add up to ½ cup total)
- 2 teaspoons baking powder reduce to 1 1/2 teaspoons for high altitude
- 1/4 teaspoon kosher salt
- 4 tablespoons salted butter cold, grate the butter and place in freezer or cut into small cubes, keep in fridge until ready to use)
- 1/2 cup heavy cream might need an extra tablespoon or two for high altitude
- 1 teaspoon vanilla bean paste replace with vanilla extract
- 1 large egg room temp is best
- 1 tablespoon orange zest grated from one orange | I used large naval oranges
- 1-2 tablespoons orange juice fresh squeezed
Orange Vanilla Butter Glaze
- 1 cup powdered sugar
- 1/2 teaspoon vanilla bean paste or vanilla extract
- 1 tablespoon butter melted
- 1 orange zested
- ½ orange Juiced, use as much or as little to get a smooth consistency.
Instructions
Scones
- Line a baking sheet with parchment paper. In a large mixing bowl, whisk the flour (1 ¾ cups), granulated sugar (¼ cup), baking powder (2 tsp) and salt (¼ tsp) together.
- Toss frozen, grated butter (4 TBL) into flour mixture and using a pastry cutter or your hands quickly mix until it resembles coarse crumbs.
- In a small bowl or measuring cup, whisk together the heavy cream (½ cup), vanilla bean paste or extract (1 tsp), egg (1), orange zest (1 TBL) and orange juice (1-2 TBL). Make a small well in the center of the dry ingredients and pour in the egg mixture. Gently mix together with a fork until the dough just comes together, forming a shaggy dough.
- Turn out the dough onto a parchment lined cookie sheet, using the parchment to help form the dough into disc (about 8 inches), about ½ - ¾-inch thick. If the dough is really dry, add a little splash of orange juice or heavy cream.
- Using a bench scraper or large knife cut the disc in half, then quarters, then again cutting the quarters in half; making 8 large scones (see below for mini scones).
- Separate scones barely away from the other, closer to one another will yield a more evenly raised scone, further apart they will appear more rustic. Freeze or refrigerate scones to firm the butter back up for about 10-30 minutes, now is a great time to preheat the oven to 400° F (204°C).
- Bake scones until lightly golden brown on the bottom, about 13-15 minutes, 13 will be softer, 15 more firm. Remove to a rack to cool completely.
Orange Butter Glaze
- In a wide bowl (large enough to dunk a scone) mix together the powdered sugar (1 cup), orange zest (1 orange), melted butter (1 TBL), vanilla bean paste (1/2 tsp) anand whisk in just enough orange juice to get a smooth pourable consistency; whisk until smooth. Once scones are cool, one at a time, carefully pick up and dip scone top into the orange glaze to coat, then return to the rack to set the glaze.
- Store scones on counter in airtight container up to 5 days, or wrap individually and place in a pretty covered cake stand. Scones may also be frozen 3-4 months wrapped well.
Equipments used:
Notes
- Make-ahead orange scones | Scones are fabulous make-ahead treats! You can make the scones up to the point of baking, wrap well and freeze up to 4 months. Bake as directed, possibly adding a little time at the end. You may also freeze already baked scones, the same way, wrapped well in an airtight container up to 4 months. I recommend that you freeze un-glazed, but if that is your only choice, they will just be a bit sticky as they thaw.
- For Smaller Scones (Mini Scones)
- parchment
- Glazing Tips
- Wire Rack
- parchment
- wire rack
- spatula
- box grater
- parchment paper
- When forming the dough discs, split the dough into two even portions on their own parchment sheets.
- Proceed with shaping into a smaller disc and cutting the same way, yielding 8 smaller petite scones per disc.
- Baking time and temp will be the same, but check them on the earlier side at about 12 minutes.
- Liquid | When adding fresh squeezed orange juice, whisk in a few tablespoons at a time until the consistency is thick, yet pourable.
- Wire Rack | This makes clean-up and setting so much simpler. Using your same baking pan, and parchment, set a wire rack over the top then use it to place scones on to set the glaze.
- Glaze falls off | If the glaze falls off or soaks in, it's one of two things. Your scones are not cooled and/or you thinned out the glaze too much. Simply add a bit more powdered sugar a tablespoon at a time until the glaze is the right consistency.
- Leftover glaze | add a little extra drizzle to each scone with a spoon or spatula!
- COLD BUTTER | I grate my butter using a standard box grater and place it in the freezer while assembling the rest of my ingredients.
- REAL BUTTER | I cannot stress this enough: it doesn't matter if you use salted or unsalted butter, but make sure it is real, pure cream butter, no blends! It is not real butter if it is soft coming out of the fridge. And the higher quality the butter (e.g. European butter) the better the result. Cheaper butters contain water and that will impact your scones!
- COLD CREAM OR MILK | Unlike other baking recipes (chocolate loaf cake) that, like room temperature ingredients, scones do not! Keep the cream in the fridge until ready to use.
- DO NOT OVERWORK | Think of scones as the dainty, delicate cousin to yeast bread; whereas yeast bread thrives on kneading to activate the ingredients, scones will become tough and will not rise as well if the dough is overworked.
- USE A PASTRY CUTTER | To cut in the butter, using a pastry cutter keeps warm hands out, the beauty of grating the butter and freezing it allows you to quickly mix with your hands without warming the dough too much. And my hands are always cold anyway!
- LIQUID | Only add enough liquid to bring the dough together, having some extra flour is okay, the dough will look shaggy (see above picture).
- SHAPING | To quickly and easily shape your scone disc, use parchment paper (or wax paper would work, too) and fold it up on the ingredients, using the paper to press together and smooth the dough into the disc. This contains the floury mess and helps your hands not warm the butter too much.
- CHILL AGAIN | Once your scones are formed, place the entire pan in the freezer or fridge for 10-30 minutes. This gives the scone time to firm the butter back up, chilling it so the magic happens when it hits the hot oven.
Nutrition Information
Show Details
Serving
1scone
Calories
355kcal
(18%)
Carbohydrates
44g
(15%)
Protein
8g
(16%)
Fat
16g
(25%)
Saturated Fat
9g
(45%)
Polyunsaturated Fat
1g
Monounsaturated Fat
5g
Trans Fat
0.3g
Cholesterol
175mg
(58%)
Sodium
293mg
(12%)
Potassium
104mg
(3%)
Fiber
1g
(4%)
Sugar
22g
(44%)
Vitamin A
647IU
(13%)
Vitamin C
2mg
(2%)
Calcium
97mg
(10%)
Iron
2mg
(11%)
Nutrition Facts
Serving: 8regular scones, 16 mini scones
Amount Per Serving
Calories 355 kcal
% Daily Value*
| Serving | 1scone | |
| Calories | 355kcal | 18% |
| Carbohydrates | 44g | 15% |
| Protein | 8g | 16% |
| Fat | 16g | 25% |
| Saturated Fat | 9g | 45% |
| Polyunsaturated Fat | 1g | 6% |
| Monounsaturated Fat | 5g | 25% |
| Trans Fat | 0.3g | 15% |
| Cholesterol | 175mg | 58% |
| Sodium | 293mg | 12% |
| Potassium | 104mg | 2% |
| Fiber | 1g | 4% |
| Sugar | 22g | 44% |
| Vitamin A | 647IU | 13% |
| Vitamin C | 2mg | 2% |
| Calcium | 97mg | 10% |
| Iron | 2mg | 11% |
* Percent Daily Values are based on a 2,000 calorie diet.
Genuine Reviews
User Reviews
Overall Rating
5.0
90 reviews
Excellent
Other Recipes
