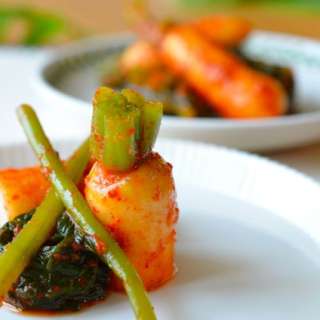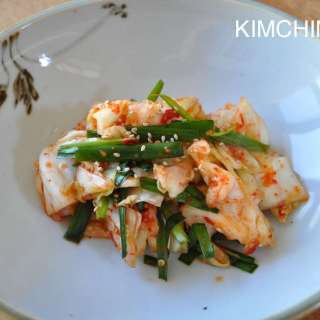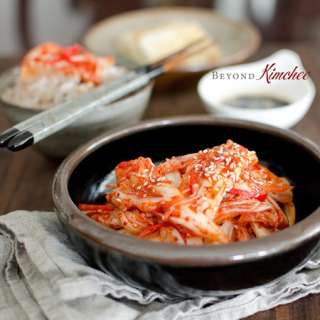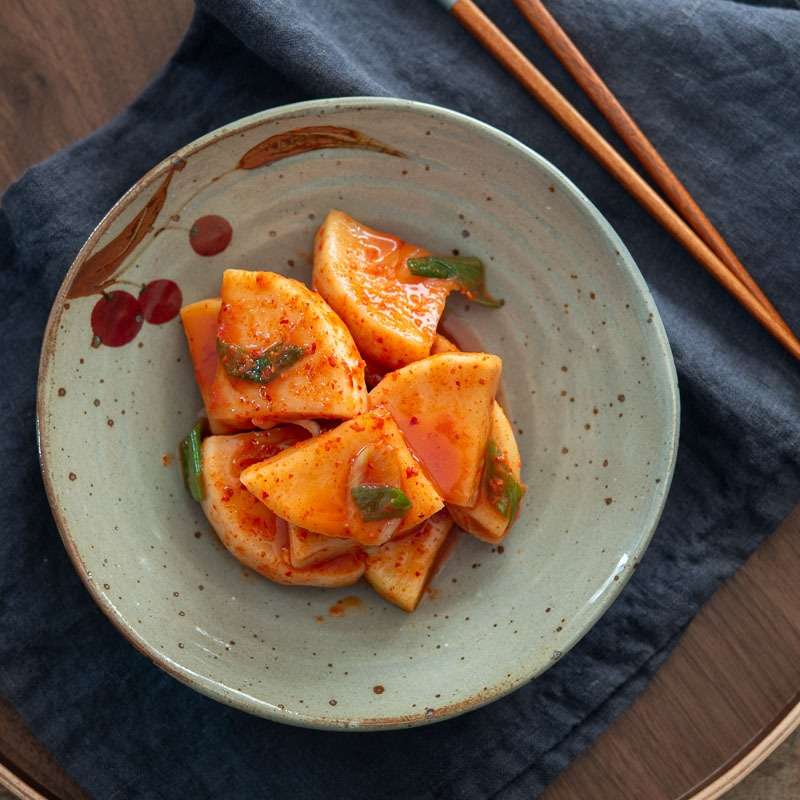
Easy Radish Kimchi (Kkakdugi)
User Reviews
4.8
18 reviews
Excellent
Easy Radish Kimchi (Kkakdugi)
Report
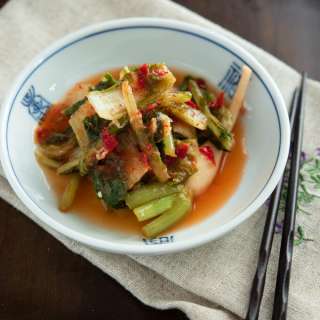
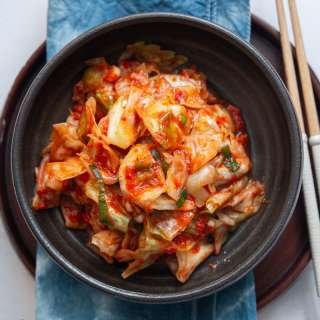
Korean radish kimchi (kkakdugi) made easy in just 20 minutes! This crunchy, flavorful, no-soak recipe delivers bold, authentic kimchi flavor with a crisp texture. A quick fermentation trick enhances the taste, making it the perfect banchan (side dish) for BBQ, soups, and rice.
Share:
Ingredients
- 2 3/4 lb (1.3 kg) Korean radish or daikon radish
- 3-4 talks green onion chopped
For kkakdugi seasoning paste
- 10 cloves garlic
- 1 inch ginger peeled and roughly chopped
- 2 tbsp cooked white rice
- 1 1/2 tbsp Salted shrimp
- 1/4 cup (60 ml) water
- 6 tbsp Korean chili flakes (gochugaru)
- 1 tbsp sugar
- 3 tbsp Korean anchovy sauce
- 2 tsp kosher salt
- 2/3 cup (160 ml) carbonated soda (lemon-lime flavor)
Instructions
Prepare the radish
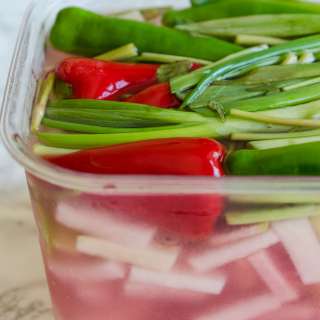
- If your radish is fresh and the skin is smooth, peel it lightly. For thicker skin, peel it off entirely. Cut the radish into 1/2-inch thick disks and then quarter each disk. (Alternately you can cut into 1-inch cubes) Place the radish pieces in a large mixing bowl and set it aside.
Make kkakdugi seasoning paste
- In a blender or food processor, combine garlic, ginger, salted shrimp, cooked white rice, and 1/4 cup of water. Blend until the mixture forms a smooth, slightly runny paste. Transfer the paste to a mixing bowl.
- Stir in Korean chili flakes, sugar, fish sauce, and salt. Add the carbonated drink and mix everything well.
Mix radish with seasoning
- Add green onion to the bowl with the radish. Pour the seasoning paste over the radish and onion mixture, mixing well to ensure all pieces are evenly coated. The seasoning may seem excessive, but it will distribute more evenly as the radish ferments.
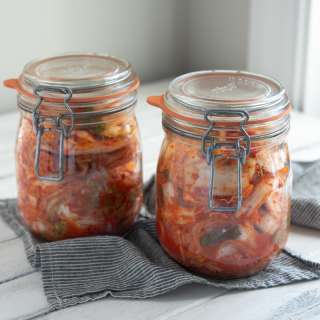
- Transfer the radish kimchi into an airtight container or glass jar for storage.
To ferment
- Let the kimchi sit at room temperature for 2-3 days, depending on the room temperature. You'll notice gas bubbles forming on the surface. As it ferments, the radish will release excess water, diluting the seasoning slightly — this is a positive sign! After 3 days, stir the mixture well and then move it to the refrigerator. Let it continue fermenting for another 3-5 days. By the end of this period, your homemade kimchi should have a bright orange-red hue, a refreshing and slightly sour taste, and retain a crisp, crunchy texture.
Nutrition Information
Show Details
Calories
25kcal
(1%)
Carbohydrates
6g
(2%)
Protein
1g
(2%)
Fat
0.1g
(0%)
Saturated Fat
0.04g
(0%)
Polyunsaturated Fat
0.1g
Monounsaturated Fat
0.02g
Sodium
29mg
(1%)
Potassium
315mg
(9%)
Fiber
2g
(8%)
Sugar
3g
(6%)
Vitamin C
30mg
(33%)
Calcium
37mg
(4%)
Iron
1mg
(6%)
Nutrition Facts
Serving: 9Serving
Amount Per Serving
Calories 25 kcal
% Daily Value*
| Calories | 25kcal | 1% |
| Carbohydrates | 6g | 2% |
| Protein | 1g | 2% |
| Fat | 0.1g | 0% |
| Saturated Fat | 0.04g | 0% |
| Polyunsaturated Fat | 0.1g | 1% |
| Monounsaturated Fat | 0.02g | 0% |
| Sodium | 29mg | 1% |
| Potassium | 315mg | 7% |
| Fiber | 2g | 8% |
| Sugar | 3g | 6% |
| Vitamin C | 30mg | 33% |
| Calcium | 37mg | 4% |
| Iron | 1mg | 6% |
* Percent Daily Values are based on a 2,000 calorie diet.
Genuine Reviews
User Reviews
Overall Rating
4.8
18 reviews
Excellent
Other Recipes
You'll Also Love