Homemade Andes Mints
User Reviews
4.9
-
Total Time
30 mins
-
Course
Dessert
Homemade Andes Mints
Description
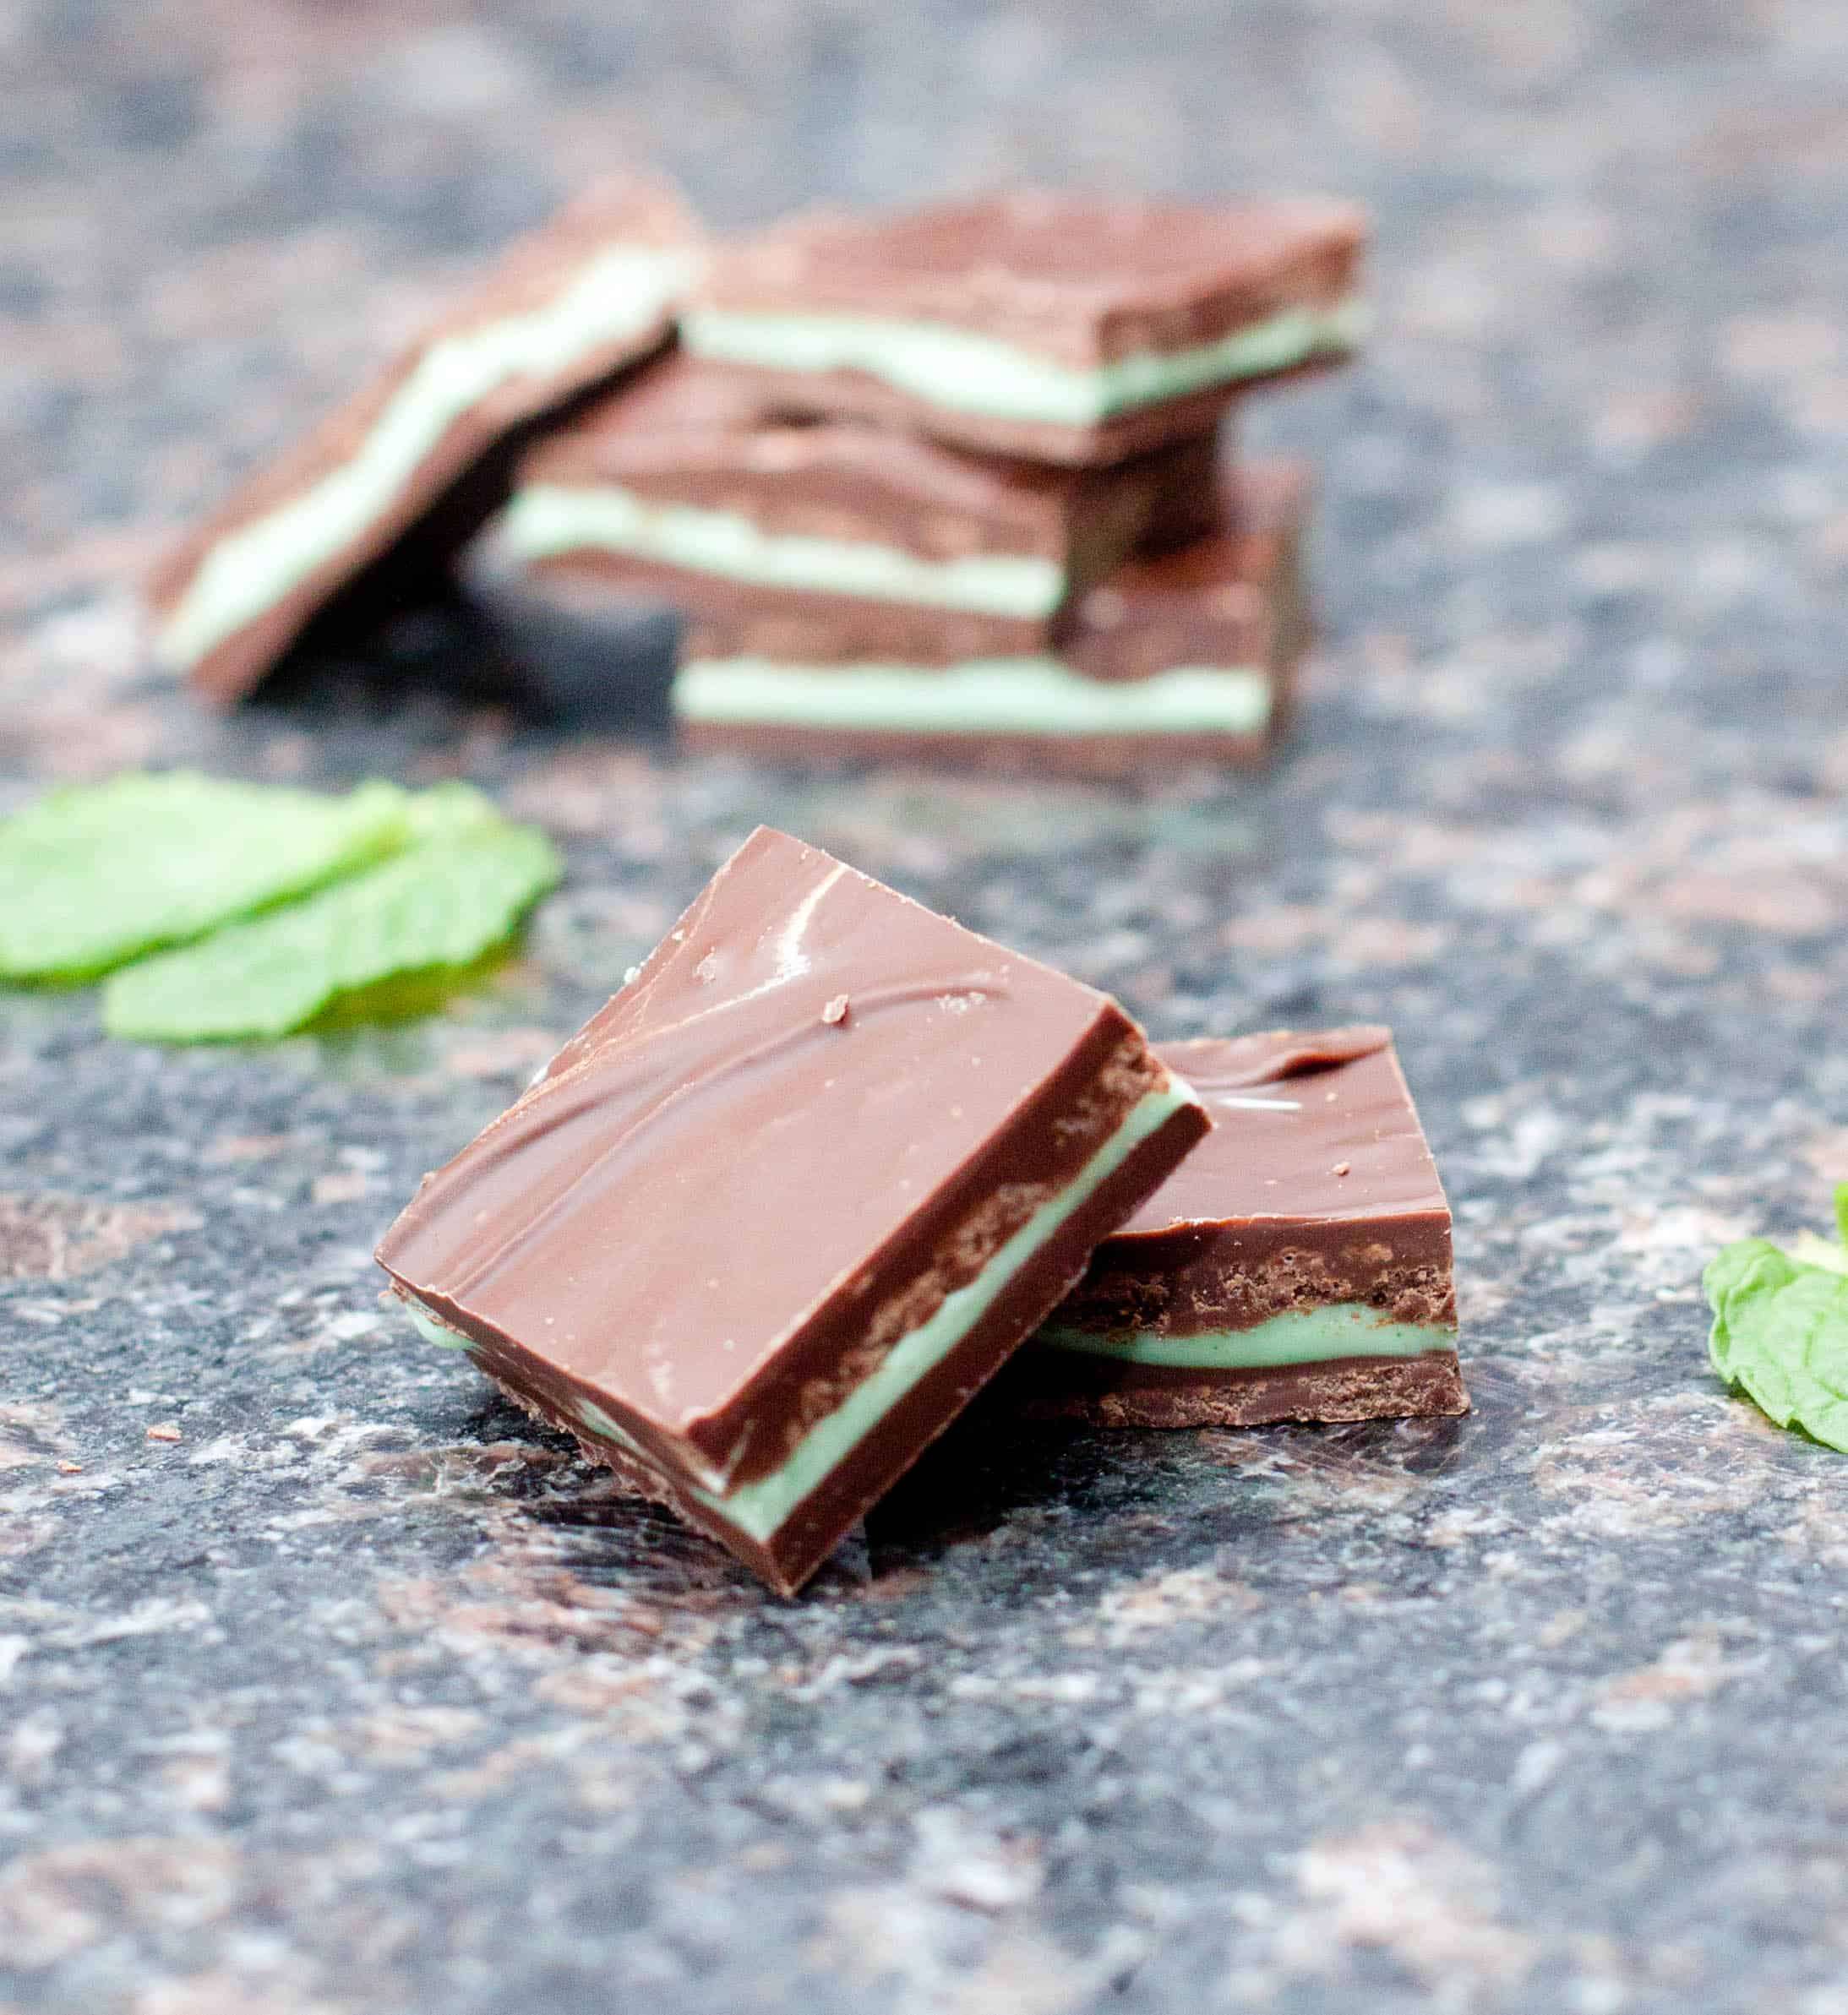
The recipe involves slowly melting separate batches of dark (or preferred) and white chocolate chips in oven-safe bowls set in a warm oven. Peppermint extract is added evenly across the layers at different stages to infuse a mint flavor. The first chocolate layer cools slightly before the white chocolate layer, colored green, is carefully poured over to create a layered effect. A final chocolate layer with peppermint extract completes the tricolor pattern before chilling.
This no-bake candy results in mint-flavored chocolates with distinct layers, smooth texture, and a firm bite once fully set. The gentle heating keeps chocolate from seizing, while the peppermint oil provides a clear mint flavor.
The candies are suited for gifting or enjoying as a cool, refreshing after-meal treat representative of Andes store-bought mints.
Ingredients
- 12 oz dark chocolate chips or milk or semi, whatever you'd like!, divided
- 7 oz white chocolate chips or vanilla candy melts
- 3/4 teaspoon peppermint extract pure, divided
- 4 Food Coloring green, drops
Instructions
- Pre-heat oven to 200 degrees and then set to warm.*
- In 3 small to medium oven safe bowls, add 6 oz of each of the chocolate chips and the 7 oz of white chocolate chips to separate bowls and place in oven.
- Line either a small jelly roll pan or a 9X9 baking dish with parchment paper. Cut the four corners of the parchment paper to line pan or dish evenly and trim to fit.
- After about 15-20 minutes, remove one of the chocolate bowls, add 1/4 teaspoon of peppermint extract, and mix well.
- Pour into dish and smooth to an even layer.
- After 2 minutes, or before the chocolate layer cools and goes matte take out white chocolate bowl, add 1/4 teaspoon of peppermint oil and 4 drops of food coloring and mix well.
- Gently pour white chocolate over the first layer and smooth evenly with a spatula over the chocolate layer, careful to not mix the two layers.
- Wait another 2 minutes an then take the final bowl out of the oven and then mix with last 1/4 teaspoon of peppermint oil and gently pour over middle layer and evenly smooth out.
- Let cool at room temperature until the top of the last chocolate layer completely turns from glossy to matte.
- Remove parchment paper from pan to a cutting board, and with a very sharp knife, cut into long strips and squares or rectangles of desired size.
- Enjoy!
Notes
- Use an oven set to "warm" or approximately 200°F to gently melt chocolates without overheating.
User Reviews
Overall Rating
4.9
You'll Also Love