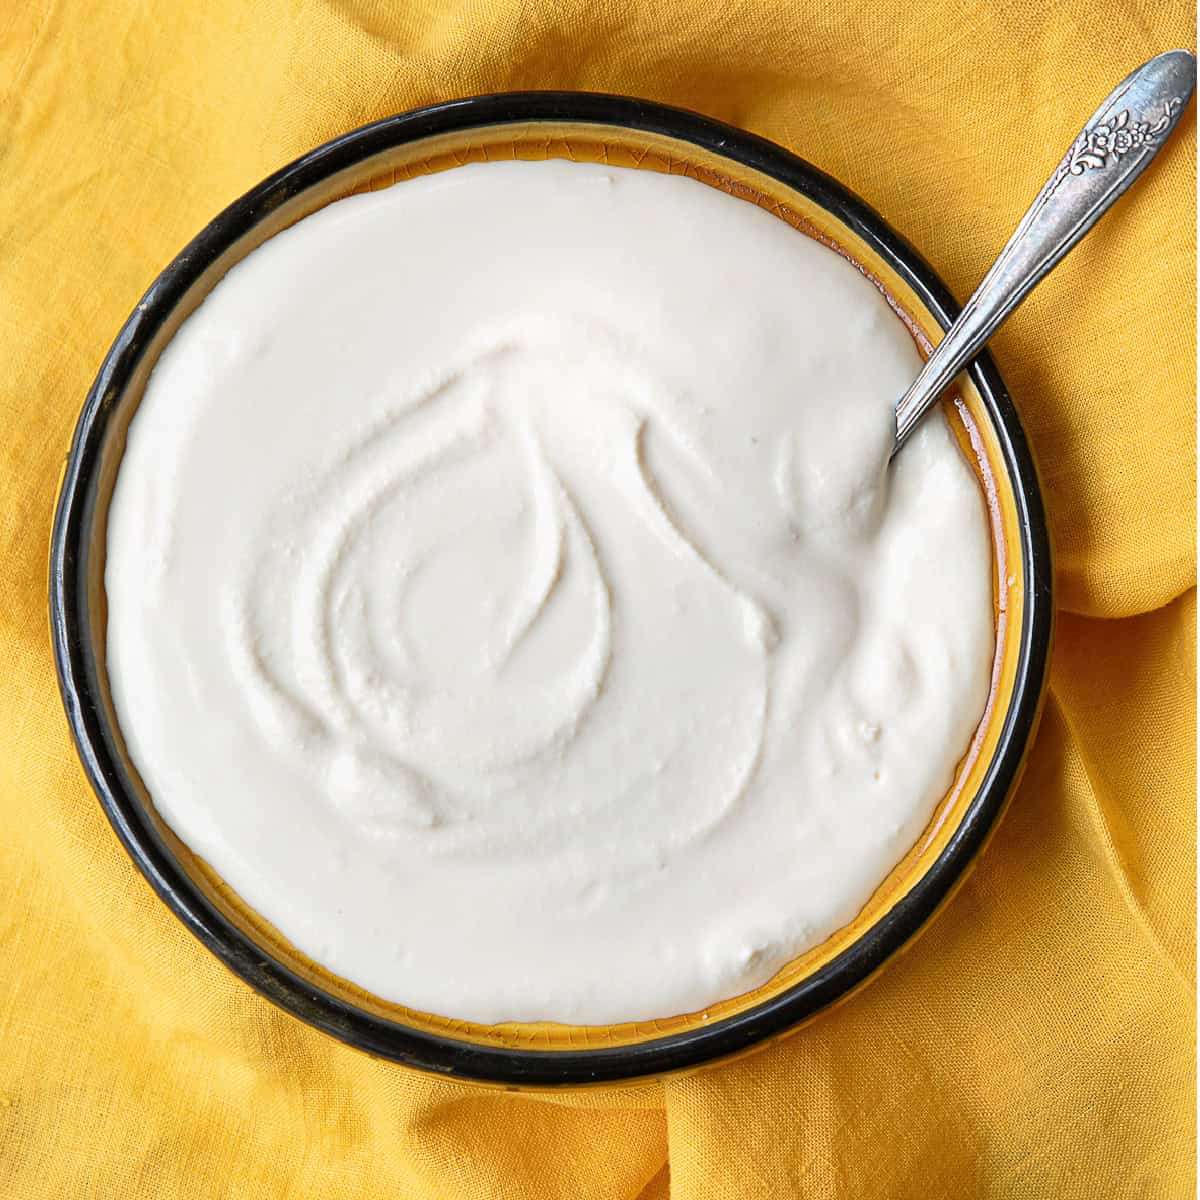
Homemade Kashk
User Reviews
5.0
-
Prep Time
10 mins
-
Cook Time
3 hrs 10 mins
-
Servings
2 cups
-
Calories
277 kcal
-
Course
Condiments
-
Cuisine
Persian

Homemade Kashk
An easy step-by-step method for making Persian kashk.
Ingredients
- 32 oz whole milk yogurt
- 2 1/2 cups water
- 1 tsp kosher salt
Instructions
- Mix the whole milk yogurt with 2 cups water in a pot and put over medium to high heat to bring to a simmer. This will be about 20-30 min and you’ll have separation/curdling.
- Then, simmer on medium to low heat for 2 hours and 30 minutes and the mixture will come together again.
- Raise the heat back to medium-high for another 30 minutes. You’ll know it’s ready when it becomes a beige color and gets solid.
- Turn the heat off and let the mixture cool then transfer to nut milk bag. Squeeze out all excess liquid. You'll be left with a solid lump.
- Break the lump into pieces and place it in the food processor with half cup of water, salt, and blend until creamy. Adjust salt to taste.
- Store in a jar and refrigerate for up to 2 weeks.
Notes
- Quality Yogurt: Use high-quality, full-fat whole milk yogurt. The richness of the yogurt directly impacts the texture and flavor of the kashk.
- Consistent Stirring: Stir continuously while bringing the yogurt mixture to a simmer to prevent it from sticking to the bottom of the pot and burning. Use a wooden spoon or a heat-resistant spatula for best results.
- Temperature Control: Maintain medium-low heat during the simmering process to avoid scorching the yogurt. Consistent heat is crucial for the proper transformation of the yogurt.
- Use a Heavy-Bottomed Pot: A heavy-bottomed pot distributes heat evenly and helps prevent hot spots that can burn the yogurt.
- Blend for Creaminess: After straining, blend the kashk with water and salt in a good quality food processor to achieve a smooth and creamy texture. Adjust the water amount for your desired consistency.
- Nut Milk Bag for Straining: Use a nut milk bag for efficient straining. It's durable and fine enough to capture all the solid parts, ensuring a smooth kashk.
- Monitor the Color: Keep an eye on the color change during cooking. The mixture should turn a beige hue, indicating it's ready to be strained.
- Cool Properly: Allow the kashk to cool for about 30 minutes after cooking before straining. This makes the process easier and ensures a smoother texture.
- Squeeze Well: When using the nut milk bag, ensure you squeeze out as much liquid as possible. This helps achieve the correct consistency for the kashk.
- Quality Yogurt: Use high-quality, full-fat whole milk yogurt. The richness of the yogurt directly impacts the texture and flavor of the kashk.
- Quality Yogurt: Use high-quality, full-fat whole milk yogurt. The richness of the yogurt directly impacts the texture and flavor of the kashk.
- Consistent Stirring: Stir continuously while bringing the yogurt mixture to a simmer to prevent it from sticking to the bottom of the pot and burning. Use a wooden spoon or a heat-resistant spatula for best results.
- Consistent Stirring: Stir continuously while bringing the yogurt mixture to a simmer to prevent it from sticking to the bottom of the pot and burning. Use a wooden spoon or a heat-resistant spatula for best results.
Temperature Control: Maintain medium-low heat during the simmering process to avoid scorching the yogurt. Consistent heat is crucial for the proper transformation of the yogurt.
Use a Heavy-Bottomed Pot: A heavy-bottomed pot distributes heat evenly and helps prevent hot spots that can burn the yogurt.
Blend for Creaminess: After straining, blend the kashk with water and salt in a good quality food processor to achieve a smooth and creamy texture. Adjust the water amount for your desired consistency.
Nut Milk Bag for Straining: Use a nut milk bag for efficient straining. It's durable and fine enough to capture all the solid parts, ensuring a smooth kashk.
Monitor the Color: Keep an eye on the color change during cooking. The mixture should turn a beige hue, indicating it's ready to be strained.
Cool Properly: Allow the kashk to cool for about 30 minutes after cooking before straining. This makes the process easier and ensures a smoother texture.
Squeeze Well: When using the nut milk bag, ensure you squeeze out as much liquid as possible. This helps achieve the correct consistency for the kashk.
- Temperature Control: Maintain medium-low heat during the simmering process to avoid scorching the yogurt. Consistent heat is crucial for the proper transformation of the yogurt.
- Use a Heavy-Bottomed Pot: A heavy-bottomed pot distributes heat evenly and helps prevent hot spots that can burn the yogurt.
- Blend for Creaminess: After straining, blend the kashk with water and salt in a good quality food processor to achieve a smooth and creamy texture. Adjust the water amount for your desired consistency.
- Nut Milk Bag for Straining: Use a nut milk bag for efficient straining. It's durable and fine enough to capture all the solid parts, ensuring a smooth kashk.
- Monitor the Color: Keep an eye on the color change during cooking. The mixture should turn a beige hue, indicating it's ready to be strained.
- Cool Properly: Allow the kashk to cool for about 30 minutes after cooking before straining. This makes the process easier and ensures a smoother texture.
- Squeeze Well: When using the nut milk bag, ensure you squeeze out as much liquid as possible. This helps achieve the correct consistency for the kashk.
Nutrition Information
Show DetailsNutrition Facts
Serving: 2cups
Amount Per Serving
Calories 277 kcal
% Daily Value*
| Calories | 277kcal | 14% |
| Carbohydrates | 21g | 7% |
| Protein | 16g | 32% |
| Fat | 15g | 23% |
| Saturated Fat | 10g | 50% |
| Polyunsaturated Fat | 0.4g | 2% |
| Monounsaturated Fat | 4g | 20% |
| Cholesterol | 59mg | 20% |
| Sodium | 1.386mg | 0% |
| Potassium | 703mg | 15% |
| Sugar | 21g | 42% |
| Vitamin A | 449IU | 9% |
| Vitamin C | 2mg | 2% |
| Calcium | 558mg | 56% |
| Iron | 0.2mg | 1% |
* Percent Daily Values are based on a 2,000 calorie diet.
