Homemade Thin Mints
User Reviews
4.7
99 reviews
Excellent
-
Prep Time
20 mins
-
Cook Time
20 mins
-
Total Time
28 mins
-
Servings
48 2-inch
-
Calories
142 kcal
-
Course
Dessert
Homemade Thin Mints
Report
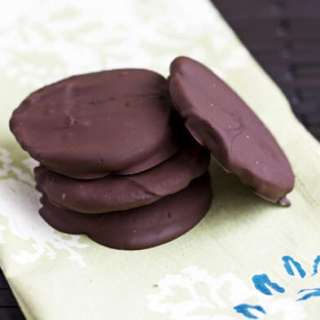
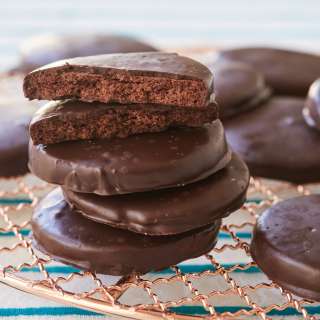
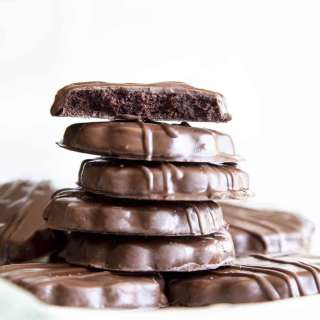
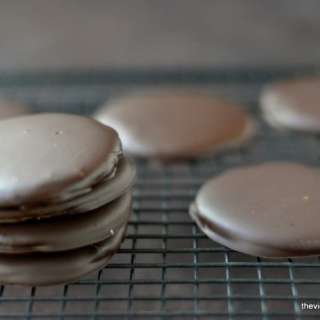
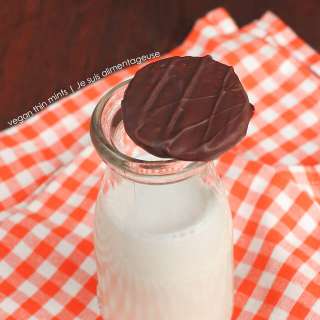
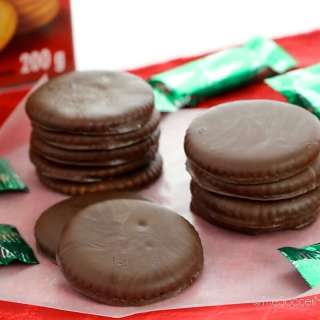
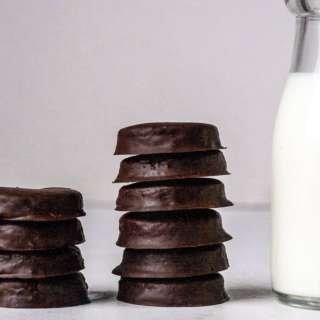
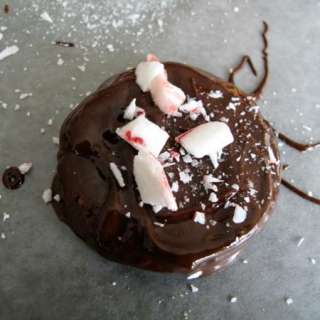
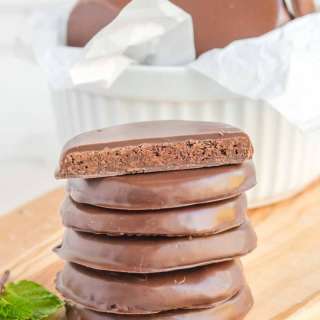
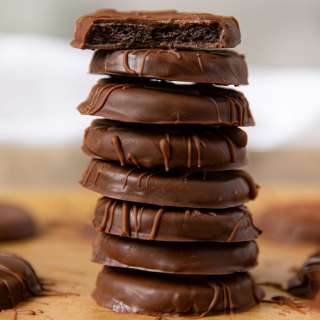
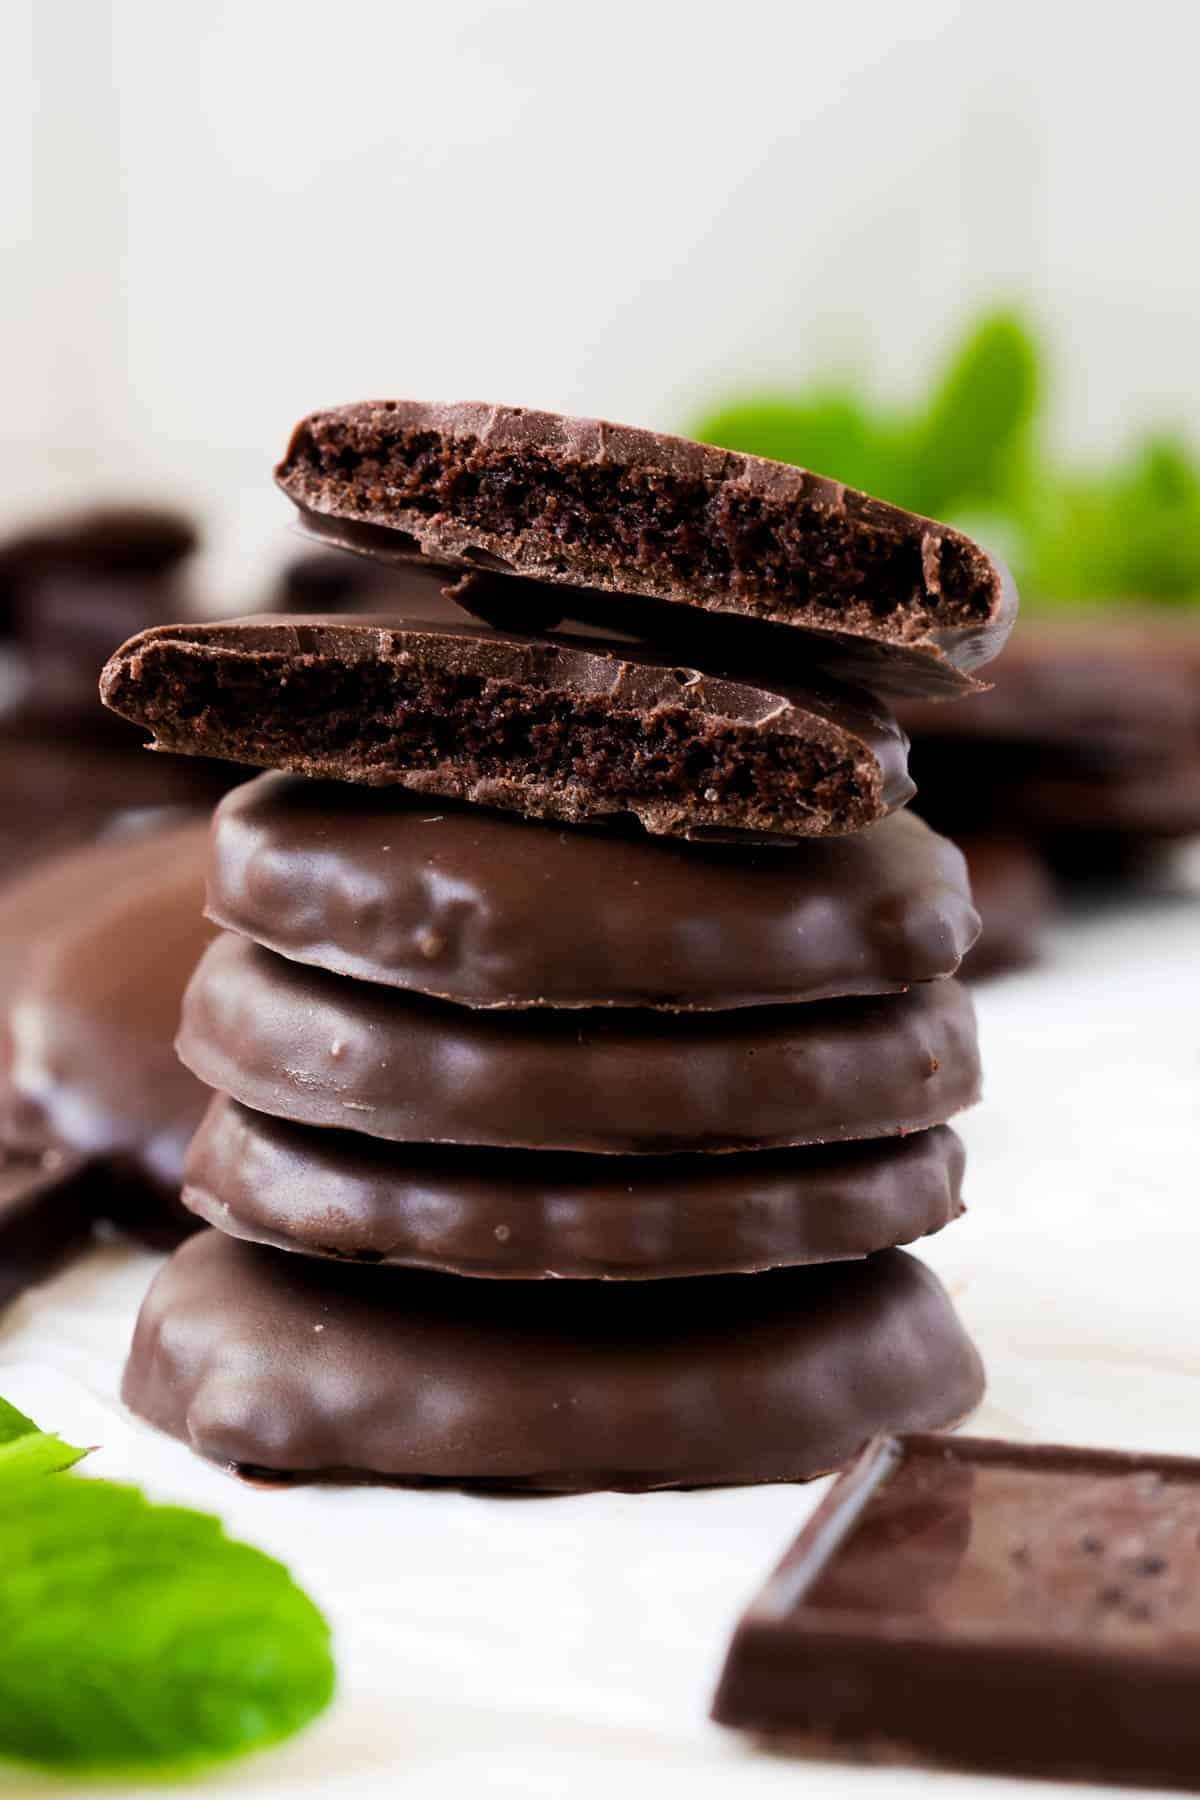
My Homemade Thin Mints have a rich chocolate flavor, a crisp and crunchy texture, the perfect amount of peppermint in each bite and a smooth and velvety chocolate coating to finish. Dare I say they are better than the real deal!
Share:
Ingredients
For the cookies
- 2 cups all purpose flour, spooned and leveled
- 2/3 cup dutch process unsweetened cocoa
- 2 tsp. cornstarch
- 1 tsp. baking powder
- 3/4 tsp. kosher salt
- 1 cup unsalted butter, softened
- 1 cup granulated sugar
- 1/2 cup dark brown sugar, packed
- 1 large egg, room temperature
- 1 large egg yolk, room temperature
- 1 tsp. vanilla
- 3/4 - 1 tsp. peppermint extract (not mint extract) use less or more depending on how peppermint-y you want your cookies
Chocolate coating
- 20 oz. dark chocolate melting wafers you can also use high quality semi sweet chocolate but I like how the wafers set up.
- 1 tsp. oil (canola or vegetable)
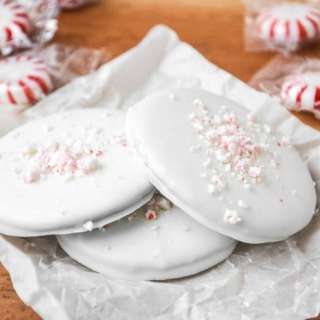
- 1/2-1 tsp. peppermint extract use less or more depending on how peppermint-y you want your cookies
Instructions
- *Note: you will need to chill the rolled out cookie dough for at least 3 hours in the fridge or 1 hour in the freezer. Make sure to clear a space in the fridge or freezer so once it's time to get chillin, the open space will be ready!
- Whisk together the flour, cocoa, cornstarch, salt, and baking powder in a mixing bowl. Set aside.
- Beat together the butter and sugars using a hand mixer or stand mixer fitted with the paddle attachment for 2-3 minutes until smooth.
- Add the egg, egg yolk, vanilla, and peppermint extract.
- Mix again until smooth and combined, scraping down sides of bowl as needed. Gradually add in the dry ingredients.
- Mix on a medium-low speed until incorporated and dough comes together.
- Divide the dough in half. Working with one half at a time, place half of dough down on a piece of parchment paper. Place another piece of parchment paper over the top. Roll into 1/4" thickness. Repeat this with the other half of dough. Dough might be just a little sticky but it's easy to work with.
- Leave the dough between the parchment paper and place on a baking sheet. You can stack both pieces of rolled out dough since they're protected by the parchment. Refrigerate for at least 3 hours or freezer for 1 hour. You can chill for up to 48 hours prior to baking, just be sure it's covered.
- Preheat the oven to 350°F. Line 2 baking sheets with parchment paper or silicone baking mats.
- Remove the top layer of parchment paper. Cut out the cookies using a 2-inch circular or scalloped cookie cutter.
- Place cookies on prepared baking sheet about 1 1/2 inches apart. Gather and re roll the scraps, chill dough if you feel it has gotten warm, and continue to cut out the cookies and bake with remaining dough.
- Bake for 8-10 minutes. Cool on the baking sheet for 5-10 minutes then transfer to wire rack to cool completely. (Note: These cookies may have slightly soft texture at first, but get that nice crisp crunch as they cool and even better if you freeze them!)
- Add the melting wafers and oil to a microwave safe bowl.
- Melt in 30 second intervals, stirring in between, until melted and smooth. Then add the peppermint extract and stir to combine.
- Using a fork, dunk cooled cookies into the chocolate being sure to coat the cookie completely. Gently tap off and excess chocolate and place the cookies back on a parchment lined baking sheet.
- Allow the chocolate to set. To store, I like to place them in the freezer because I think they're best cold! 😍 Enjoy!
Notes
- Storage: store baked cookies up to 7 days in the fridge or 2-3 months in the freezer.
- Make ahead: the rolled out dough can be kept in the refrigerator for up to 2-3 days.
- Freeze the cookie dough prior to rolling for up to 3 months. When frozen, thaw in the fridge overnight, bring to room temperature so you can roll it out, if dough is too soft pop it back in the freezer for 10-15 minutes, then continue to cut and bake.
Nutrition Information
Show Details
Serving
2cookies
Calories
142kcal
(7%)
Carbohydrates
11g
(4%)
Protein
1g
(2%)
Fat
4g
(6%)
Saturated Fat
1g
(5%)
Polyunsaturated Fat
1g
Monounsaturated Fat
2g
Cholesterol
8mg
(3%)
Sodium
88mg
(4%)
Potassium
31mg
(1%)
Fiber
1g
(4%)
Sugar
6g
(12%)
Vitamin A
180IU
(4%)
Vitamin C
0.01mg
(0%)
Calcium
13mg
(1%)
Iron
0.5mg
(3%)
Nutrition Facts
Serving: 482-inch
Amount Per Serving
Calories 142 kcal
% Daily Value*
| Serving | 2cookies | |
| Calories | 142kcal | 7% |
| Carbohydrates | 11g | 4% |
| Protein | 1g | 2% |
| Fat | 4g | 6% |
| Saturated Fat | 1g | 5% |
| Polyunsaturated Fat | 1g | 6% |
| Monounsaturated Fat | 2g | 10% |
| Cholesterol | 8mg | 3% |
| Sodium | 88mg | 4% |
| Potassium | 31mg | 1% |
| Fiber | 1g | 4% |
| Sugar | 6g | 12% |
| Vitamin A | 180IU | 4% |
| Vitamin C | 0.01mg | 0% |
| Calcium | 13mg | 1% |
| Iron | 0.5mg | 3% |
* Percent Daily Values are based on a 2,000 calorie diet.
Genuine Reviews
User Reviews
Overall Rating
4.7
99 reviews
Excellent
Other Recipes
You'll Also Love