How to Make Japanese Rice in an Instant Pot
User Reviews
0
0 reviews
Unrated
How to Make Japanese Rice in an Instant Pot
Report
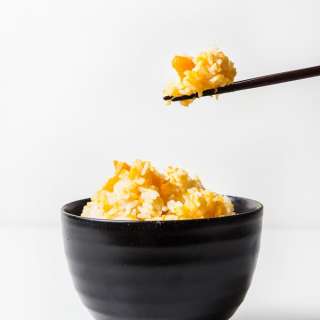
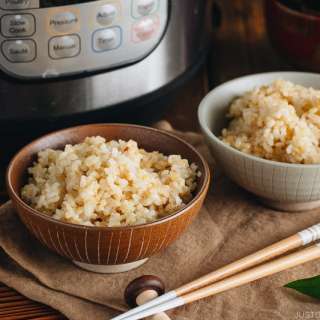
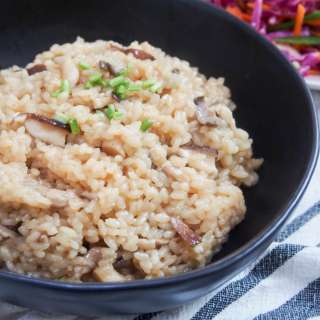
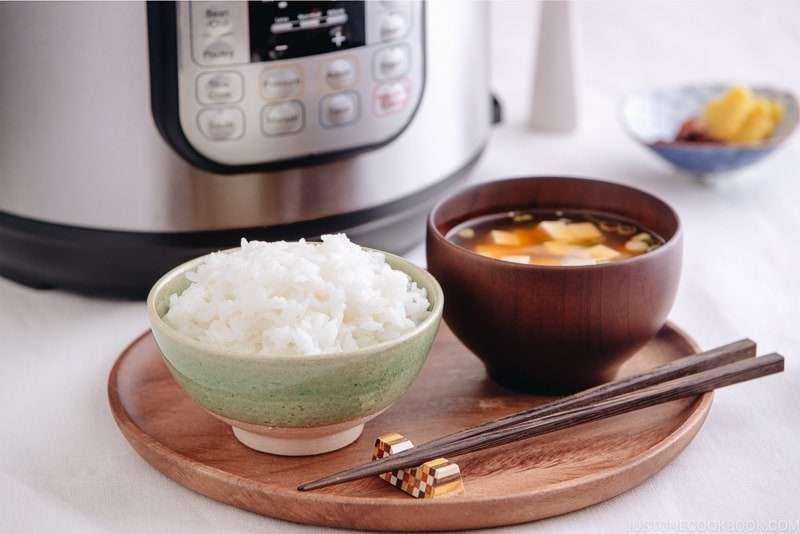
Ever tried to make steamed Japanese rice in an Instant Pot? This post will teach you an easy, fail-safe method for cooking perfectly plump and shiny short-grain white rice every single time with this popular electric pressure cooker!
Share:
Ingredients
For 4 Rice Bowls (4⅓ cups, 660 g)
- 1½ cups uncooked Japanese short-grain white rice (2 rice cooker cups, 360 ml)
- 1½ cups water (360 ml)
For 6 Rice Bowls (6⅔ cups, 990 g)
- 2¼ cups uncooked Japanese short-grain white rice (3 rice cooker cups, 540 ml)
- 2¼ cups water (540 ml)
For 8 Rice Bowls (8¾ cups, 1320 g)
- 3 cups uncooked Japanese short-grain white rice (4 rice cooker cups, 720 ml)
- 3 cups water (720 ml)
For 10 Rice Bowls (11 cups, 1650 g)
- 3¾ cups uncooked Japanese short-grain white rice (5 rice cooker cups, 900 ml)
- 3¾ cups water (900 ml)
Instructions
- Before You Start: Please note that Japanese short-grain white rice requires a soaking time of 20–30 minutes. The rice-to-water ratio is 1 to 1 when cooking short-grain white rice in an Instant Pot. Please read the blog post for more details. To cook short-grain brown rice, see my post on how to make Instant Pot Brown Rice.Also note that 1½ cups (300 g, 2 rice cooker cups) of uncooked Japanese short-grain rice yield 4⅓ cups (660 g) of cooked rice. This is enough for 4 Japanese rice bowls (typically 150 g each) or 6 onigiri rice balls (typically 110 g each). 1 cup of cooked rice weighs about 5.3 oz (150 g).
- Measure the Rice: Overfill a US cup measure (a ¾-cup measure works well for this) or a rice cooker cup with uncooked short-grain rice and level it off. Put the rice in a large bowl. Repeat until you have the measured amount of rice needed. Here, I‘m preparing 1½ cups (2 rice cooker cups, 360 ml) of uncooked white rice.
To Wash the Rice
- Quick Rinse: Add just enough tap water to the bowl to submerge all the rice. Then, discard the water immediately. Repeat one more time. Tip: Rice absorbs water very quickly when you start rinsing, so this step helps remove impurities from the rice and prevent it from absorbing the first few rounds of milky water.
- Wash: Next, use your fingers to gently agitate the wet rice grains in a circular motion for 10–15 seconds. Using very little water allows the grains to rub against each other. It also reduces the absorption of impurities from the starchy water.
- Rinse: Add tap water and immediately discard the cloudy water. Repeat one more time.
- Repeat Wash and Rinse (steps 2 and 3) two more times. When the water is almost clear, drain the rice well.
To Soak the Rice
- Soak: Add more tap water to the bowl to submerge the rice completely, and soak the rice for 20–30 minutes before cooking. Soaking is a must for short-grain rice! Here‘s how the rice looks before and after soaking for 20 minutes.
- Drain: After soaking, drain the rice in a fine-mesh sieve and set it aside for 10 minutes to drain completely. If you don’t have time to wait, then shake off the excess water the best you can.
To Cook the Rice
- Transfer the well-drained rice to the inner pot of the Instant Pot and add the measured water. Here, I'm adding 1½ cups (360 ml) water for my 1½ cups rice.
- Make sure the rice is level and evenly distributed in the pot. Close and lock the lid.
- Set the program to High Pressure for 2 minutes and it will automatically start cooking. Make sure the steam release handle points to Sealing and not Venting. The float valve goes up when pressurized, after about 5 minutes. When it’s finished cooking, the Instant Pot will switch automatically to the Keep Warm mode.Pressure Release: Let the pressure release naturally for 10 minutes. DO NOT EXCEED 10 MINUTES (I recommend setting a timer). After 10 minutes, quick release the remaining pressure: Place a kitchen towel over the steam release valve and turn the steam release handle to the Venting position until the float valve drops down. While only a little pressure should remain after 10 minutes of natural release, please take care not to place your hand or face over the steam release valve.
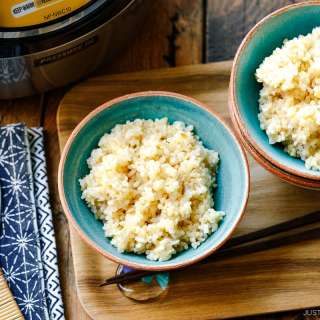
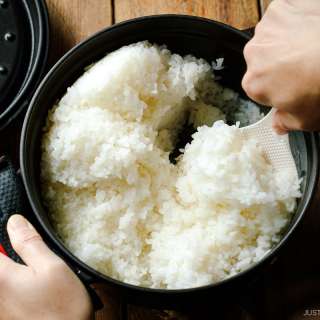
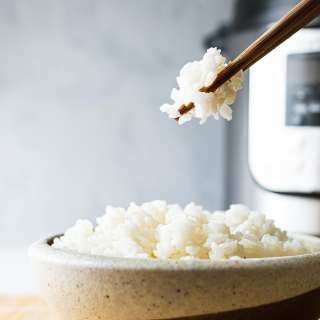
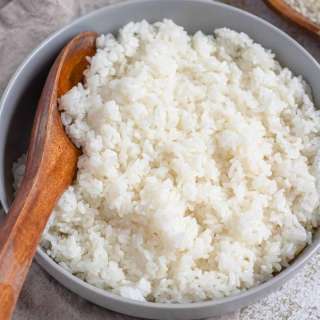
- Once you‘ve quick released the remaining pressure, open the lid. Fluff the rice with a rice paddle and serve warm.
To Store
- Transfer the warm rice to airtight containers and cover with the lids to keep the moisture in. Let cool completely before storing the containers in the freezer. The best way to store Japanese rice is to freeze, even if you use it the following day. Read my tutorial post.
Notes
- Rice Mode vs. Manual Mode
- Rice Mode: 5 min (to pressurize) + 12 min (to cook on low pressure) + 10 min (let it steam)
- Manual Mode: 5 min (to pressurize) + 2 min (to cook on high pressure) + 10 min (let it steam)
Nutrition Information
Show Details
Calories
269kcal
(13%)
Carbohydrates
59g
(20%)
Protein
5g
(10%)
Fat
1g
(2%)
Saturated Fat
1g
(5%)
Sodium
2mg
(0%)
Potassium
57mg
(2%)
Fiber
2g
(8%)
Calcium
15mg
(2%)
Iron
3mg
(17%)
Nutrition Facts
Serving: 4Serving
Amount Per Serving
Calories 269 kcal
% Daily Value*
| Calories | 269kcal | 13% |
| Carbohydrates | 59g | 20% |
| Protein | 5g | 10% |
| Fat | 1g | 2% |
| Saturated Fat | 1g | 5% |
| Sodium | 2mg | 0% |
| Potassium | 57mg | 1% |
| Fiber | 2g | 8% |
| Calcium | 15mg | 2% |
| Iron | 3mg | 17% |
* Percent Daily Values are based on a 2,000 calorie diet.
Genuine Reviews
User Reviews
Overall Rating
0
0 reviews
Unrated
Other Recipes
You'll Also Love