Instant Pot Chicken Stock
User Reviews
5
-
Prep Time
10 mins
-
Cook Time
1 hr 40 mins
-
Total Time
1 hr 50 mins
-
Servings
10 cups
-
Calories
18 kcal
-
Cuisine
International
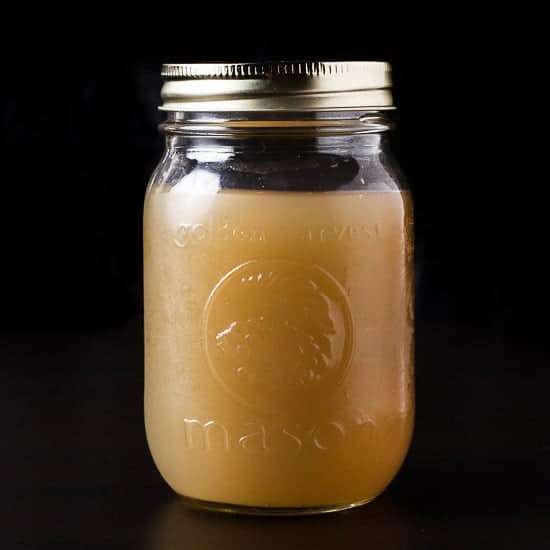
Instant Pot Chicken Stock
Description
Instant Pot Chicken Stock starts optionally by browning chicken carcasses in oil to deepen flavor and color. Aromatics such as diced onions, celery, carrots, crushed garlic, bay leaves, and whole peppercorns are added along with water and fresh herbs. Apple cider vinegar may be used to help draw minerals from the bones. The ingredients pressure cook at high pressure for one hour before a natural release to preserve clarity.
The cooking process extracts collagen and flavors, resulting in a gelatinous, flavorful stock. Straining removes solids. Cooling allows the fat to solidify at the surface and can be skimmed away for a leaner stock. The stock serves as a foundation for soups, sauces, and other recipes, offering home-cooked depth not found in pre-made broth.
The stock can be refrigerated for several days or frozen for months, with silicone molds handy for portioning. Using more bones relative to water, adding chicken feet, and roasting ingredients before cooking enhances richness and viscosity. Skimming dried herbs before freezing keeps the stock clean.
Ingredients
- 2 ½ pounds chicken carcass
- 2 onion diced, keep the outer layers
- 2 ribs celery , diced
- 2 carrot diced
- 2 bay leaf
- 4 garlic crushed, cloves
- 1 teaspoon black peppercorn whole
- 10 cups water
- fresh herbs your favorite
- 1 tablespoon apple cider vinegar optional
Instructions
- Optional Step - Brown Chicken Carcasses: Brown the chicken carcasses in Instant Pot Pressure Cooker with 1 tablespoon of oil. This will slightly elevate the flavors and result in a brown stock. Then, add 100ml water to deglaze the bottom of the pot with a wooden spoon.
- Pressure Cook Chicken Stock: Add all ingredients in Instant Pot. Pressure cook at High Pressure for 1 hour (the longer the better), then Natural Release.
- Strain & Cool Chicken Stock: Strain the chicken stock through a colander discarding the solids, then set aside to cool.Fat Cap: Let the chicken stock sit in the fridge until the fat rises to the top and form a layer of gel. Then, skim off the fat on the surface. Or you can remove the fat cap when you use the chicken stock.
- Use or Freeze: You can use the stock immediately, keep it in the fridge, or freeze it for future use.
Storage:
- Silicone Mold: – We love freezing our chicken stock with this mold! After they freeze in the mold, we pop them out and store them in ziploc freezer bags. It’s a great portion for many recipes, thaws quickly, and super convenient.
- Ball Glass Jars – Since we love the silicone mold method, we've never used these specific jars before, but many users have recommended that this brand's wide-mouth straight jar design is great for freezing.
Notes
- Store chicken stock in the refrigerator for 3 to 5 days or freeze for up to one year.
- Apple cider vinegar helps extract calcium and minerals from bones but is optional.
- Remove dried herbs before freezing to avoid bitterness and sediment.
- For a richer, thicker stock, use a 1 pound to 1 quart water ratio of chicken carcass, add chicken feet, and roast the ingredients before cooking.
- Salt is not needed during stock preparation as seasoning is added during final use.
- Silicone molds can be used to freeze stock in convenient portions for easy use later.
Nutrition Information
Show DetailsNutrition Facts
Serving: 10cups
Amount Per Serving
Calories 18 kcal
% Daily Value*
| Calories | 18kcal | 1% |
| Carbohydrates | 4g | 1% |
| Sodium | 28mg | 1% |
| Potassium | 102mg | 2% |
| Sugar | 1g | 2% |
| Vitamin A | 2075IU | 42% |
| Vitamin C | 3mg | 3% |
| Calcium | 24mg | 2% |
| Iron | 0.1mg | 1% |
* Percent Daily Values are based on a 2,000 calorie diet.
User Reviews
Overall Rating
5
You'll Also Love


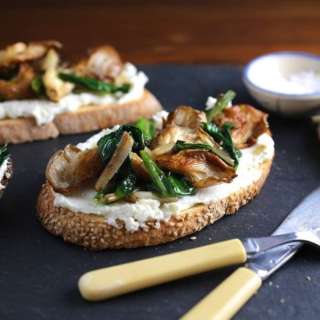
Brown Butter Ramps and Oyster Mushrooms on Ricotta Crostini
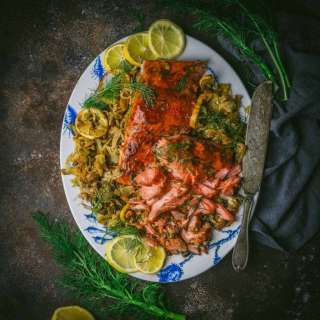
Pomegranate Glazed Slow-Roasted Salmon with Fennel and Leeks
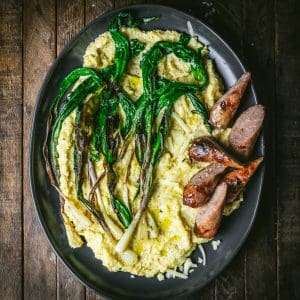
Creamy Cheddar Polenta with Sausage and Charred Ramps
White Asparagus with Black Garlic Aioli