Make Old-Fashioned Brine Fermented Pickles Like Your Great Grandmother
User Reviews
4.7
-
Course
Condiments
Make Old-Fashioned Brine Fermented Pickles Like Your Great Grandmother
Description
This pickling method starts by preparing a saltwater brine, typically two tablespoons of salt per quart of water, with adjustments for kitchen temperature to ensure proper fermentation. Vegetables are chopped into sticks or bite-sized pieces and layered in clean jars with garlic, onions, fresh herbs, and pickling spices to impart flavor.
To preserve crispness during fermentation, special leaves such as grape, horseradish, oak, or black tea leaves are added atop the flavorings at the jar bottom. Vegetables are placed over these leaves, leaving sufficient headspace before pouring the brine to cover by at least one inch. Weighing down the contents keeps vegetables submerged under the brine to prevent spoilage.
The jars are sealed and left at room temperature to ferment for days or weeks depending on taste preferences and vegetable types. The resulting pickles develop a sour, tangy profile with bright flavors and a crisp texture. This process follows traditional techniques passed down through generations to achieve naturally fermented pickles.
Ingredients
- salt for brine
- seasonal garden vegetables
- pickling spices
- leaves for crispness
Instructions
- Prepare a brine using the ratio of two tablespoons of salt to one quart of water. If it is over 85 degrees in your kitchen, use one extra tablespoon of salt. Stir well and set aside.
- Chop vegetables into sticks or bite-sized pieces.
- Gather flavorings – garlic, onions, fresh herbs, or your favorite pickling spices.
- Add garlic, herbs, and spices to the bottom of your clean quart, half-gallon, or gallon jar.
- Add one of the following to keep your vegetables crisp: grape, horseradish, oak, black tea (yes the kind you drink), or mesquite leaves. Read more on why at the Cultures for health blog.
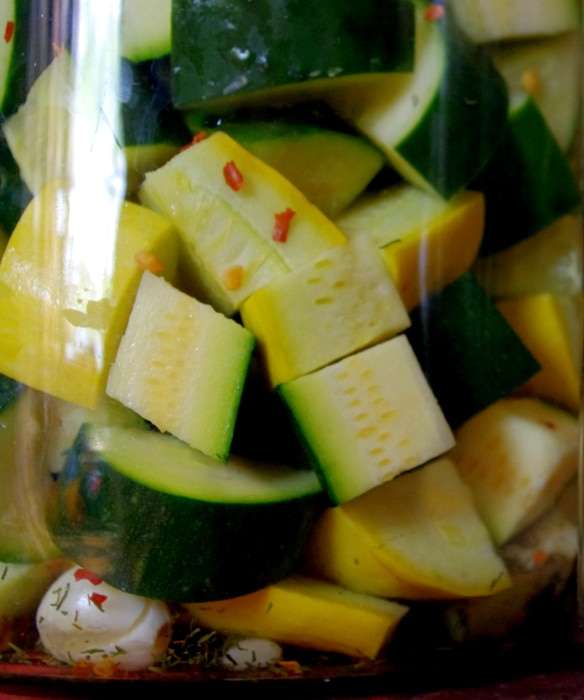
- Place chopped vegetables atop flavorings, leaving at least 2 inches of headspace from the rim of the jar. Pour the brine over the vegetables so they are covered by at least one inch. Two to four inches is even better, but hard to achieve in quart jars.
- Weight down your vegetables so they stay below the brine while fermenting. I have used small plates that will fit into the jar opening, inverted plastic jar lids, a large cabbage leaf, root vegetable slices, or glass weights made specifically for this purpose.
- Cap the jar tightly and allow to sit at 65-85 degrees for around 10 days, or more, depending on your preference. The longer they ferment at room temperature, the sourer they become. Read more on how to tell when they are done.
- During the earliest stages of fermentation carbon dioxide is released. Check your jars once or twice a day to see if the lids are building up pressure. If you cannot press down on the canning lid as you normally would, very quickly and carefully “burp” your jar by slightly unscrewing the lid, allowing a bit of gas to escape, and screwing it back on quickly.
- Once completed, move to cold storage – a root cellar, a basement, a cool garage, anywhere below 65 degrees, or yes – a refrigerator.
User Reviews
Overall Rating
4.7
You'll Also Love