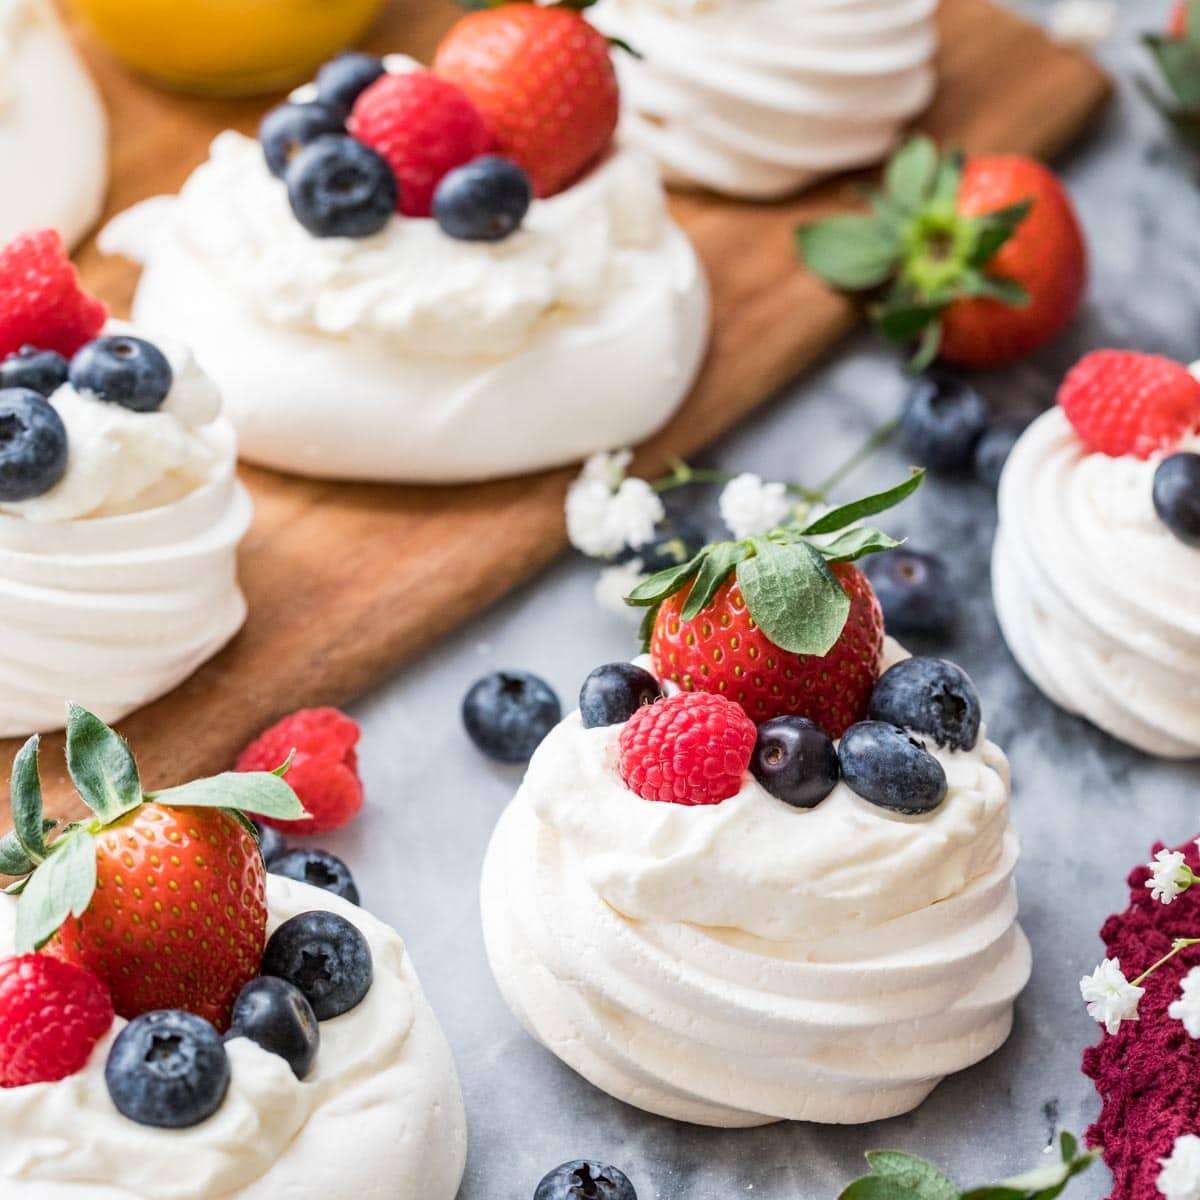
Pavlova
User Reviews
5.0
24 reviews
Excellent
-
Prep Time
25 mins
-
Cook Time
1 hr 25 mins
-
Additional Time
1 hr
-
Total Time
2 hrs 55 mins
-
Servings
12 mini pavlovas or 1 regular pavlova
-
Calories
405 kcal
-
Course
Dessert
-
Cuisine
Australian, New Zealand

Pavlova
Report
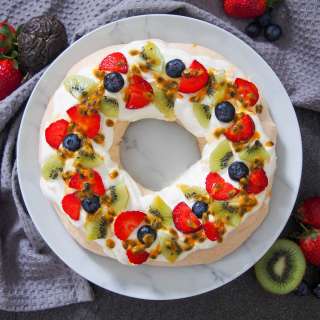
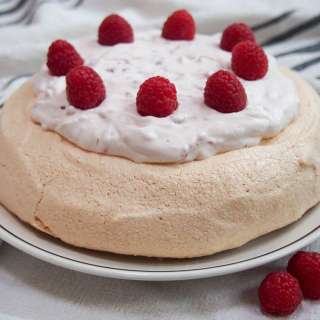
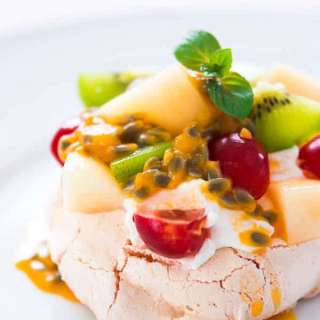
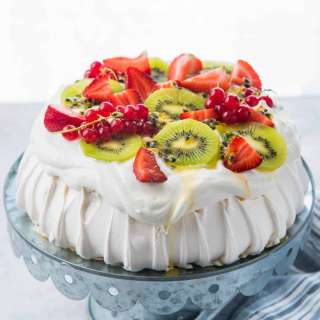
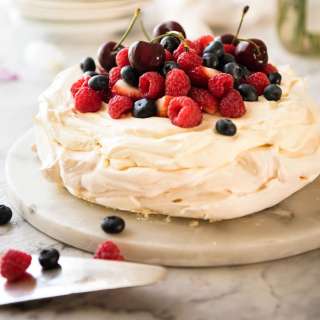
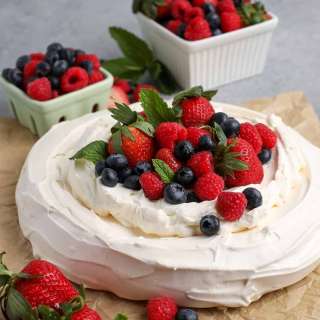
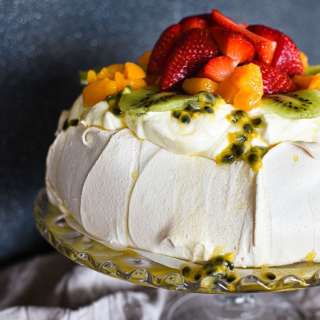
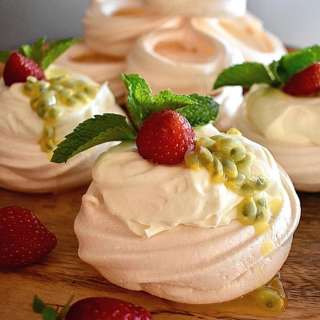
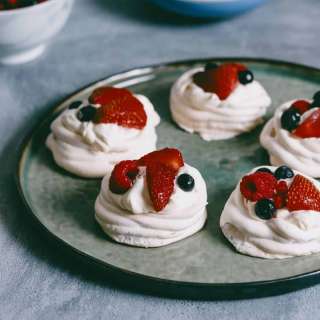
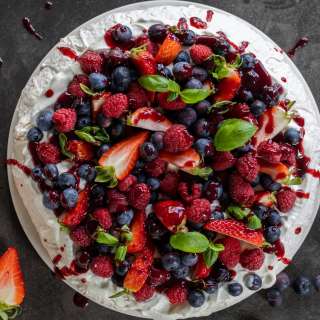
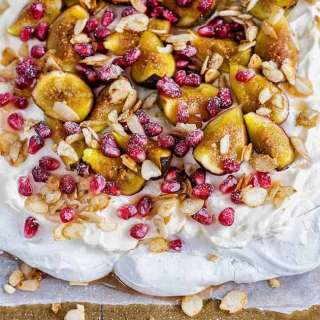
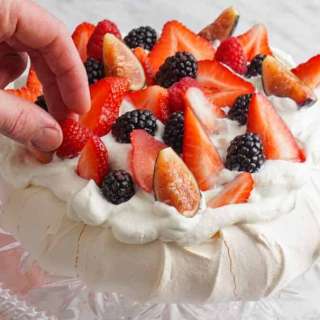
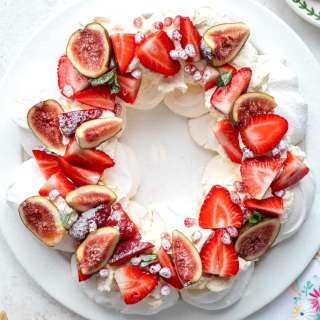
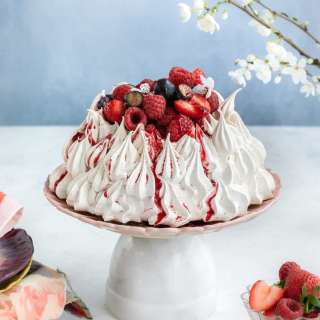
Pavlova has a crisp exterior with a marshmallowy-soft interior. It's a gorgeous, sophisticated, but approachable treat that's perfect topped with sunny lemon curd and fresh fruit. I'll be showing you how to make both classic pavlova and mini pavlovas (my favorite).For best results, read the notes and watch the video before beginning.
Share:
Ingredients
For Pavlova
- 6 large egg whites room temperature this is just under 1 cup (7.5 oz)
- ¾ teaspoon cream of tartar
- ⅛ heaping teaspoon salt
- 1 ½ cup granulated sugar caster sugar or superfine sugar would also work
- 1 ½ teaspoon vanilla extract
For Whipped Cream & Assembly
- 2 cups heavy whipping cream
- ⅔ cup powdered sugar
- 1 teaspoon vanilla extract
- lemon or other fruit curd optional
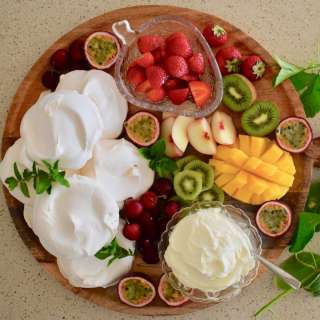
- Fresh fruit strawberries, blueberries, blackberries, sliced kiwi, and raspberries are all great options!
Instructions
- Preheat your oven to 225F (105C) and line a large baking sheet with parchment paper. Set aside.
- You’ll be making the pavlova in either the bowl of a stand mixer with a whisk attachment (paddle attachment will work if you don’t have a whisk) or a large bowl with an electric mixer. Before beginning, make sure that the bowl and beaters you are using are completely clean, dry, and grease free.
- Combine egg whites, cream of tartar, and salt in prepared bowl and use an electric or stand mixer to stir on low speed until the mixture begins to foam.
- Gradually increase speed to high.
- Add sugar 1 Tablespoon at a time, continuing to stir on high speed after each addition until sugar is dissolved (about 15 seconds after each addition).
- Continue to beat on high speed until the meringue has reached stiff peaks (see note, it is critical you achieve stiff peaks). The meringue will be thick, opaque white, glossy, almost fluffy in consistency, sticky, and have greatly increased in volume. If you take a small bit of the meringue and rub it between your fingers, you shouldn’t feel any grit (a very minimal amount of grit is OK as it should dissolve in the oven, but it should be barely noticeable).
- Add vanilla extract and stir on low speed until combined (meringue may deflate a small bit).
- If making regular/single pavlova: Spoon the mixture in a mound onto prepared baking sheet. Use a spoon or spatula to form meringue into approximately 12” (30cm) round circle and smooth a divot in the center so the pavlova is shaped like a nest. Neaten up the edges with a back of a spoon so they are somewhat smooth (if you’d like, swirl the spoon along the edges to form peaks. Transfer to 225F (105C) oven and bake for 90 minutes, then turn off the oven and let pavlova sit in the closed oven for another 60-90 minutes or until cooled completely and then remove and assemble.
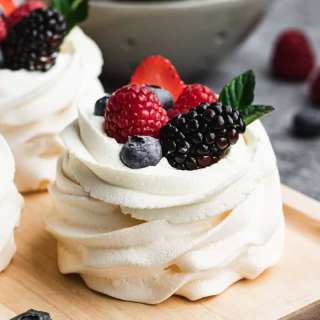
- If making mini pavlova: Scoop (by about ⅓ cup) batter into 8 mounds onto prepared baking sheet and use a spoon to smooth into 8 nest shapes, spacing about 2” apart or pipe batter into 3"wide "nests" using a piping bag fitted with an Ateco 827 tip. Transfer to 225F (105C) oven and bake for 1 hour. Turn off oven and let mini pavlovas sit in the closed oven for at least another hour or until cooled completely before removing and assembling.
Whipped Cream & Assembly
- Prepare whipped cream by combining heavy whipping cream, powdered sugar, and vanilla extract in a large bowl and use an electric mixer (or stand mixer) to beat until cream is billowy and thick and stiff peaks form.
- Assemble by spooning lemon or other curd in an even layer into the “nest” of the pavlova, if using. Top with whipped cream and then top with fresh fruit.
- Serve immediately (a large pavlova should be sliced similar to a pie, while mini pavlovas should of course be served individually. Enjoy!
Equipments used:
Notes
- If making mini pavlova, all 12 will be a little cramped on your average cookie sheet. You can use two baking sheets, but make sure they fit in your oven the same time.
- Vanilla extract is my preference and gives the pavlova a subtle, marshmallow-y flavor that complements the toppings beautifully. Classic vanilla that is brown in color will add a slight off-white tint to your meringue, so if you want to keep things snow-white use imitation clear vanilla extract.
- Feel free to experiment with other flavors! I would recommend still using the vanilla, but reduce it to ½ teaspoon and use your judgement when adding your extract of choice but ¼-½ teaspoon will likely be plenty. Extracts like peppermint and almond are very strong, so take care to not use too much. Extracts made with oil (the ingredient list will indicate if it's included) are not recommended as they can break down the meringue.
- If there's even a teeny tiny bit of grease or moisture in your bowl or egg yolk in your whites they may not whip properly.
- As a rule I generally don’t recommend using store-bought egg whites sold in a carton, though people have reported mixed results. Generally these egg whites say on the label that they won’t whip, so I recommend using fresh egg whites.
- Save your egg yolks! Use them to make a batch of lemon curd to use in the pavlova, or make créme brûlée, pound cake, cream puffs, or chocolate pie!
- This stabilizes the meringue and also helps to keep it from weeping. I recommend using it for best results. However, some people have reported success substituting vinegar or lemon juice for the cream of tartar in my meringue cookies. That should work here, too, though your meringue may not be as stable, and I’d recommend using 1 ½ teaspoons.
- This means that when you pull the beater straight out of the mixture and turn it upright, the peak that forms holds its shape without folding over or receding back into itself. The mixture will feel almost fluffy in consistency.
- Pavlova (regular or mini pavlova) can be made 1-2 days in advance of serving (do not assemble until just before serving). Store the "nests" in an airtight container at room temperature. If you are in a particularly humid environment, the pavlova may soften more than is ideal. You can always pop it in a 225F (105C) oven for another 15-30 minutes to help make the exterior crisp again (the center should have a marshmallow-y consistency). The whipped cream should be made the day of serving, but can be stored in an airtight container in the refrigerator until ready to use.
Nutrition Information
Show Details
Serving
1mini pavlova or 1/12th classic pavlova
Calories
405kcal
(20%)
Carbohydrates
50g
(17%)
Protein
4g
(8%)
Fat
22g
(34%)
Saturated Fat
14g
(70%)
Cholesterol
82mg
(27%)
Sodium
61mg
(3%)
Potassium
131mg
(4%)
Sugar
48g
(96%)
Vitamin A
875IU
(18%)
Vitamin C
1mg
(1%)
Calcium
41mg
(4%)
Iron
1mg
(6%)
Nutrition Facts
Serving: 12mini pavlovas or 1 regular pavlova
Amount Per Serving
Calories 405 kcal
% Daily Value*
| Serving | 1mini pavlova or 1/12th classic pavlova | |
| Calories | 405kcal | 20% |
| Carbohydrates | 50g | 17% |
| Protein | 4g | 8% |
| Fat | 22g | 34% |
| Saturated Fat | 14g | 70% |
| Cholesterol | 82mg | 27% |
| Sodium | 61mg | 3% |
| Potassium | 131mg | 3% |
| Sugar | 48g | 96% |
| Vitamin A | 875IU | 18% |
| Vitamin C | 1mg | 1% |
| Calcium | 41mg | 4% |
| Iron | 1mg | 6% |
* Percent Daily Values are based on a 2,000 calorie diet.
Genuine Reviews
User Reviews
Overall Rating
5.0
24 reviews
Excellent
Other Recipes
