Samoa Cheesecake
User Reviews
5.0
12 reviews
Excellent
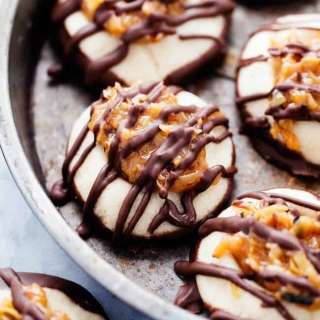
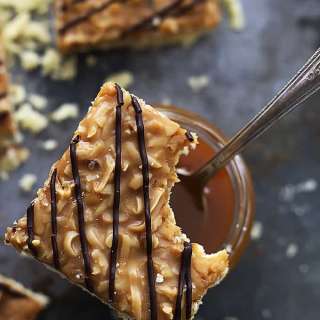
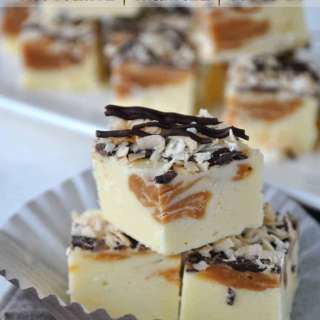
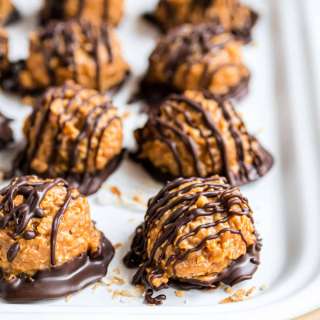
Samoa Cheesecake
Report
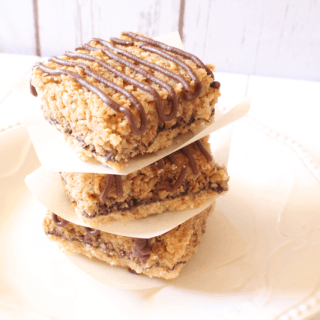
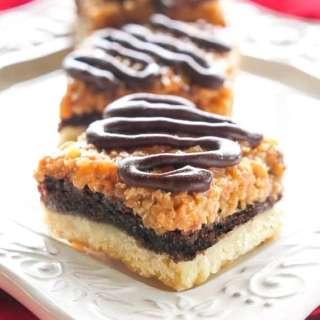
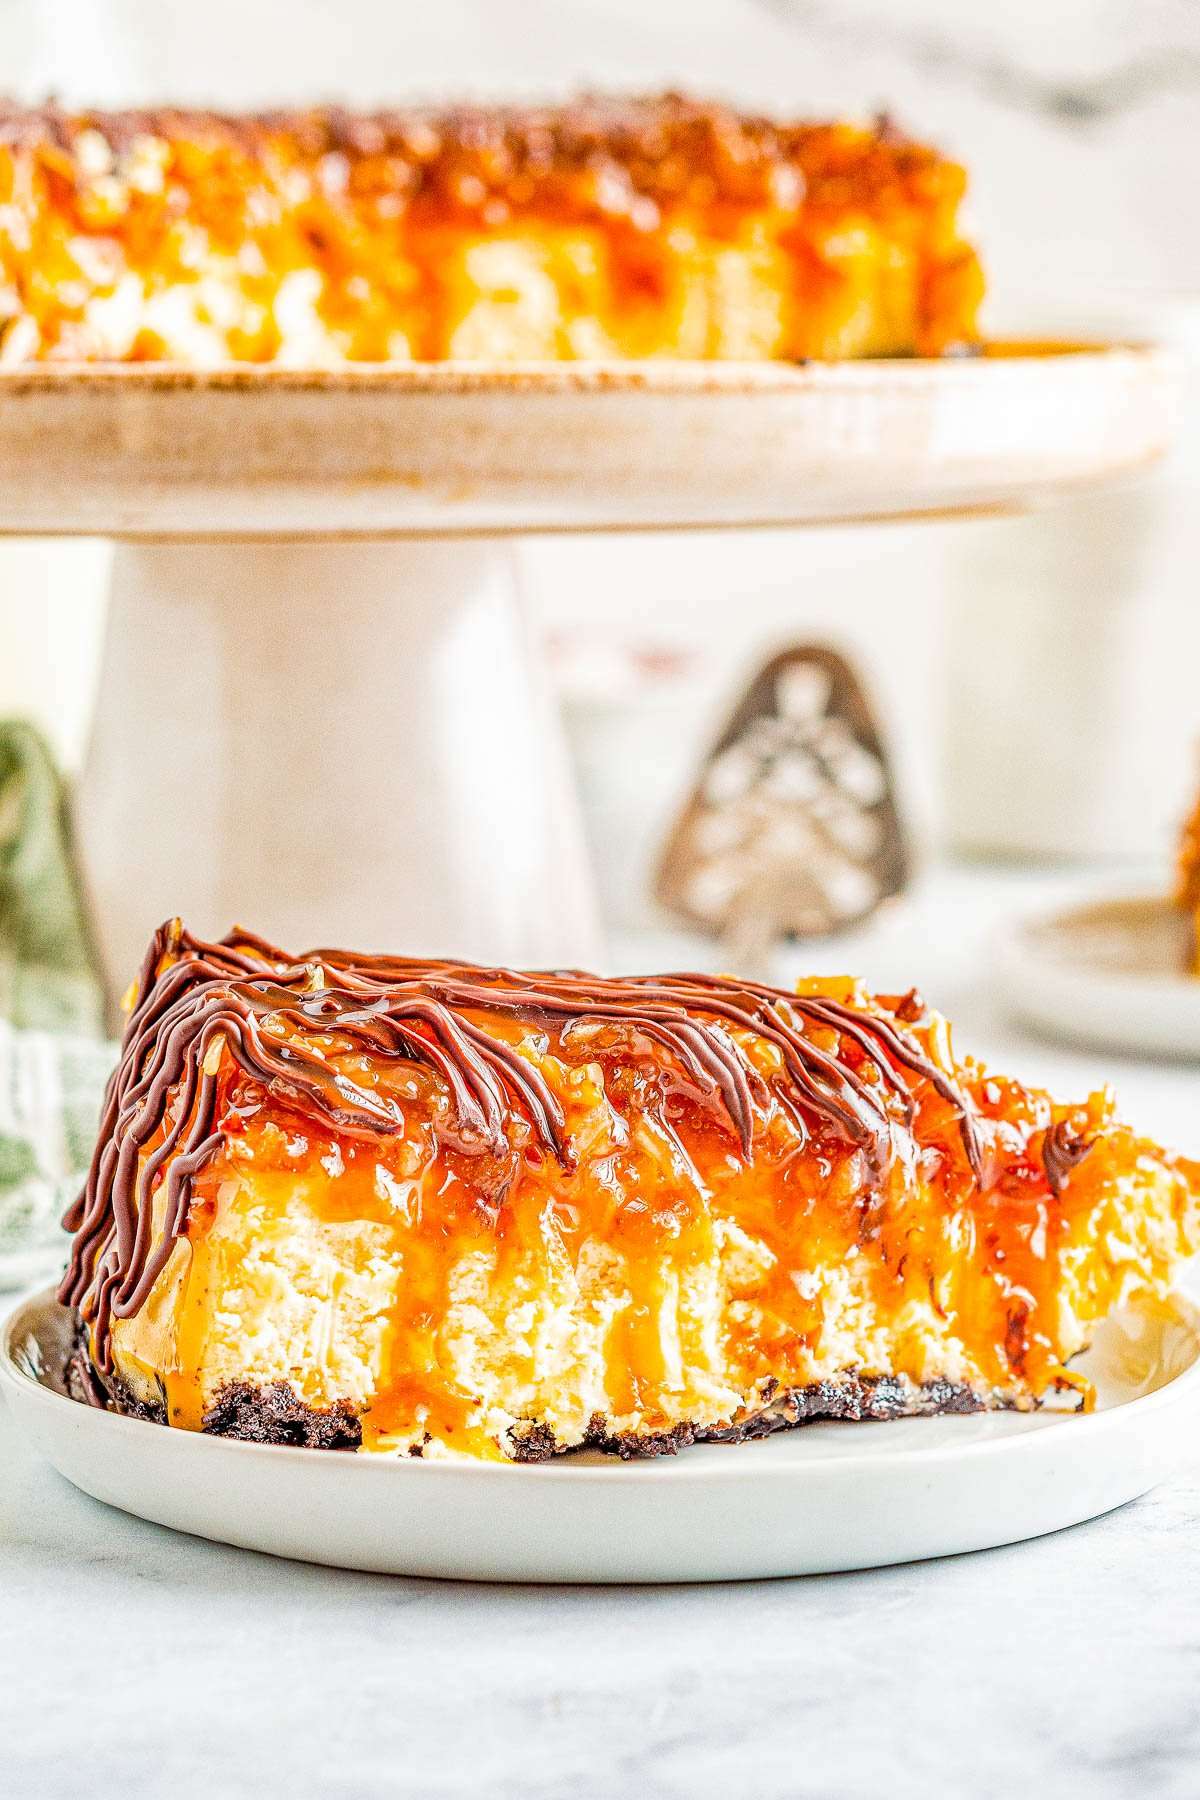
Samoa Cheesecake - Smooth, creamy cheesecake with an Oreo crust and topped with chewy toasted coconut, caramel, and chocolate! If you're a fan of Girl Scout Samoas Cookies, this homemade rich and decadent cheesecake with the same flavors is PURE PERFECTION! Please read over the recipe at least once in entirety before beginning so you know what the overall roadmap is.
Share:
Ingredients
Crust
- 3 cups Crushed Oreo cookie crumbs about 33 whole Oreo cookies, whites and all, blended in a food processor
- 8 tablespoons 1/2 cup plus 1 tablespoon unsalted butter, melted
Cheesecake
- 24 ounces cream cheese softened very well to room temp (brick-style, full-fat)
- ¼ cup granulated sugar
- ¼ cup light brown sugar packed
- ⅔ cup heavy cream
- ½ cup sour cream or plain Greek yogurt, do not use regular yogurt it's too thin
- 2 ½ teaspoons pure vanilla extract
- 2 teaspoons lime juice* lemon juice may be substituted
- 1 teaspoon salt
- 4 large egg yolks save the whites for another use
- 2 ½ tablespoons cornstarch 3 tablespoons all-purpose flour may be substituted
Topping
- 2 ½ cups sweetened shredded coconut
- 1 ¾ cups Caramel sauce divided
- ½ cup milk chocolate or semi-sweet chocolate chips melted
Instructions
- Please read over the recipe at least once in entirety before beginning so you know what the overall roadmap is. Pay special attention to the baking process, including lowering the oven temp from 400F to 250F after 15 minutes, and then allowing the cheesecake to stay in the water bath in a powered-off oven with the door shut for 30 minutes, and then out of the water bath but in the oven with the door open for 30 more minutes.
- Preheat oven to 350F and line the base of a 9-inch springform pan (do not use a regular 9-inch round cake pan, it's not deep enough) with a circle of parchment paper cut to fit it, and spray very well with cooking spray; set aside.
- Crust - To a medium bowl, add the Oreos, melted butter, and whisk the mixture together until it resembles wet sand. Tip - I recommend just blending the Oreos in a food processor until you have 3 cups. There are about 11 cookies per 1 cup of cookie crumbs, so you'll need about 33 cookies, give or take. Add them to your food processor whole - no need to separate or pick out the white filling - blend, and use the crumbs as directed. The other option is to purchase store bought Oreo crumbs but they're tricky to find.
- Press the mixture firmly into the base of the springform pan in an even flat layer with your hands and fingertips or a fork.
- Bake crust for 15 minutes and after baking, place the springform pan on a cooling rack to cool while you move onto making the filling.
- Cheesecake Filling - Increase the oven temp to 400F and to the bowl of a stand mixer fitted with the paddle attachment, add the cream cheese, both sugars, and beat on high speed for 2 minutes. Scrape the sides of the bowl down intermittently. Tips - The smoother the batter is at the beginning of the process, the better the final result will be. If cream cheese lumps do remain at the end of making the batter, simply press them against the side of the bowl with a rubber spatula to disperse and flatten them as best as possible.
- Add the heavy cream, sour cream, vanilla, lemon or lime juice, salt, and beat together until combined, about 30 seconds. Stop and scrape down the sides of the bowl.
- Add the egg yolks and mix just for 15 seconds to incorporate. Tip - Do not mix for extra time because this will add air which will cause the cheesecake to crack while it bakes.
- Add the cornstarch and beat for a couple seconds to incorporate.
- Pour the batter into the crust.
- Tightly wrap the outside and sides of the springform pan with foil. Tips - It needs to be tightly and very well wrapped so that in the next steps water doesn't seep in. I suggest heavy duty foil.
- Water Bath - Place the springform pan into a larger pan (such as a larger roasting pan or bigger baking pan) and slowly add warm tap water so that the springform pan is resting in 1-inch of water. My roasting pan has a wire rack so I prop the springform pan on that, but a wire rack isn't necessary. Tips - Do not skip the water bath. It's essential to prevent the cheesecake from cracking during baking. While baking, add a bit more water so there's a steady supply of steam.
- Baking - Place the pans into the oven and bake for 15 minutes at 400F.
- Reduce the temp to 250F and bake for 1 hour 15 minutes.
- Once baked (after the 90 minutes total) turn the oven off. Let the cheesecake rest with the door closed for 30 minutes inside the water bath, inside the oven with the door closed.
- After 30 minutes, crack the over door open a few inches and allow the cheesecake to rest in the water bath, in the oven, with the door open slightly.
- Cooling - Remove the pans from the oven, take the springform pan out of the water bath, and unwrap the foil from around the springform pan.
- Place cheesecake on a wire rack to cool completely. Tip - Don't shortcut this step, make sure it's fully cooled to room temp before moving on.
- After it's completely cooled, cover the top tightly with foil, and place it into the fridge to chill for 8 hours, or overnight.
- Topping - Toast the shredded coconut in a skillet over medium heat for 4 to 5 minutes or until golden brown; stir very frequently. Tip - Keep a close eye on the coconut because it's prone to burning due to the high sugar content so don't turn your back on it.
- Add the toasted coconut to a large bowl, add 1 1/2 cups caramel sauce* (about 12 ounces), and stir to combine.
- Assembly - Turn the coconut and caramel mixture out over the top of the cheesecake in an even, flat layer. Smooth it very gently with a spatula as necessary.
- You can add the remaining 1 cup (about 8 ounces) caramel sauce to a small ziptop baggie with a tiny corner snipped off for a more precise drizzle and then drizzle it over the top of the cheesecake. Or, you can just drizzle it 'freehand' from a small spoon very lightly and carefully and skip the baggie. Tip - This is my vote as to not waste caramel that gets stuck to the baggie and just go with an easier and more 'artsy' approach to drizzling.
- Melt the chocolate chips in a medium microwave-safe bowl by heating on high power in 15 second increments, stopping after each burst to stir, and heat again only until the chocolate can be stirred smooth; don't overheat or the chocolate will seize and you'll have to start over.
- The same as was the case with the caramel drizzle, you can either add it to a plastic baggie and drizzle, or drizzle it freehand with the back of a spoon. At this point you can slice and serve. Or, return to the fridge and continue to chill until you're ready to serve it.
- Cheesecake will keep airtight in the fridge for up to 5 days or in the freezer for up to 3 months. Freezing Tips - The cheesecake freezes really well! For quick serving and thawing purposes, I like to slice the cheesecake, wrap each slice very well in saran wrap, then freeze the slices. It’s less bulky to store slices wrapped in plastic wrap in my freezer than in containers. When I’m ready for a slice, I take one out of the freezer, let it set on the counter for 15 to 20 minutes to thaw, and enjoy.
Notes
- *Lime vs. Lemon Juice - Lime juice enhances the flavor of the cream cheese helping to bring out that classic cheesecake flavor. Lemon juice adds to the tartness of the cream cheese, however it is more prominent or detectable in the final overall flavor of the cheesecake than lime juice. Lime juice enhances and lemon juice adds flavor. That's why I choose lime.
- * Caramel Sauce - You need 2 1/2 cups (or about 20 ounces) total.
- You can use homemade caramel sauce such as my Best and Easiest Homemade Caramel Sauce.
- Or use store bought. There are approximately 8 ounces in 1 cup caramel sauce. Therefore, you need about 20 ounces. Most jars are sold in 8 to 12 ounce sizes so you'll need 2 or 3 jars, depending on size.
Nutrition Information
Show Details
Serving
1
Calories
678kcal
(34%)
Carbohydrates
72g
(24%)
Protein
9g
(18%)
Fat
41g
(63%)
Saturated Fat
25g
(125%)
Polyunsaturated Fat
13g
Cholesterol
159mg
(53%)
Sodium
690mg
(29%)
Fiber
3g
(12%)
Sugar
59g
(118%)
Nutrition Facts
Serving: 12Serving
Amount Per Serving
Calories 678 kcal
% Daily Value*
| Serving | 1 | |
| Calories | 678kcal | 34% |
| Carbohydrates | 72g | 24% |
| Protein | 9g | 18% |
| Fat | 41g | 63% |
| Saturated Fat | 25g | 125% |
| Polyunsaturated Fat | 13g | 76% |
| Cholesterol | 159mg | 53% |
| Sodium | 690mg | 29% |
| Fiber | 3g | 12% |
| Sugar | 59g | 118% |
* Percent Daily Values are based on a 2,000 calorie diet.
Genuine Reviews
User Reviews
Overall Rating
5.0
12 reviews
Excellent
Other Recipes
You'll Also Love