Cherry Pie (Homemade Pie Filling Recipe)
User Reviews
0.0
0 reviews
Unrated
Cherry Pie (Homemade Pie Filling Recipe)
Report
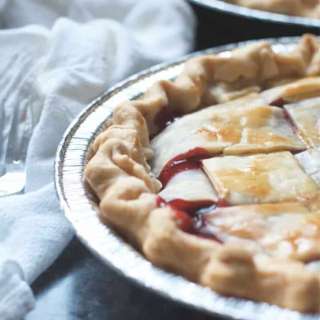
Skip the canned stuff and make a batch of sweet, thick and delicious pie filling with fresh cherries and just a handful of simple ingredients. This scratch made cherry pie recipe is sure to be an instant family favorite!
Share:
Ingredients
- Homemade pie crust recipe or 1 box refrigerated pie crusts with 2 crusts
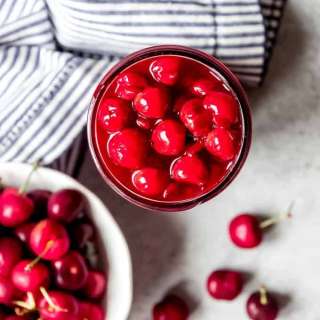
- 7 cups fresh cherries pitted (or frozen cherries) about 3 lbs
- 1 cup granulated sugar
- ¼ cup fresh lemon juice + 1 teaspoon zest
- ¼ cup cornstarch
- ½ teaspoon almond extract or vanilla extract
- 1 egg + 1 tablespoon water
- 1 tablespoon coarse sugar
Instructions
- Prep the Cherries: If working with fresh cherries, use a cherry pitter to remove the pit and stem from each cherry. Measure the cherries and place them in a medium sauce pot. *There's nothing worse than biting into a piece of pie and nearly breaking your tooth on a cherry pit. Make sure to prep the cherries carefully removing every pit.
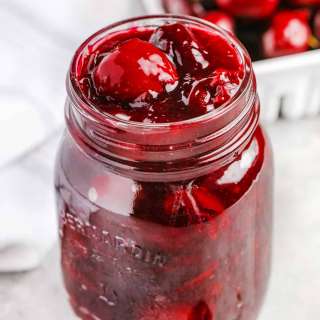
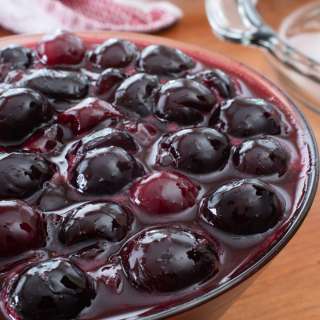
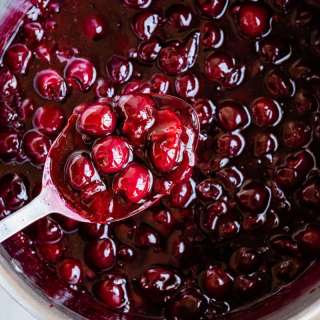
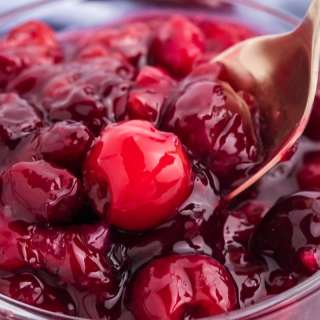
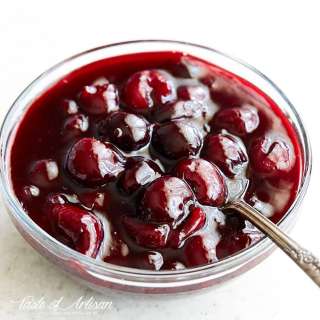
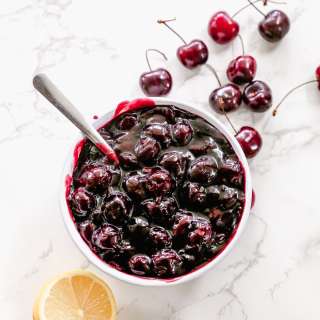
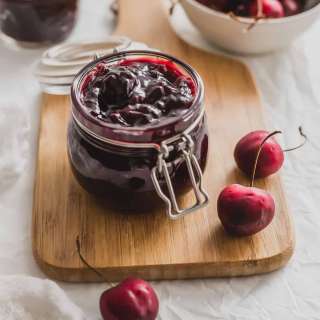
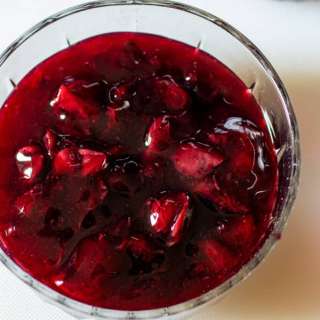
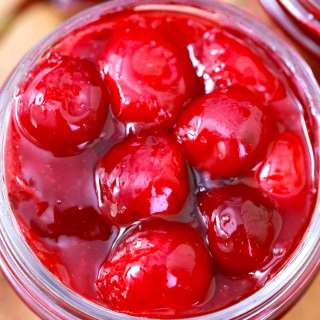
- Make the Cherry Pie Filling: Pour the sugar, lemon juice, lemon zest, and cornstarch into the sauce pot. Turn the heat on medium-low and bring the cherries to a simmer. Stir and simmer the cherries to release the juices and thicken the filling, about 8-10 minutes. Stir continuously, so the sugar doesn’t burn while the juices release. Then simmer until the cherries are mostly cooked through and the glaze is the consistency of thick syrup. Then turn off the heat and add the almond extract. Allow the cherry pie filling to cool completely before adding to the pie crust. *Cherries are more dense than berries, so cooking the filling ahead of time gives the cherry filling a head-start. That way, you don't have to overbake the crust in order to get a perfect cherry pie filling inside.
- Prep the Pie Crusts: If making pie crust from scratch, use the link to make our homemade recipe. Separate the dough, wrap the pieces in plastic, and chill until ready to use. Then roll out 2 pie crusts into 9-inch circles before proceeding. *It helps to use a pastry mat to roll out the pie crusts. Or place each piece of dough on a piece of wax paper (or parchment paper) before rolling for easy moving.
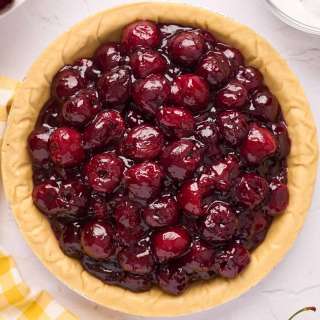
- Set out a deep dish 9-inch pie pan. Roll one crust into an 11-inch circle so that it fits over the bottom and sides of the pan, and covers the lip of the pan as well. Place the bottom crust in the refrigerator while you work on the top crust.
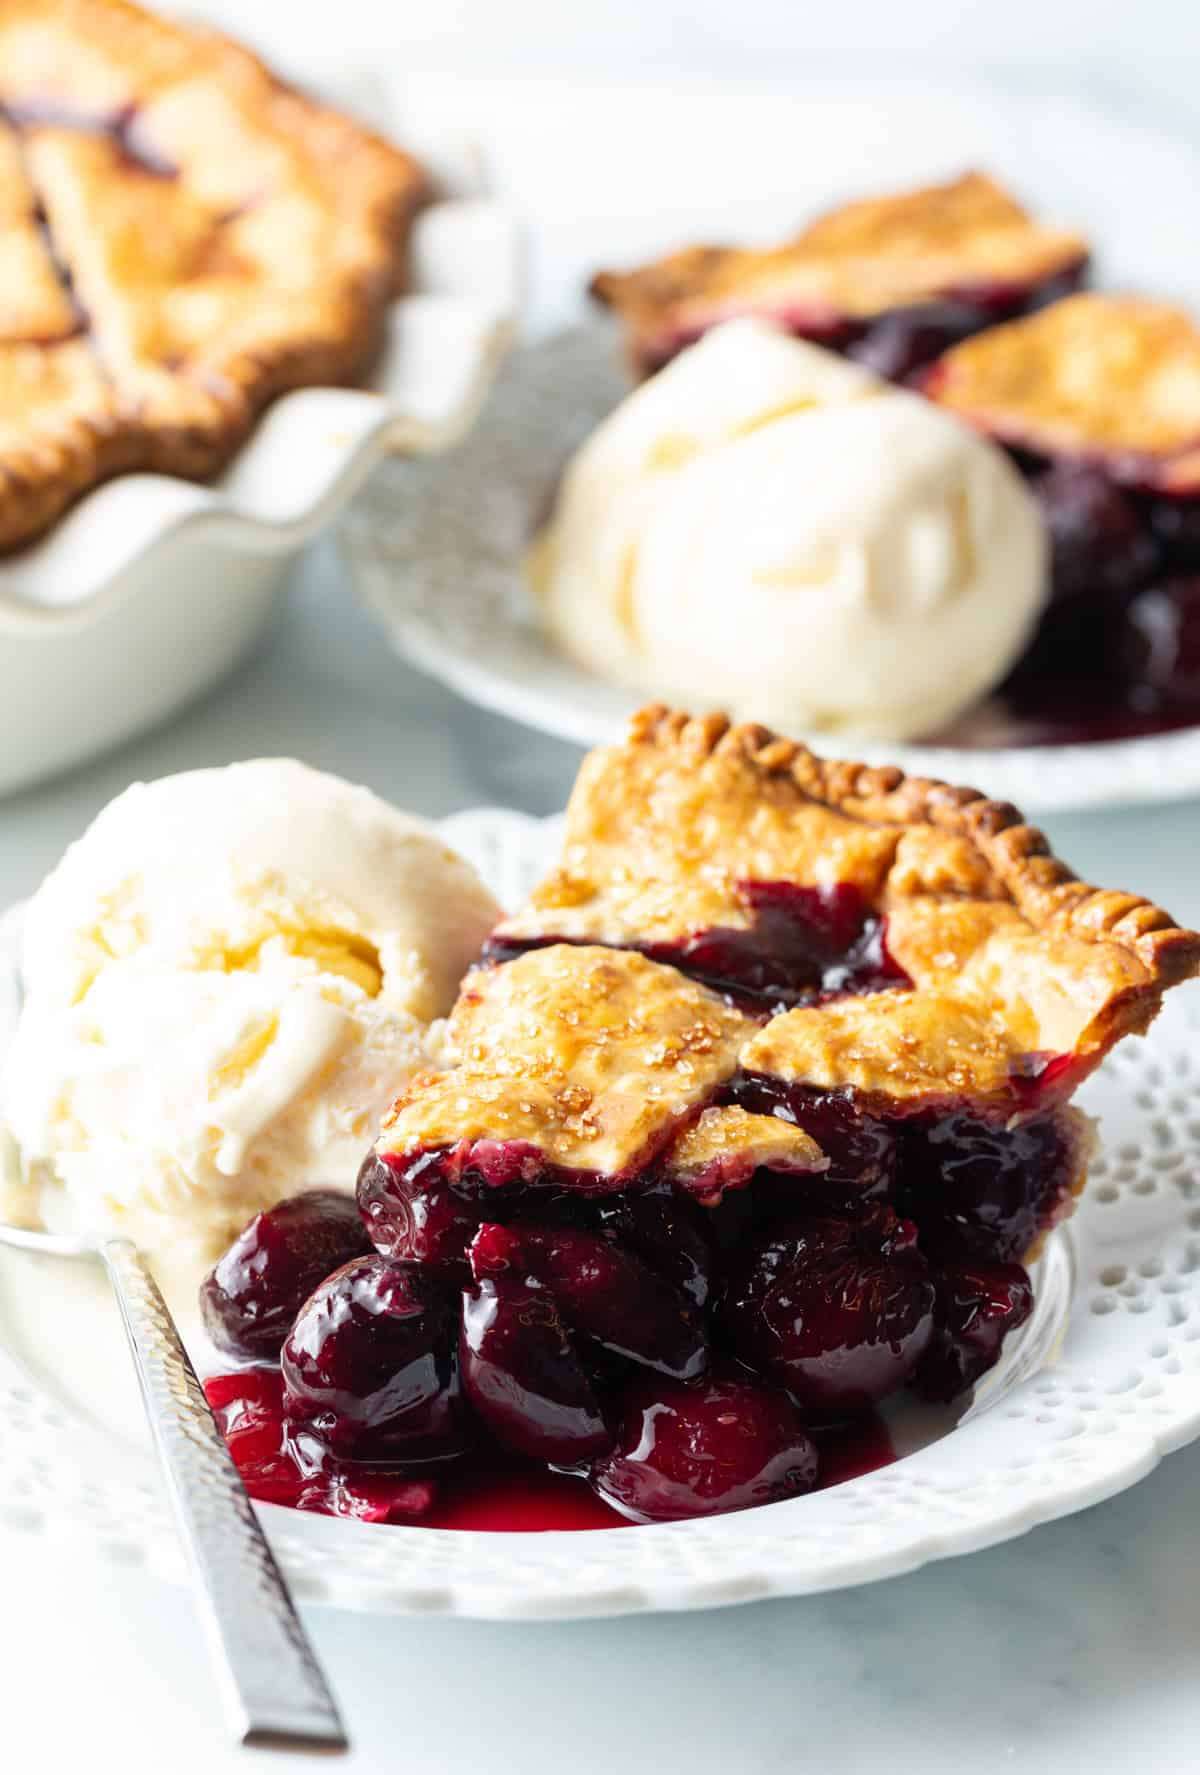
- For the top crust, you do not have to do any fancy decorating if you don't want to. You can simply slice 4 air vents in the top. However, if you want to create a classic lattice top, use a pizza roller to cut the piecrust into 1-inch strips. Place 6 strips across the pie in one direction, leaving 1/2 -inch gaps in between. Then weave the remaining strips in the opposite direction gently lifting the original strips up as needed. You can also use a diamond shaped cookie cutter to cut out decorative vent holes in the top of the pie, like we did. It’s sort of a reverse-lattice look!
- Preheat the oven to 400°F.
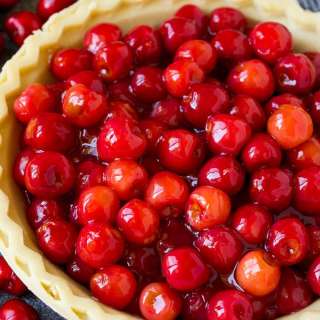
- Fill the Cherry Pie: Carefully pour the cooled pie filling into the cold pie crust. The filling should come to the top of the pie with a slight dome in the center. If you find your pie pan is not quite large enough to hold all the cherry filling, reserve some for another use.
- Cover the Pie: Carefully move the top pie crust over the cherry pie filling. Crimp the two crusts together along the rim of the pan. You can do this with your fingers, or with a fork. Working with a lattice top, it's best to roll the edges of the pie crust up over the lattice. If working with any other crust you can roll the two piecrust together downward to make the edges neat.
- If you want the pie crust to be shiny on top, whisk together 1 egg and 1 tablespoon of water. Brush the egg wash over the top of the pie, then sprinkle with coarse sugar. *This step is completely optional – you do not have to eggwash the top.
- Place the pie on the center rack of the oven. Bake for approximately 40-45 minutes. Check the pie crust after 25-30 minutes. If it looks like it's browning too early, place a piece of foil loosely over the top and continue baking.
- Allow the pie to cool completely before cutting and serving, otherwise the filling may not be fully set.
Notes
- Serve cherry pie as-is or with a scoop of vanilla ice cream or a dollop of whipped cream!
- I recommend covering the cooled pie with plastic wrap or aluminum foil, and keeping in the fridge for up to 4-5 days.
- To freeze: Assemble and bake the cherry pie in an aluminum pie plate. Let it cool completely before wrapping in a layer of plastic wrap and aluminum foil. Freeze for up to 3 months.
- Thaw the pie in the fridge overnight, or defrost it on the counter for an hour or so. Bake at 350 degrees for 20-30 minutes until the pie is reheated and the cherry filling bubbly.
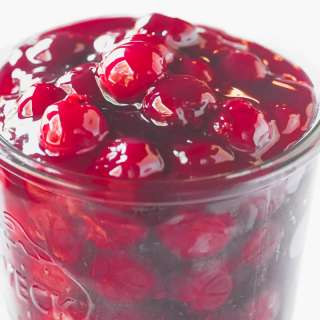
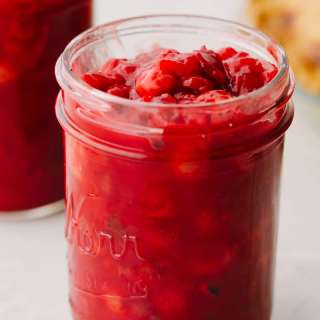
- To store the cherry pie filling: Cool the filling completely and transfer to an airtight container. It will keep well in the fridge for up to a week.
Nutrition Information
Show Details
Calories
292kcal
(15%)
Carbohydrates
58g
(19%)
Protein
3g
(6%)
Fat
6g
(9%)
Saturated Fat
2g
(10%)
Polyunsaturated Fat
1g
Monounsaturated Fat
3g
Trans Fat
0.003g
Cholesterol
20mg
(7%)
Sodium
95mg
(4%)
Potassium
298mg
(9%)
Fiber
3g
(12%)
Sugar
40g
(80%)
Vitamin A
107IU
(2%)
Vitamin C
8mg
(9%)
Calcium
25mg
(3%)
Iron
1mg
(6%)
Nutrition Facts
Serving: 8servings
Amount Per Serving
Calories 292 kcal
% Daily Value*
| Calories | 292kcal | 15% |
| Carbohydrates | 58g | 19% |
| Protein | 3g | 6% |
| Fat | 6g | 9% |
| Saturated Fat | 2g | 10% |
| Polyunsaturated Fat | 1g | 6% |
| Monounsaturated Fat | 3g | 15% |
| Trans Fat | 0.003g | 0% |
| Cholesterol | 20mg | 7% |
| Sodium | 95mg | 4% |
| Potassium | 298mg | 6% |
| Fiber | 3g | 12% |
| Sugar | 40g | 80% |
| Vitamin A | 107IU | 2% |
| Vitamin C | 8mg | 9% |
| Calcium | 25mg | 3% |
| Iron | 1mg | 6% |
* Percent Daily Values are based on a 2,000 calorie diet.
Genuine Reviews
User Reviews
Overall Rating
0.0
0 reviews
Unrated
Other Recipes
You'll Also Love