Christmas Cookies with Edible Wafer Paper (Photo Cookies)
User Reviews
5.0
87 reviews
Excellent
-
Prep Time
30 mins
-
Drying time:
12 hrs
-
Total Time
12 hrs 30 mins
-
Servings
12 cookies
-
Calories
125 kcal
-
Cuisine
International
Christmas Cookies with Edible Wafer Paper (Photo Cookies)
Report
Have you had your fill of those same old Christmas cookies? You know, the ones with the reindeer and snowflakes? It's high time to switch things up with something special - these super cool Christmas picture cookies! It doesn't matter if you're a seasoned baker or someone who loves the ease of store-bought treats - You can use either.
Share:
Ingredients
- 12 cookies homemade or shop-bought
- 225 grams icing sugar aka powdered sugar
- 1 egg white
- 1-2 teaspoons water
Instructions
**We suggest you read the blog post first since it has visuals that can make the steps below easier to understand.**
Making the royal icing - Piping the outlines
- Sift the icing sugar into a medium bowl.
- Add the egg white to the icing.
- Use a fork to mix the icing sugar and egg white together. This step is to prevent a cloud of sugar when you start using the electric mixer.
- With an electric hand mixer, beat the mixture until it's smooth and free of lumps.
- Check the consistency: It should resemble a thick paste that holds its shape. If it seems too runny, add a touch more icing sugar. For a thicker consistency, introduce a small drop of water. Typically, there's little need for adjustments at this stage, unless you've used an unusually small or large egg white.
- Place about a fifth of the icing into a piping bag with a small, round tip.
- Gently pipe an outline around each cookie, creating what will be your "flood line."
Making the royal icing - Flooding inside the lines
- Revisit the remaining icing. Begin by adding no more than a teaspoon of water to it and stir thoroughly.
- Check the consistency: It should be slightly runnier than before, but not too thin. Perform this test: Take a spoonful of icing and drizzle it back and forth over the icing in the bowl. Start counting. If the "ribbon" takes around 10 seconds to disappear, the icing is at the right consistency. If it takes much longer, add a drop of water. Mix and test again. If it disappears in less than 10 seconds, incorporate a small amount of icing sugar to thicken it up again. Mix and test again.
- Load a new piping bag with the flooding consistency icing using the same piping tip, or go for a slightly larger one if you prefer.
- Within the outlined area of the cookie, pipe zig-zag lines. Avoid overfilling this space by leaving gaps between the lines.
- With the tip of the piping tip, gently nudge the icing into the gaps without squeezing the bag to release more icing. Carefully push the icing around until you achieve a consistent, even layer of icing between the outlines. You can also use a toothpick for this step.It's important to work swiftly and not step away from the cookie during this phase. If you delay, the icing may dry, making it impossible to adjust and fill the gaps.
- Repeat this step for all your cookies. Allow them to dry for 24 hours, at a minimum for 12 hours. They should be fully dried, quite firm and have a smooth, shiny surface.
Attaching the wafer paper to the cookies
- Measure the specific area on the cookie where you intend to place the wafer paper design. Then, cut out the corresponding shapes from the wafer paper.
- Using a small, clean brush, gently apply a thin layer of water onto the surface of the hardened icing. Don't do it the other around by brushing the wafer paper instead. It will become soggy or dissolve before you have a chance to adhere it to the cookie.
- Delicately position your design onto the moistened surface of the cookie and press it down. If you notice any areas, such as corners or sides, lifting up, simply brush a small amount of water under or onto the wafer paper and secure it in place.
- Leave your little works of art to fully dry before handling them.
Nutrition Information
Show Details
Calories
125kcal
(6%)
Carbohydrates
25g
(8%)
Protein
1g
(2%)
Fat
3g
(5%)
Saturated Fat
1g
(5%)
Polyunsaturated Fat
1g
Monounsaturated Fat
1g
Sodium
40mg
(2%)
Potassium
13mg
(0%)
Fiber
0.1g
(0%)
Sugar
21g
(42%)
Vitamin A
9IU
(0%)
Calcium
2mg
(0%)
Iron
0.3mg
(2%)
Nutrition Facts
Serving: 12cookies
Amount Per Serving
Calories 125 kcal
% Daily Value*
| Calories | 125kcal | 6% |
| Carbohydrates | 25g | 8% |
| Protein | 1g | 2% |
| Fat | 3g | 5% |
| Saturated Fat | 1g | 5% |
| Polyunsaturated Fat | 1g | 6% |
| Monounsaturated Fat | 1g | 5% |
| Sodium | 40mg | 2% |
| Potassium | 13mg | 0% |
| Fiber | 0.1g | 0% |
| Sugar | 21g | 42% |
| Vitamin A | 9IU | 0% |
| Calcium | 2mg | 0% |
| Iron | 0.3mg | 2% |
* Percent Daily Values are based on a 2,000 calorie diet.
Genuine Reviews
User Reviews
Overall Rating
5.0
87 reviews
Excellent
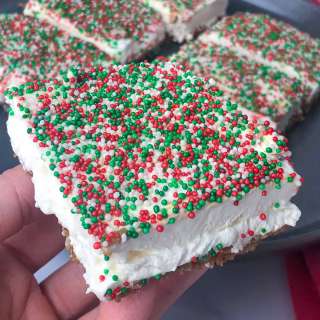
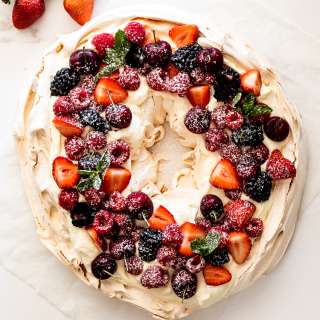
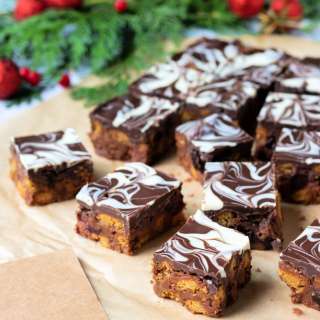
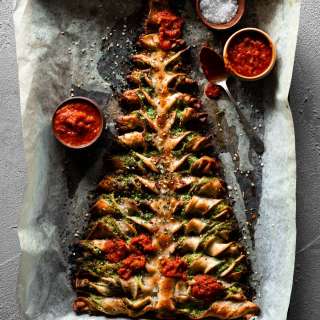
Other Recipes
You'll Also Love