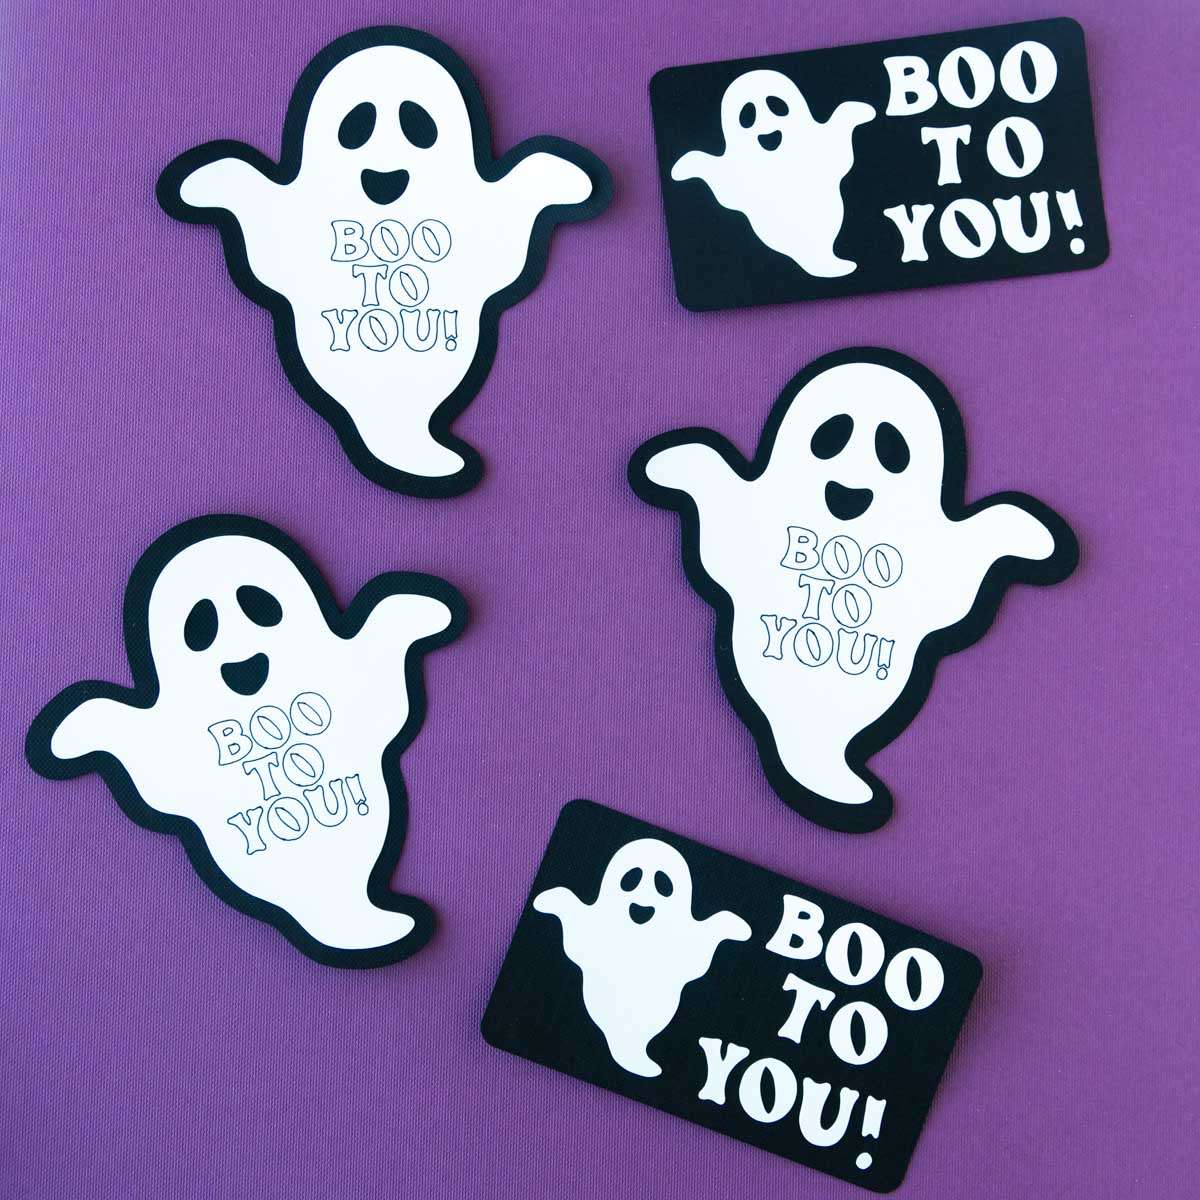
DIY Boo Tags
User Reviews
0.0
0 reviews
Unrated
-
Prep Time
5 mins
-
Cook Time
5 mins
-
Total Time
10 mins
-
Servings
6 tags
DIY Boo Tags
Report
These DIY boo tags are one of the easiest Cricut paper projects you can make and are perfect for adding to Halloween boo buckets!
Share:
Ingredients
- 1 piece Black Cricut Cardstock
- 1 piece White Cricut Smart Sticker Cardstock
Instructions
- Open Cricut Design Space boo tag file and click customize.
- Change the sizes (if desired) and/or number of tags you want to cut. Then click Make It.
- Load Cricut Maker 3 with black pen and Fine Point Blade. Follow instructions on screen to load, draw on, and cut white Cricut Smart Sticker Cardstock.
- Use scissors to cut the portion of cut card stock away from any uncut cardstock (so you can use it again later). Then use a weeding tool to carefully remove any unwanted portions of the design, such as the ghost eyes so you only have the actual sticker part you want left.
- Place the black Cricut Cardstock onto the Cricut LightGrip Mat and load into the machine. Follow the prompts in Cricut Design Space to cut out the ghost and boo tag backings.
- Carefully peel the white sticker cardstock from the backing and place directly onto the black cardstock, making sure to line it up how you want.
- Add your boo tags to Halloween gifts, boo buckets, and more!
Equipments used:
Genuine Reviews
User Reviews
Overall Rating
0.0
0 reviews
Unrated
Other Recipes
You'll Also Love