DIY Christmas Coasters with the Cricut Maker
User Reviews
5.0
3 reviews
Excellent
-
Prep Time
20 mins
-
Cook Time
20 mins
-
Additional Time
10 mins
-
Total Time
34 mins
-
Servings
4 sets of 2 coasters
DIY Christmas Coasters with the Cricut Maker
Report
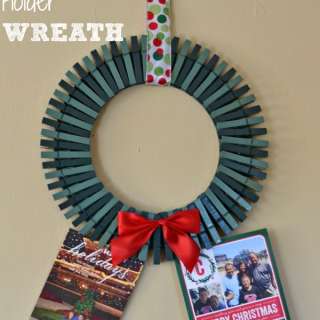
These vibrant and festive Christmas Coasters are easy to DIY with the Cricut Maker! We'll show you step by step how to make two different holiday coaster designs.
Share:
Ingredients
- 1 heet Infusible Ink Transfer Paper, Cherry
- 1 heet Infusible Ink Transfer Paper, Bright Green
- 2 ets Infusible Ink Coaster Blanks, Round
Instructions
- First, the project in Cricut Design Space.
- Place your Infusible Ink transfer sheets on a cutting mat and load your machine.
- Make sure to to select "mirror" in Design Space, then press "GO" to start cutting. If you cut two sets on each piece of Infusible Ink paper, you'll have 4 matched sets of red and green coasters.
- While your designs are cutting, heat up your EasyPress to 400°F.
- After your Maker finishes cutting out the designs, separate your Christmas coasters from excess Infusible Ink paper.
- Place your EasyPress mat on a sturdy, flat surface. Place a thick piece of cardstock on top of your easy press mat to protect it.
- Remove coaster blanks from packaging and place on top of the cardstock and EasyPress mat.
- Place your Christmas coaster designs on top of the coaster blanks; secure with heat-resistant tape if needed.
- Cover coasters with a sheet of butcher paper (provided with your Infusible Ink transfer sheets) and place EasyPress on top of the stack.
- Keep EasyPress in place for 240 seconds at 400°F. You don't need to push down or move the press - just let it rest on the coasters.
- When time is up, remove the EasyPress and place back in its heat-safe tray.
- Allow coasters to cool completely before peeling away the butcher paper and transfer paper.
Genuine Reviews
User Reviews
Overall Rating
5.0
3 reviews
Excellent
Other Recipes
You'll Also Love