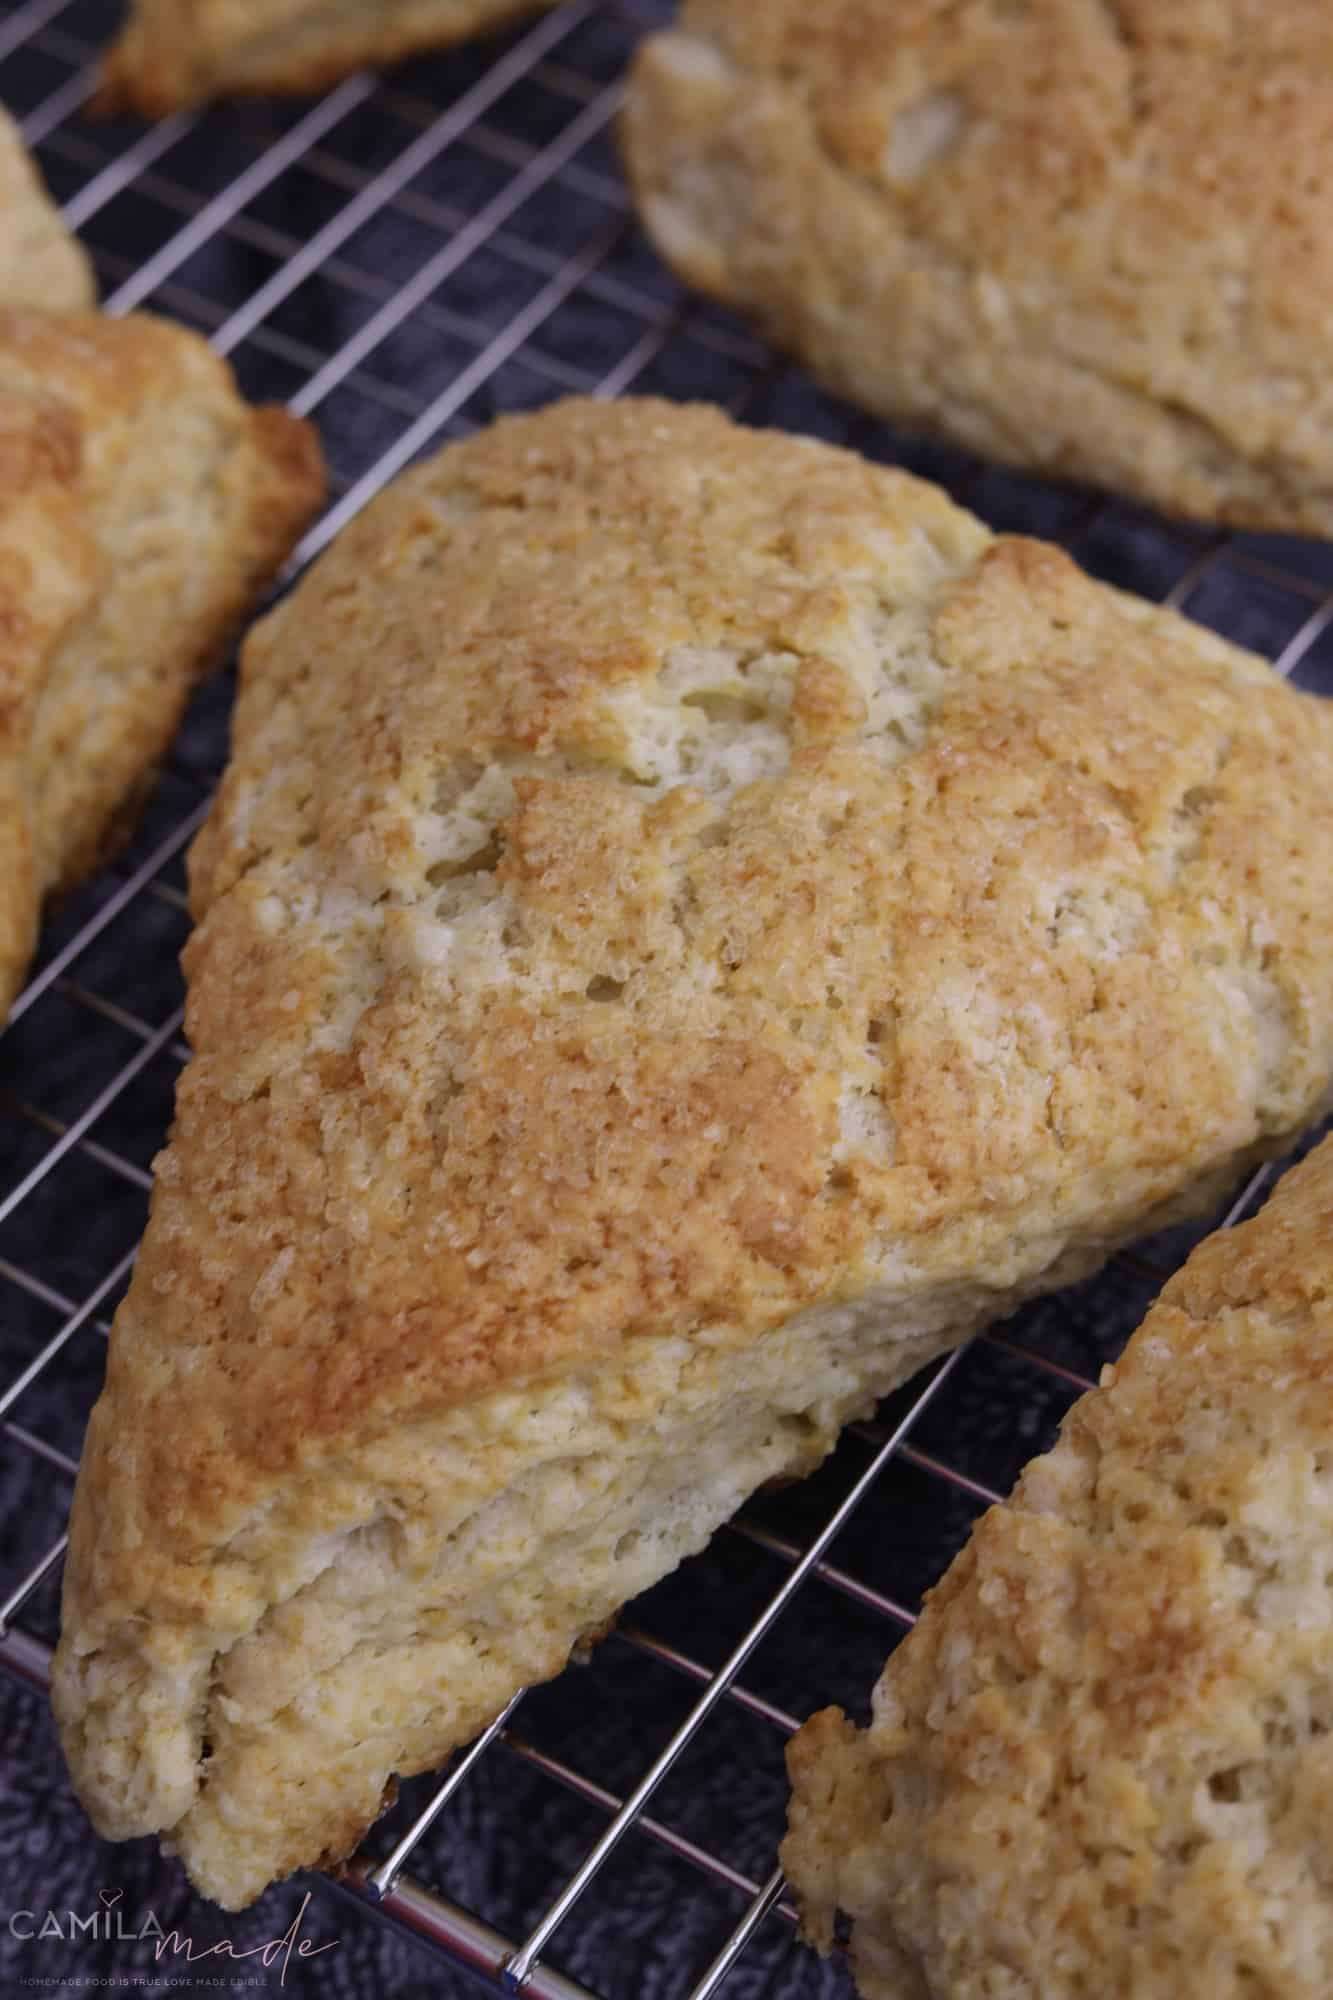
Easy Scones
User Reviews
5.0
6 reviews
Excellent
Easy Scones
Report
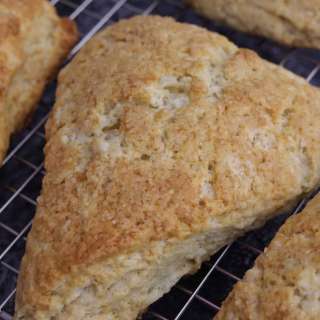
If you’re looking for a simple, hearty pastry for your next brunch, look no further than these satisfying Scones. This recipe for scones comes together with just a few ingredients. Plus, they are simple to make, customizable, and bake beautifully straight from the freezer, making them a great option for make-ahead breakfast or brunch fare.
Share:
Ingredients
- 469 g (3-¾) cups All Purpose Flour , plus more for the surface
- 30 g (¼ cup) cornstarch or all purpose flour
- ½ cup granulated sugar , plus additional for sprinkling
- 2 tablespoons baking powder
- 1 teaspoon kosher salt
- 226 g (2 sticks ) cold unsalted butter , diced
- 4 large eggs , lightly beaten
- 1 cup cold heavy cream or buttermilk , 3 tablespoons for brushing
- 2 tablespoons clear vanilla or pure vanilla extract , optional but highly recommended if making Sweet Scones
- 1 ½ cups add-ins such as chocolate chips, fruits, and/or nuts optional
- Optional: coarse sugar , icing, or confectioners’ sugar
Instructions
For the Scones:
- Line with parchment paper (1 ) 18'' x 13'' Rimmed baking sheet and (1) 13'' x 9'' Rimmed baking sheet; set aside. In a food processor, pulse flour, baking powder, salt, and sugar to combine. Add the chilled butter pieces and pulse until the mixture resembles coarse crumbs. Transfer to a large mixing bowl; set aside in the freezer while mixing the wet ingredients. (Alternatively, cut the butter into the flour in a large mixing bowl using a pastry cutter or two forks).
- In a large mixing bowl, whisk together heavy cream, egg, and vanilla extract. Pour over the flour mixture, then mix until a shaggy dough forms (it's okay if the dough looks a little dry, just don't overwork it). Then, lightly knead the dough in the bowl until it just comes together.
- Turn dough onto a floured surface, and with floured hands, knead the dough into a ball shape; don't worry if it's sticky. If the dough is too dry, add 1 tablespoon of heavy cream.
- Press the dough out into a circle about 12 inches in diameter and out about 1 inch thick. Using a knife or bench scraper, cut into 8 or 12 wedges. Pull the wedges and transfer them to a parchment paper-lined baking sheet about an inch away. Freeze or refrigerate unbaked scones for a minimum of 15 minutes.
- Meanwhile, preheat the oven to 400ºF. Brush the tops of the scones with heavy cream and sprinkle with coarse sugar for texture if desired. Bake for 20–25 minutes until golden brown. Remove from oven and cool for 5 minutes before finishing with additional toppings.
- Camila Made Tip: Don’t overwork the dough; mixing and kneading are both actions that develop gluten, which makes for chewy breads as opposed to tender, cakey crumbs for scones. Mix dough gently with a wooden spoon, and gently pat when shaping to keep from overworking.
Equipments used:
Notes
- How to Store & Reheat
- How to Store & Reheat
- To store: Baked scones can be stored in an airtight container at room temperature for 2 days or in the refrigerator for up to one week.
- To store: Baked scones can be stored in an airtight container at room temperature for 2 days or in the refrigerator for up to one week.
- To reheat: In the microwave until heated through, about 10 to 15 seconds, or in a 350 F preheated oven for 12 to 15 minutes or until heated.
- To reheat: In the microwave until heated through, about 10 to 15 seconds, or in a 350 F preheated oven for 12 to 15 minutes or until heated.
- Make Ahead
- Make Ahead
- Scones can be made a day ahead—store in an airtight container at room temperature for up to 3 days. Reheat in a warm oven for 5-8 minutes. Unbaked Scones can be made a day ahead and kept covered in the fridge overnight. Bake directly from frozen, as directed in the recipe, but add 1 to 2 extra minutes to the baking time.
- Scones can be made a day ahead—store in an airtight container at room temperature for up to 3 days. Reheat in a warm oven for 5-8 minutes. Unbaked Scones can be made a day ahead and kept covered in the fridge overnight. Bake directly from frozen, as directed in the recipe, but add 1 to 2 extra minutes to the baking time.
- How to Freeze
- How to Freeze
- Scones can be frozen for up to 3 months. To freeze Scones before baking, make the scones according to the recipe; place the raw scones on a baking sheet, let them freeze until solid, then place them in a freezer-safe bag and press out as much air as possible. Bake directly from frozen, as directed in the recipe, but add 1 to 2 extra minutes to the baking time.
- Scones can be frozen for up to 3 months. To freeze Scones before baking, make the scones according to the recipe; place the raw scones on a baking sheet, let them freeze until solid, then place them in a freezer-safe bag and press out as much air as possible. Bake directly from frozen, as directed in the recipe, but add 1 to 2 extra minutes to the baking time.
- To freeze scones after baking, let them cool completely and store them in a freezer-safe airtight container or bag for up to 3 months. Before serving, remove the scones from the container and let them come to room temperature; warm them up in the microwave if desired. For the best result, I highly recommend that you freeze them before baking.
- To freeze scones after baking, let them cool completely and store them in a freezer-safe airtight container or bag for up to 3 months. Before serving, remove the scones from the container and let them come to room temperature; warm them up in the microwave if desired. For the best result, I highly recommend that you freeze them before baking.
Genuine Reviews
User Reviews
Overall Rating
5.0
6 reviews
Excellent
Other Recipes
You'll Also Love