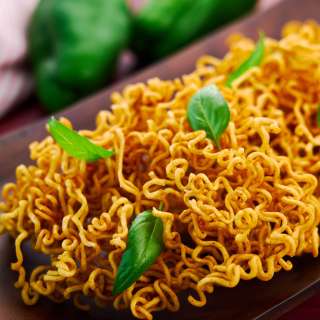
Shokupan Crust Rusks
User Reviews
4.8
42 reviews
Excellent
Shokupan Crust Rusks
Report
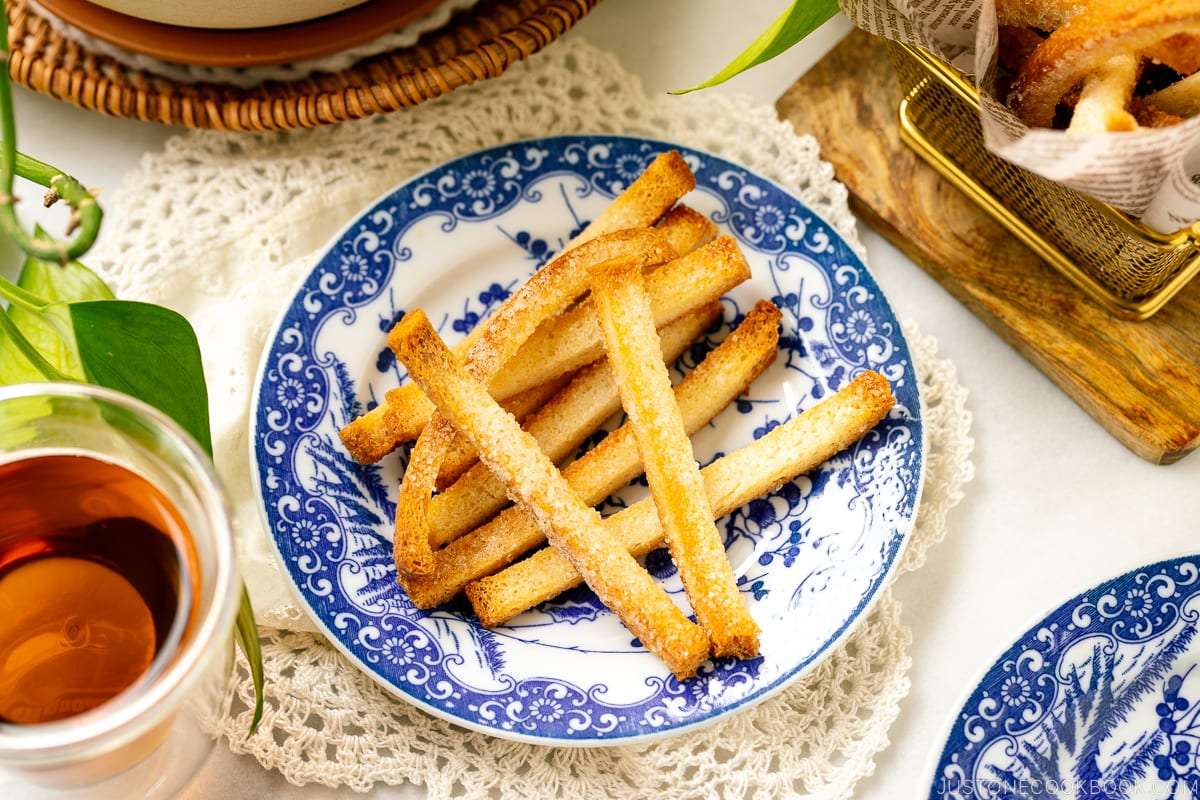
Generously coated with butter and sugar and baked until crispy, Shokupan Crust Rusks are a rustic treat to enjoy with coffee or tea. These crunchy, buttery snacks are a delicious way to repurpose the crusts from Japanese milk bread when you make sandwiches like tamago sando, katsu sando, and fruit sando.
Share:
Ingredients
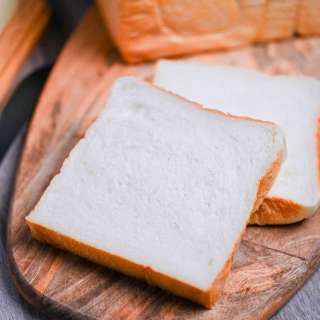
- 16 trips of crust from Japanese milk bread (cut the crusts off 4 slices of Japanese shokupan sandwich bread or use 2 end slices cut into 8 strips each; sandwich slices are typically precut to 10–12 slices per square loaf; you can also use frozen crusts and end-piece strips that you saved in the freezer)
- 4 Tbsp unsalted butter
- 1 Tbsp sugar (I use granulated sugar)
Instructions
- Gather all the ingredients. You can see in the image the 16 strips of Japanese milk bread crust that I cut off from 4 slices of sandwich bread. You could also use 2 end slices cut into 8 strips each. This recipe is a perfect way to use up the end piece of a loaf of shokupan! Each crust strip here is roughly ½-inch (1.2-cm) thick; it's fine to use crust strips of different lengths. Tip: You can also use frozen crusts and end-piece strips that you previously saved in the freezer.
To Dry the Crusts
- First, dry 16 strips of crust from Japanese milk bread. Preheat a toaster oven or standard oven (I used my countertop Anova Precision Oven) to 250ºF (120ºC); for a convection oven (recommended), reduce the cooking temperature by 25ºF (15ºC). Place the crust strips directly on the oven rack, or on a wire rack in a baking sheet, leaving plenty of space between the strips. Bake for 8–10 minutes or until they are dry and crisp, but don‘t brown them yet. If using, put your frozen crust strips directly in the oven to defrost and dry; this may take a bit longer. Transfer the dried strips onto a tray or plate. Tip: The main purpose here is to let the moisture of the bread evaporate. If your crusts are dry, your rusks will be lighter and crispier.
To Bake the Crusts (recommended)
- Preheat the oven to 350ºF (180ºC). For a convection oven (recommended), reduce the cooking temperature by 25ºF (15ºC). Set the oven rack to the upper middle position for a standard oven or the middle position for a countertop oven.
- Meanwhile, put 4 Tbsp unsalted butter in a glass bowl and microwave it until completely melted. For my 1100W microwave oven, it took 30 seconds.
- Using a pastry brush, coat all sides of the oven-dried crust strips with the melted butter.
- Then, sprinkle 1 Tbsp sugar on all sides of the crusts. Optional: For a tasty variation, you can mix a bit of ground cinnamon into your sugar before sprinkling.
- Prepare a baking sheet fitted with a wire rack. Put the crust strips on the wire rack, leaving some space around the strips. Tip: With the wire rack, you don‘t have to flip the strips as the hot air will circulate on the bottom side.
- Bake in the preheated oven for 5–10 minutes or until the strips are golden brown and crispy. Remove from the oven and let cool completely. If some of them are not crispy or golden yet, you can leave them on the baking sheet in the oven with the remaining heat.
To Serve
- Serve the Shokupan Crust Rusks at room temperature. They‘re delicious to enjoy with coffee or tea.
To Store
- After the rusks are completely cool, keep them in an airtight container and store in a cool, dark place for 1–2 weeks. If you add a Food Safe Silica Gel Desiccant Packet, you can keep them for 2–3 months.
To Pan-Fry the Crusts (optional)
- Heat a large (11-inch) frying pan on low and add the butter. After the butter has melted a little bit (see the picture), turn off the heat and remove the pan from the hot stove. The residual heat will continue to gently melt the butter. Tip: We do not want to cook the butter for too long, as the milk solids will burn and turn black. If you‘re making more than 2 servings at once, I recommend either working on one batch at a time to evenly distribute the butter or using the oven method instead.
- Using a pastry brush, coat all sides of the oven-dried crusts with the melted butter.
- Why don‘t we just add the crust strips to the melted butter in the pan? Some of the crusts may not be straight, so you might have trouble flipping them and coating all sides with the melted butter in the pan. You will likely need more butter as well, based on my experience during recipe testing.
- After coating the crusts with butter, add all the strips to the pan with the remaining butter. Pan-fry on medium-low heat until they are golden brown and crispy, flipping the crusts often. Rusks should taste buttery, so feel free to add more butter to coat the crusts well. Once they‘re golden brown, remove from the pan and set aside on a tray or plate.
- While the rusks are hot, sprinkle them with the sugar on all sides to coat. Optional: For a tasty variation, you can mix a bit of ground cinnamon into your sugar before sprinkling.
Notes
Nutrition Information
Show Details
Calories
181kcal
(9%)
Carbohydrates
9g
(3%)
Protein
1g
(2%)
Fat
16g
(25%)
Saturated Fat
10g
(50%)
Polyunsaturated Fat
1g
Monounsaturated Fat
4g
Trans Fat
1g
Cholesterol
42mg
(14%)
Sodium
45mg
(2%)
Potassium
15mg
(0%)
Fiber
0.2g
(1%)
Sugar
5g
(10%)
Vitamin A
490IU
(10%)
Calcium
24mg
(2%)
Iron
0.3mg
(2%)
Nutrition Facts
Serving: 2Serving
Amount Per Serving
Calories 181 kcal
% Daily Value*
| Calories | 181kcal | 9% |
| Carbohydrates | 9g | 3% |
| Protein | 1g | 2% |
| Fat | 16g | 25% |
| Saturated Fat | 10g | 50% |
| Polyunsaturated Fat | 1g | 6% |
| Monounsaturated Fat | 4g | 20% |
| Trans Fat | 1g | 50% |
| Cholesterol | 42mg | 14% |
| Sodium | 45mg | 2% |
| Potassium | 15mg | 0% |
| Fiber | 0.2g | 1% |
| Sugar | 5g | 10% |
| Vitamin A | 490IU | 10% |
| Calcium | 24mg | 2% |
| Iron | 0.3mg | 2% |
* Percent Daily Values are based on a 2,000 calorie diet.
Genuine Reviews
User Reviews
Overall Rating
4.8
42 reviews
Excellent
Other Recipes
You'll Also Love