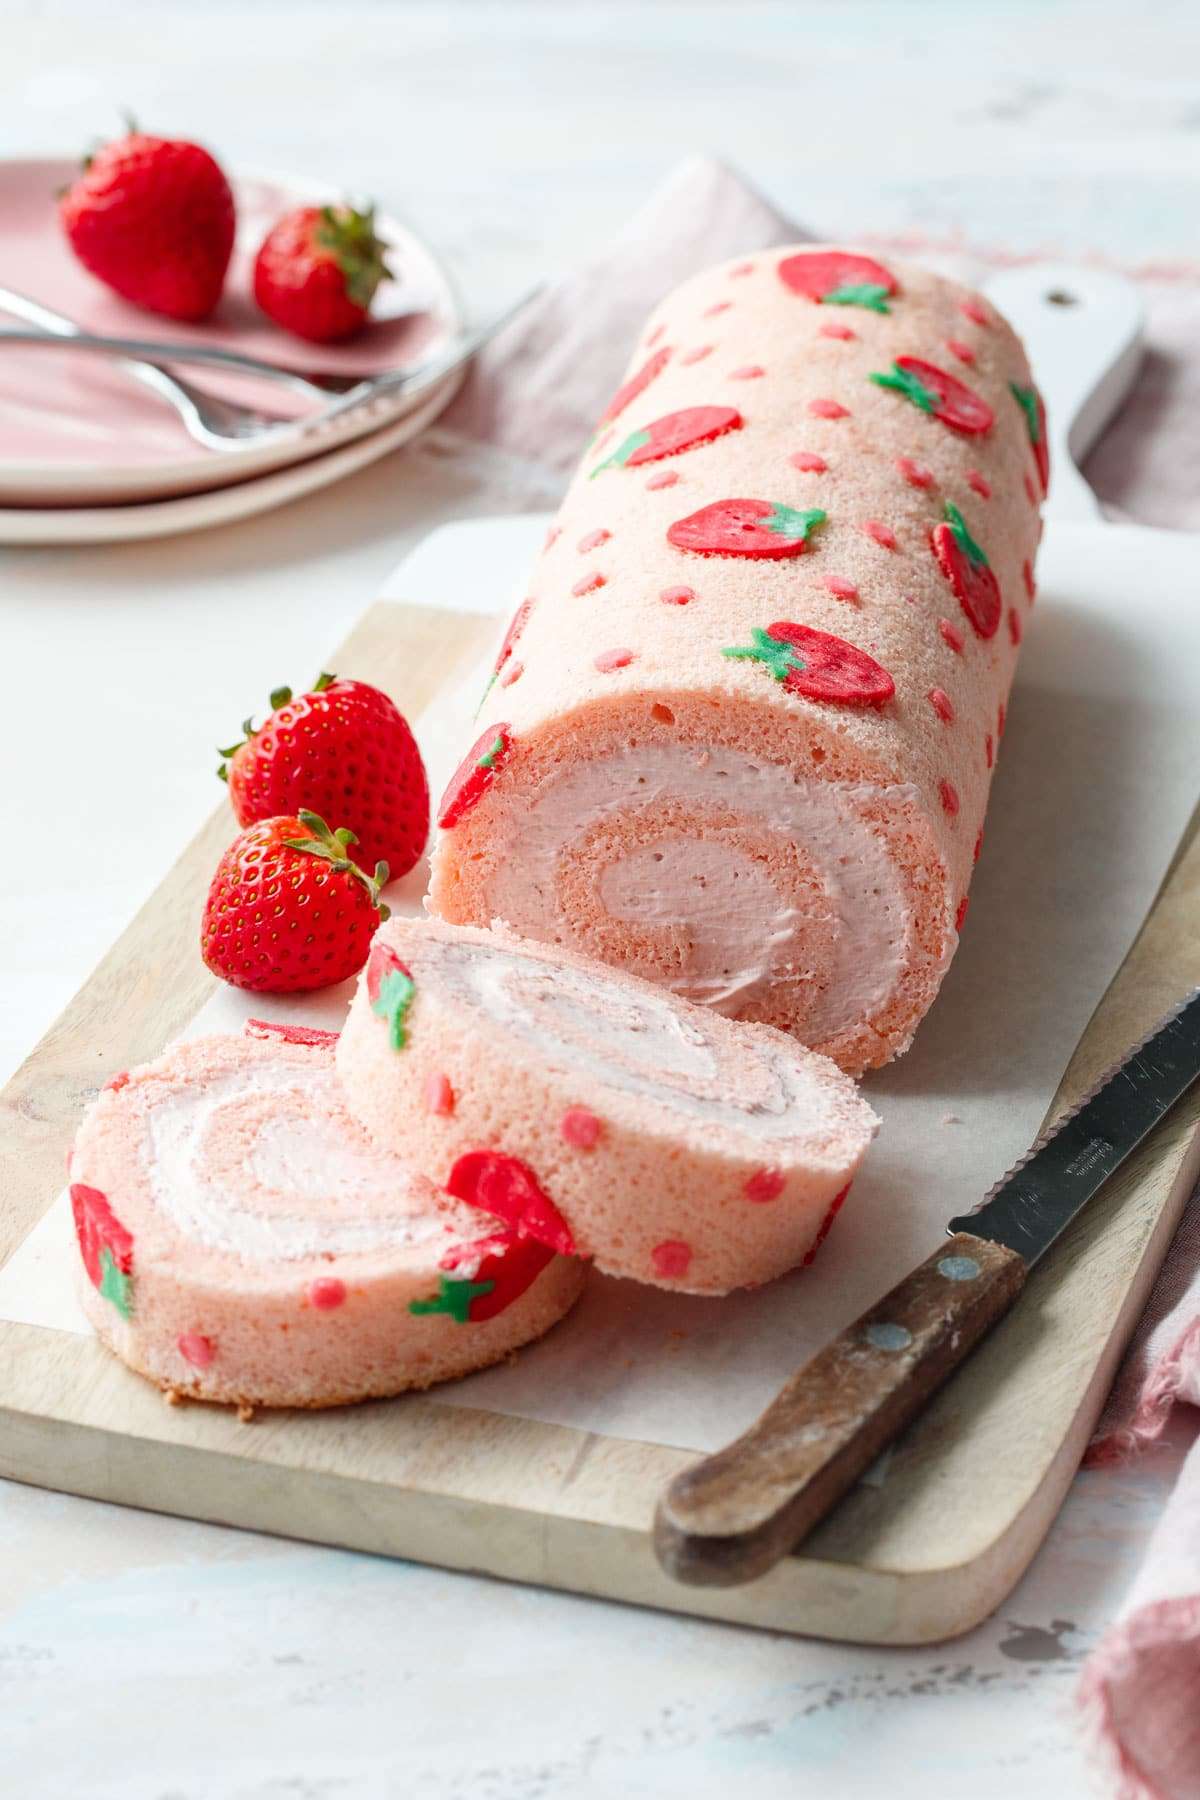
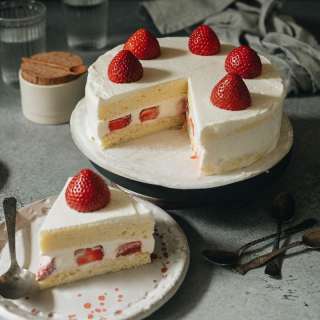
Strawberry Cake Roll
User Reviews
0
0 reviews
Unrated
Strawberry Cake Roll
Report
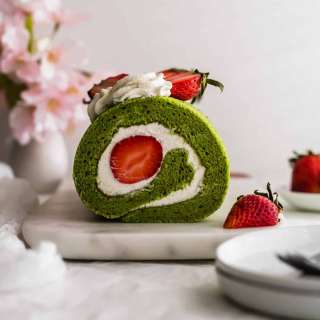
A Japanese-inspired strawberry patterned roll cake perfect for spring, filled with a fluffy strawberry whipped cream.
Share:
Ingredients
For Paste:
- 2 tablespoons unsalted butter softened (softer than room temp, but not melted)
- 2 ½ tablespoons granulated sugar
- ⅓ cup cake flour sifted
- 1 large egg white
- Food Coloring
For Cake:
- 3 large eggs separated
- 6 tablespoons granulated sugar divided
- 1 tablespoon vegetable oil
- 1 ½ tablespoons whole milk
- ½ teaspoon almond extract
- ½ teaspoon kosher salt
- ⅔ cup Cake Flour* sifted
- Food Coloring
For Filling:
- 1 cup heavy whipping cream
- ¼ teaspoon unflavored powdered gelatin
- ½ ounce freeze-dried strawberries
- 3 tablespoons granulated sugar
- 1 tablespoon powdered sugar
Instructions
- Preheat oven to 350 degrees F. Lightly butter or grease the bottom and sides of a 15 by 10-inch jelly roll pan; line with parchment paper (if using a design template, place the printed template underneath the parchment paper, or trace it onto the back side of the parchment with thick pencil lines).
- To make design paste, with a spatula or wooden spoon, mix butter and sugar together until you get a smooth paste. Add flour and mix until partially incorporated, then add egg white and mix until smooth. Paste should have a buttercream-like consistency.
- Divide paste into 3 bowls (how you divide it proportionally will depend on your design) and add food coloring as desired. (I mixed 20g paste with 1 drop leaf green; 60g paste with 1 drop deep pink and 1/2 drop red; and 40g paste mixed with 1 teaspoon of the pink paste to produce a lighter shade of pink for the dots).
- Transfer pastes into piping bags fitted with small round piping tips (I used my smallest #1 tip for the green, a #3 tip for the light pink dots, and a larger #5 tip for the berries).
- Pipe design onto parchment. Start with the green, then pipe the darker pink berries on top, and finish with the lighter pink dots. Place pan in freezer to allow the design to set while you prepare the rest of the batter.
- Place egg yolks in a mixing bowl. Add 1/4 cup sugar and whisk until sugar is dissolved and yolks are lightened in color. Drizzle in vegetable oil, whisking constantly, until incorporated. Whisk in milk, almond extract and salt. Add food coloring as desired (I mixed a bit of Deep Pink and Red with a toothpick, then added just a toothpick's worth to the batter.)
- Sprinkle sifted cake flour over batter and fold until incorporated.
- In a clean mixing bowl or the bowl of a stand mixer fitted with the whisk attachment, beat egg whites until frothy. Add remaining 2 tablespoons of sugar and beat on high speed until whites hold medium-stiff peaks.
- Fold a third of egg whites into batter to lighten it, then add the remaining egg whites and fold until just incorporated.
- Pour batter over top of frozen design, spreading the batter into an even layer using a large offset spatula. Bang the pan a few times on the countertop to remove any air bubbles and level out the top.
- Bake for about 10 minutes or until top is springy and edges are just barely starting to brown.
- Remove from oven. Carefully invert warm cake onto a piece of parchment backed by a solid surface like a large cutting board. Peel off parchment paper backing, revealing the design. Liberally dust a clean tea towel with powdered sugar and lay on top of cake. Flip cake over so the design is facing down.
- Starting with the side of the cake without the design, carefully roll up the warm cake in the towel. Doing this while the cake is still warm will give the cake a 'muscle memory' and allow you to roll it up later with the filling without it cracking.
- Let rolled cake cool for about 1 hour or until completely cool to the touch.
- Meanwhile, to make filling, in a small bowl, sprinkle gelatin over 1 tablespoon cool water and let soften for 5 minutes. Microwave the mixture in short, 5 second increments until the gelatin is completely dissolved and liquefied. Let cool slightly (but don't let it firm up, if it does, microwave it again).
- In a food processor or clean coffee/spice grinder, pulse freeze dried strawberries together with sugar until very finely ground.
- Place whipping cream in the bowl of a stand mixer fitted with the whisk attachment. Beat on medium speed until frothy, then add powdered sugar, increase to medium high and beat until the paddle starts to leave trails in the cream.
- Mix a spoonful of the partially-whipped cream into the bowl with the melted gelatin until completely incorporated, then, with the mixer running on low, add this back to the bowl with the rest of the cream. Add strawberry sugar mixture and increase speed to medium high, beating until cream holds medium-stiff peaks (take care not to overbeat).
- Carefully unroll cake and remove towel. You may need to hold it with your hand as it will try to roll back up (see, muscle memory!) Spread filling into a thin even layer over the whole cake, leaving about 1/2 inch bare at the far end. You may not need all of the filling, depending on how thick a layer you want.
- Gently roll up the cake, taking care not to use too much pressure lest the filling squeeze out the sides. Wrap tightly in plastic wrap and refrigerate for at least 2 hours or overnight, until filling is set. If you happen to have a cardboard tube lying around, place your cake roll in the tube to keep the bottom from flattening out as it chills (I used a 3 1/2-inch-diameter tube for a whiskey bottle and it was the perfect size).
- To serve, cut into slices with a sharp serrated knife (the design bits are harder than the cake itself. The slices will look best if you cut using a sharp serrated knife, pulling the knife gently towards you, letting the weight of the knife do the cutting; it may take a few strokes to get through the firmer design parts. Try not to saw back and forth or press down or the design will compress into the cake).
- Cake roll will keep, tightly wrapped and refrigerated, for up to 3 days.
Notes
- *Cake flour is very important for this recipe to work (AP is just too heavy and you'll end up with a super thin, dense layer of cake instead of a light and fluffy one).
Genuine Reviews
User Reviews
Overall Rating
0
0 reviews
Unrated
Other Recipes
You'll Also Love

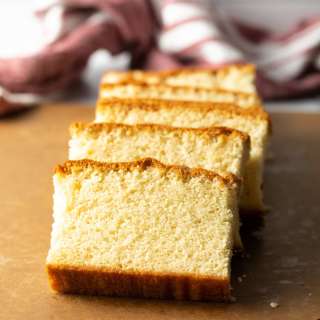
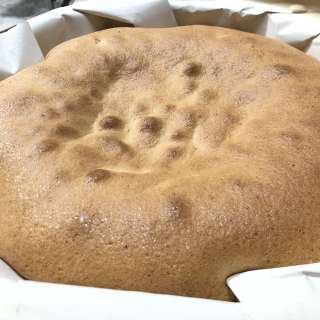
PAO DE LO RECIPE (CASTELLA CAKE OR KASUTERA CAKE)
Japanese, Brazilian, Portuguese, Azorean
0.0
(0 reviews)