Tiramisu Cookies (gluten-free vegan)
User Reviews
5.0
24 reviews
Excellent
Tiramisu Cookies (gluten-free vegan)
Report
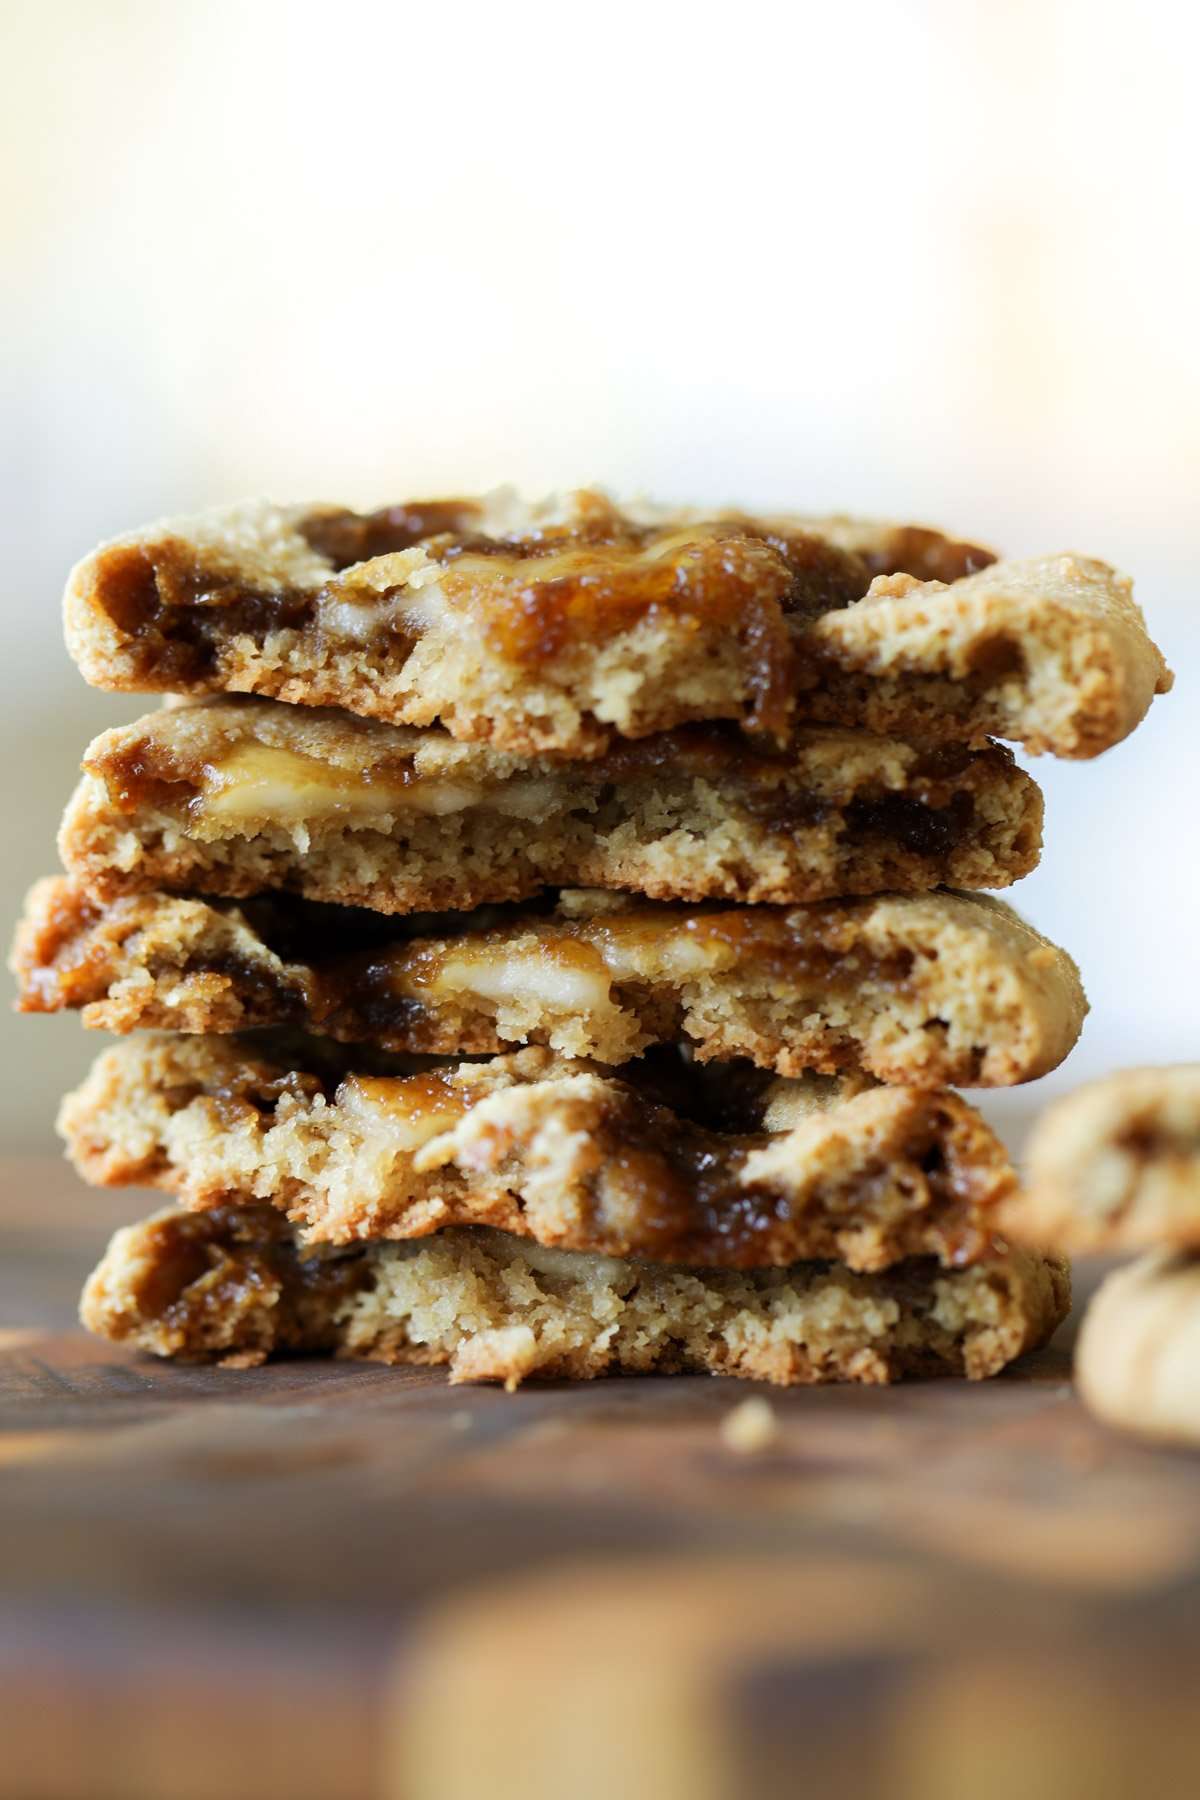
Tiramisu cookies give you all of the amazing flavors and textures of tiramisu in a grain-free, gluten-free cookie form! They’re tender, sweet, and satisfying. And they’re so easy and fun to make!
Share:
Ingredients
Dry ingredients
- 1 cup blanched almond flour
- 3 tablespoons tapioca starch
- 1/8 teaspoon baking soda
- 1/4 teaspoon salt
Wet ingredients
- 3 tablespoons maple syrup
- 1 1/2 tablespoons melted coconut oil , I use refined for no coconut flavor
- 1/2 teaspoon vanilla extract or vanilla powder
- 1 teaspoon Prepared Coffee or espresso
Cream cheese stuffing ingredients
- 2 tablespoons non-dairy cream cheese
- 1 teaspoon powdered sugar or regular sugar
Coffee-caramel syrup ingredients
- 2 tablespoons Prepared Coffee or espresso
- 2 tablespoons brown sugar
- 1 tablespoon coconut cream
Instructions
- Preheat the oven to 335° F (168° C) and line a baking sheet with parchment paper.
Make the cookie dough.
- In a small bowl, add all of the dry ingredients — that’s the almond flour, starch, baking soda, and salt — and mix really well. Press and mix to break all the almond flour lumps, because those lumps don't break down easily once you add the wet ingredients.
- Then, add in the maple syrup, coconut oil, vanilla extract, and coffee, and press and mix really well. The cookie dough will be pretty sticky, but you're going to chill it, so mix it really well, and put it in the fridge to chill for 20 to 25 minutes.
Meanwhile, make the fillings.
- Take the cream cheese out of the fridge, if you haven't already, and measure it out. Add the sugar to it, mix well, and let that cream cheese filling sit on the counter to soften a little bit.
- Make the coffee-caramel syrup: In a small skillet over medium heat, add the coffee and brown sugar, and mix well. Bring it to a good boil, and continue to cook for 2 minutes. Then, mix in the coconut cream, and continue to cook until the mixture starts to thicken. Depending on your skillet and the stove, this will take anywhere from 4 to 6 minutes. Once the mixture is starting to thicken up like maple syrup, switch off heat and let it cool. It will thicken more as it cools.
Assemble and bake.
- Take the cookie dough out of the fridge. If the cookie dough is still very sticky, mix in an additional tablespoon of almond flour.
- Use a spoon or cookie scoop to measure out about 2 tablespoons or more of the cookie dough and place on the baking sheet and wet your hands with water or oil. Using your wet or greased hand, press the cookies down to flatten them out into a 2 1/2” wide cookie, then scoop 1/2 to 1 teaspoon of the cream cheese mixture into the center of each cookie.
- Drizzle the cooled coffee-caramel syrup over the cream cheese in the middle of each cookie. Repeat for all the cookies, then fold those cookies over. The cookie dough is going to be soft and somewhat sticky and very easily pliable, so just bring it all together over the cream cheese and caramel mixture. It's okay if it doesn't completely seal. You just want to bring the dough over enough so that the fillings don’t completely leak out of the cookie during baking. See pictures for reference, and repeat for all of the cookies.
- Bake in the oven for 12 to 15 minutes. The baking time depends on your oven, the baking dish, etc. Check in at the 12-minute mark. If the cookies are browning on the edges, then they're done. Otherwise, let them continue to bake for another 2 minutes or so, then remove the cookies from the oven. Let them sit on the baking sheet for another 2 minutes, then carefully transfer the parchment off to a cooling rack and let them cool completely. The caramel is still setting at this point, and cookies will be soft in the middle when they first come out. They will firm up a bit once they cool, if you can wait for them to cool down, that is!
Notes
- storage: Store on the counter for the day. If you want to store them for longer, refrigerate them, because they have cream cheese in them.
- To make a more shelf-stable cookie, don’t add the cream cheese mixture before baking, just use the coffee caramel syrup in the cookies. You can make sandwich cookies to serve by adding sweetened non-dairy cream cheese in between the two cookies or some vanilla ice cream.
- Variation: You can add a few drops of vanilla extract to the cream cheese mixture as well.
- To make an easier version of this recipe, you can make these into cookie bars. Press half the cookie dough into a 9 by 5 loaf pan or slightly smaller, lined baking dish. It will be a thin layer. Then, drop 1/2 teaspoons of the cream cheese mixture all over the cookie dough, and then drizzle the coffee-caramel syrup all over the cream cheese. Then, press out the remaining dough on top. Bake at 335° F (168° C) for 18 to 20 minutes. Remove the baking dish from the oven, and let the bars cool for 5 minutes or so before slicing and serving.
- These tiramisu cookies are naturally gluten-free and grain-free. They’re soy-free as long as you use soy-free vegan cream cheese.
Nutrition Information
Show Details
Calories
132kcal
(7%)
Carbohydrates
13g
(4%)
Protein
3g
(6%)
Fat
9g
(14%)
Saturated Fat
3g
(15%)
Sodium
86mg
(4%)
Potassium
19mg
(1%)
Fiber
1g
(4%)
Sugar
8g
(16%)
Calcium
34mg
(3%)
Iron
1mg
(6%)
Nutrition Facts
Serving: 10Serving
Amount Per Serving
Calories 132 kcal
% Daily Value*
| Calories | 132kcal | 7% |
| Carbohydrates | 13g | 4% |
| Protein | 3g | 6% |
| Fat | 9g | 14% |
| Saturated Fat | 3g | 15% |
| Sodium | 86mg | 4% |
| Potassium | 19mg | 0% |
| Fiber | 1g | 4% |
| Sugar | 8g | 16% |
| Calcium | 34mg | 3% |
| Iron | 1mg | 6% |
* Percent Daily Values are based on a 2,000 calorie diet.
Genuine Reviews
User Reviews
Overall Rating
5.0
24 reviews
Excellent
Other Recipes
You'll Also Love
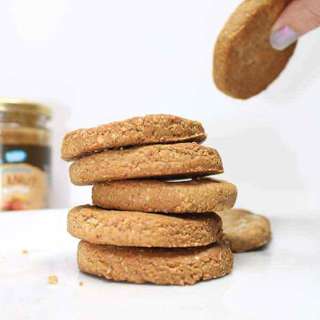
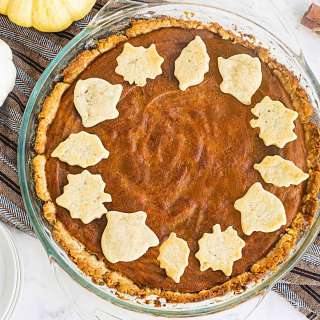
Soft Gluten-free Pumpkin Cookies (vegan w/ gluten and sugar-free options)
Vegan, Keto, AIP
4.6
(24 reviews)
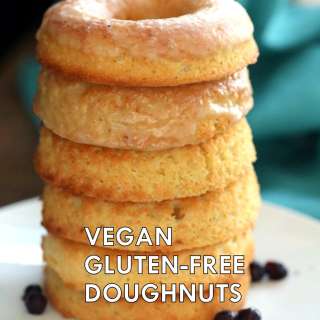
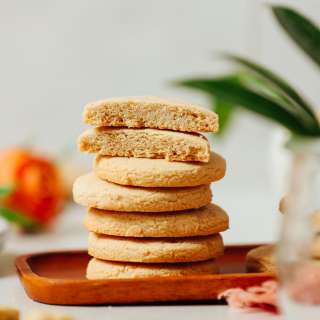
Vegan Gluten-free Lemon Donuts. Grain-free Baked Vegan Doughnuts
Vegan, gluten-free
4.9
(51 reviews)


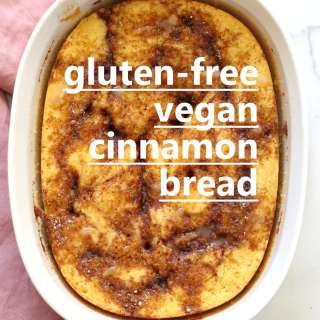
Healthy Pumpkin Snickerdoodles - gluten-free, sugar-free, with vegan and keto options
Vegan, Keto, AIP
5.0
(15 reviews)

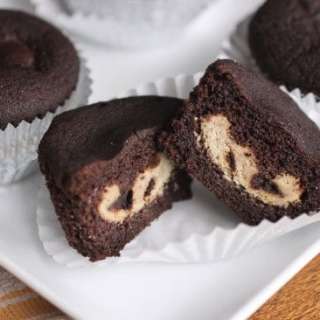
Vegan Gluten free Banana Bread - Grain free Carrot Banana Bread
Vegan, gluten-free, Grain-free
4.7
(51 reviews)

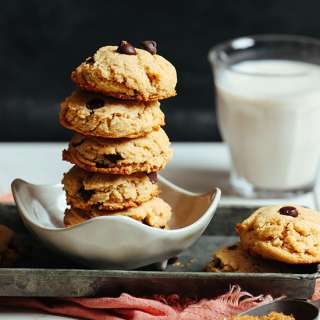
Vegan Strawberry Brownies (Gluten-free Grain-free)
American, Vegan, gluten-free, Grain-free
5.0
(45 reviews)