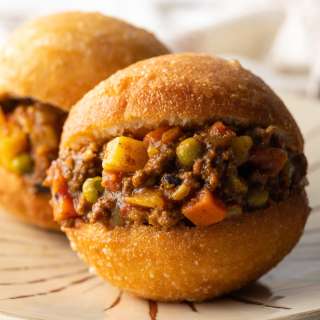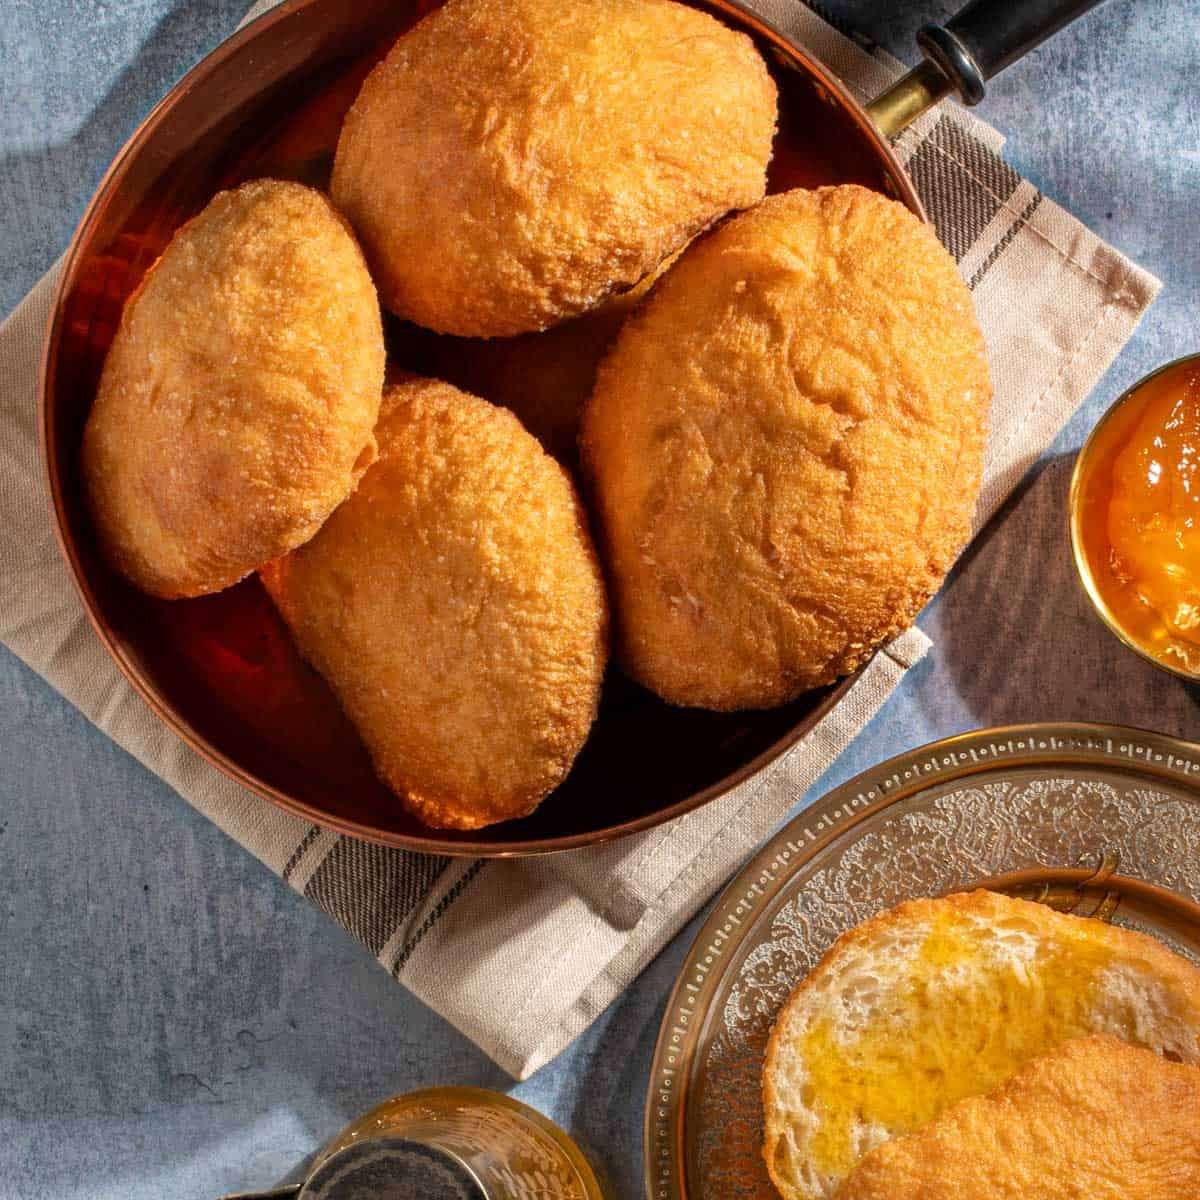
Traditional South African Vetkoek
User Reviews
5.0
126 reviews
Excellent
-
Prep Time
15 mins
-
Cook Time
15 mins
-
Proofing time:
1 hr
-
Total Time
1 hr 35 mins
-
Servings
8 servings
-
Calories
319 kcal
-
Course
Main Course, Snacks
-
Cuisine
South African
Traditional South African Vetkoek
Report
There’s a special magic in vetkoek that excites every South African, much like biltong, the Springboks and Bafana Bafana. It's part of who you are. This yeasted bread dough, similar to a doughnut without a hole, serves as the perfect canvas for a myriad of delicious toppings.
Share:
Ingredients
- 5 cups plain flour (250ml cups) 1250ml in total
- 1 tablespoon sugar 15ml
- 1 teaspoon salt 5ml
- 3 teaspoons instant yeast 10g-11g of instant yeast
- 2 cups lukewarm water (250ml cups) 500ml in total
- oil for frying depending on the size of the pot, you will roughly need 1-1.5 litres of oil
Instructions
- Add the flour, sugar and salt to a large mixing bowl, or the bowl of a stand mixer. Give it a good stir. Note: Ensure that the salt blends evenly with the flour. When yeast directly meets salt, it might lose some of its oomph.
- Add the instant yeast to the flour mixture and combine well.
- Make a well in the centre of the flour mixture.
- Start adding some lukewarm water to the flour, a little at a time. Stir after each addition.
- Keep adding water until you have a soft, sticky dough. You might not need all the water.
- Kneading by hand: You can do it inside the bowl if your bowl is big enough (less mess) or on a lightly floured surface.Knead for about 10-15 minutes until it's smooth and stretchy. Sprinkle a bit of flour on your hands or the surface as needed to prevent sticking.Kneading with stand mixer: If you're using a stand mixer for kneading, attach the dough hook to the machine.In the stand mixer, knead the dough on low speed for 10 minutes or until it becomes smooth and stretchy.
- Lightly coat the inside walls of a large bowl with oil.
- Place the dough in the bowl and lightly oil the surface of the dough to prevent it from drying out. Cover the bowl with clingfilm or a clean kitchen towel.
- Put the dough in a warm spot to rise for about 1 hour until it doubles in volume.
- Lightly oil the work surface and your hands. Then, transfer the dough onto the oiled surface.
- Shape the dough into a long log-shape. Using a sharp knife, divide it into equal portions. For this recipe, dividing it into 150g portions will yield eight vetkoek of a good size.Pro Tip: When dividing the dough, push the knife down into the dough instead of 'sawing' through. This helps "seal" each portion of dough.
- Shape each portion of vetkoek dough by squeezing it into a ball through your thumb and index finger. This will give you a nice, smooth, round vetkoek.
- Cut squares of baking paper large enough to hold each dough ball individually (this is optional but helpful for easy transfer to the oil).
- Place each ball of dough onto its square of baking paper and flatten it with the palm of your hand until it's about 2.5cm thick. You can also choose to leave them round.
- Leave the vetkoek to rest whilst you heat the oil.
- Prepare an extra pot or container with a lid, lined with paper towels, to absorb excess oil and keep the vetkoek warm while you cook the rest.
- Add the oil to a large saucepan, ensuring that the oil reaches a minimum depth of 5cm.
- Begin heating the oil over medium-high heat.
- To check if the oil is hot enough, drop a small piece of dough into it. If it sizzles and quickly rises to the surface, the oil is ready. Turn the flame down to a medium heat.Pro tip: Fry the small piece of dough until it's browned on all sides before adding your first vetkoek. This confirms that the oil is truly ready.
- Lift a piece of dough with its baking paper and carefully tip or slide it into the hot oil. Drop it *away* from you to prevent any oil from splashing towards you.
- Using a large heat-proof spoon, immediately start spooning hot oil onto the top of the vetkoek. This will help it puff up beautifully.
- When the top of the vetkoek puffs up, flip it over and fry until the bottom is a rich, golden brown. Flip it back and cook the top until it matches the color of the bottom.
- If the vetkoek browns too quickly and the oil is bubbling too ferociously, turn the heat down slightly. Pro tip: You may notice the oil will bubble a lot when you drop a new piece of dough into it and then quiet down to very few bubbles after about 2 minutes. This is expected, don't be tempted to turn the heat up thinking it's not hot enough.
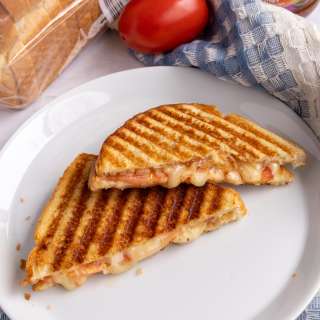
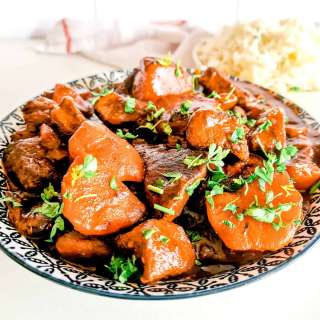
- Enjoy your freshly baked vetkoek with curried mince, golden syrup or jam and cheese.
Notes
- PLEASE NOTE: The oil used for frying is not included in the nutritional values provided for this recipe.
- Gradually add water to the dry ingredients, mixing until you get a soft, sticky dough that's easy to knead.
- You might not need all the water, so add it slowly and stop when the dough reaches the right consistency.
- Make sure your instant yeast is fresh and within its use-by date. Additionally, ensure the water is lukewarm, neither too hot nor too cold.
- Use a saucepan with a minimum of 5cm depth of oil. This depth allows the vetkoek to float while frying. If they touch the bottom, they might burn.
- To protect the yeast, avoid placing it directly on top of the salt. First, mix the salt with the flour and then add the yeast to the mixture.
- A stand mixer simplifies kneading, but if you don't have one and want less mess, knead by hand inside a large bowl instead of on a work surface.
- If the dough is too sticky, you can add a small amount of extra flour to your hands or directly to the dough.
- However, be cautious not to overdo it, the goal is to maintain a soft, pliable dough.
- If your kitchen is on the colder side, create a warm environment for the dough to rise.
- Preheat your oven to 40°C and then turn it off. Place the bowl with the dough inside to allow it to proof.
- When shaping the dough into balls, it's best to use oil on your work surface rather than dry flour.
- Dry flour on the outside of the uncooked vetkoek can burn in the hot oil.
- Ensure your dough balls are smooth without any breaks or cracks for an attractive, even-looking vetkoek.
- Use pieces of baking paper to transfer dough balls into the oil easily. Slide the dough off the paper into the oil, or lower it in on the paper and then remove the paper.
- This helps keep the vetkoek’s shape intact and free from finger indentations.
- After frying, place the cooked vetkoek in a pot with a lid. This step helps preserve their crispy exterior while keeping the interior soft and fluffy.
- As you lower the vetkoek into the hot oil, immediately spoon hot oil over the top to help it puff up. Use a heat-resistant spoon, such as wood or metal, as plastic can melt in the hot oil.
Nutrition Information
Show Details
Calories
319kcal
(16%)
Carbohydrates
63g
(21%)
Protein
12g
(24%)
Fat
2g
(3%)
Saturated Fat
0.2g
(1%)
Polyunsaturated Fat
1g
Monounsaturated Fat
0.3g
Sodium
302mg
(13%)
Potassium
126mg
(4%)
Fiber
3g
(12%)
Sugar
2g
(4%)
Vitamin A
2IU
(0%)
Vitamin C
0.01mg
(0%)
Calcium
16mg
(2%)
Iron
1mg
(6%)
Nutrition Facts
Serving: 8servings
Amount Per Serving
Calories 319 kcal
% Daily Value*
| Calories | 319kcal | 16% |
| Carbohydrates | 63g | 21% |
| Protein | 12g | 24% |
| Fat | 2g | 3% |
| Saturated Fat | 0.2g | 1% |
| Polyunsaturated Fat | 1g | 6% |
| Monounsaturated Fat | 0.3g | 2% |
| Sodium | 302mg | 13% |
| Potassium | 126mg | 3% |
| Fiber | 3g | 12% |
| Sugar | 2g | 4% |
| Vitamin A | 2IU | 0% |
| Vitamin C | 0.01mg | 0% |
| Calcium | 16mg | 2% |
| Iron | 1mg | 6% |
* Percent Daily Values are based on a 2,000 calorie diet.
Genuine Reviews
User Reviews
Overall Rating
5.0
126 reviews
Excellent
Other Recipes
You'll Also Love