White Chocolate Raspberry Scones Recipe
User Reviews
5.0
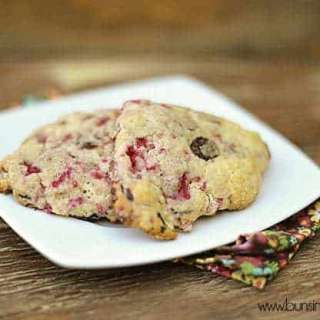
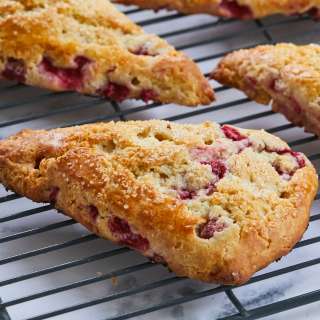
White Chocolate Raspberry Scones Recipe
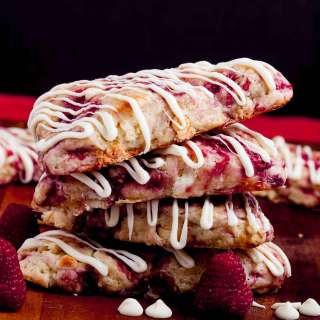
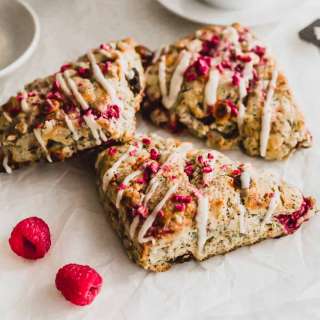
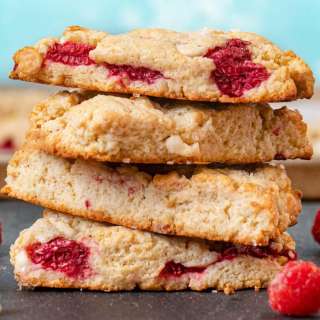
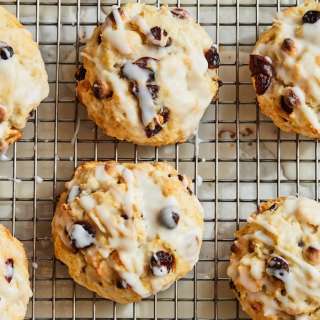
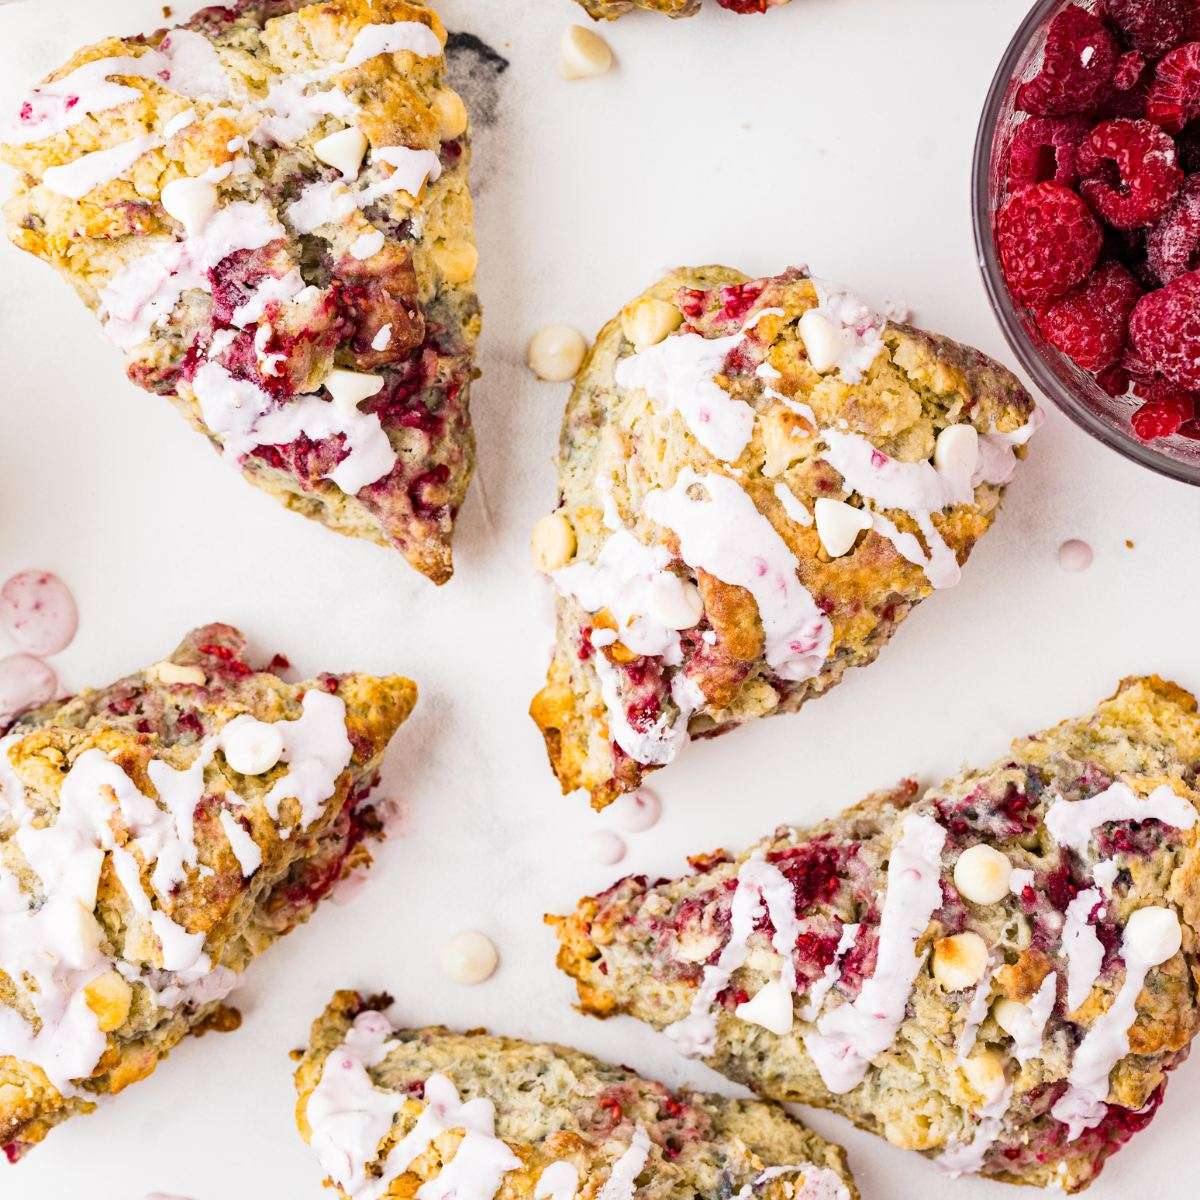
This Best White Chocolate Raspberry Scones Recipe features a delightful blend of sweet and tart flavors, with a tender, buttery dough studded with chunks of white chocolate and juicy raspberries! Perfect for breakfast, brunch, or a special treat, they offer a sophisticated twist on the classic pastry.
Ingredients
- 2 1/2 cups all-purpose flour I use organic, unbleached flour. You will need a little more more for work surface, and increase by 1 tablespoon for high altitude.
- 1/4 cup granulated sugar These are not overly sweet scones, you may add up to ¼ cup additional sugar if desired, but it could weigh the scones down a bit more
- 1 tablespoon baking powder decrease to 2 3/4 teaspoons for high altitude.
- 1/2 teaspoon kosher salt increase to 3/4 tsp if using unsalted butter.
- 1/2 cup cold butter grated, and placed in the freezer (I used salted)
- 2/3 cup cold buttermilk I use whole buttermilk when I can find it, or make your own!
- 1 large egg
- 1 teaspoon vanilla extract
- 1/2 cup white chocolate chips
- 1/2 cup raspberries I used frozen raspberries, fresh raspberries can also be used but will break apart easier.
Optional Drizzle
- 1 cup powdered sugar
- 2-3 tbsp milk or heavy cream
- 1/2-1 tsp vanilla
Instructions
- Prepare a cookie sheet with parchment paper. Grate butter and place in freezer until ready to use.
- In a large bowl add flour, sugar, baking powder, and salt and whisk everything together.
- Add cold grated butter to the flour mixture and work it into the flour with a fork, pastry cutter, or, working quickly, your hands until the butter is about pea-sized.
- Measure buttermilk into a 1-cup liquid measuring cup, add the egg and vanilla, and whisk together. Stir the mixture into the flour with a wooden spoon. As the mixture is coming together, add white chocolate chips and raspberries and finish mixing the dough while incorporating them.
- Turn the dough out onto a piece of lightly floured parchment paper. Bring everything together into a ball and press down to make a round disk about 6” across. I sometimes use parchment paper to help bring the dough together. Cut the disk into 8 equal triangle pieces with a bench scraper or large knife. If necessary, add a teaspoon more of buttermilk just to bring it together, having some dry areas is okay. It should be crumbly.
- Place each scone onto the prepared cookie sheet, keeping them somewhat close together (this helps them rise UP) turning them in opposite directions on the pan. Chill the scones in the refrigerator or freezer for about 20-30 minutes. Bake scones in the preheated oven for about 20-23 minutes until they are puffed and just golden brown.
- Preheat the oven to 400° F (205° C).
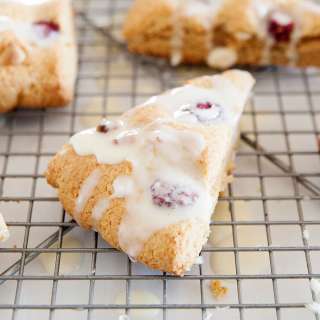
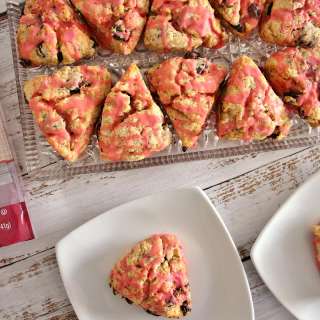
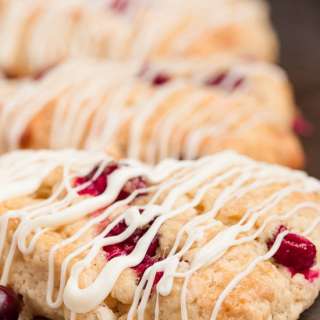
- For glaze, add the powdered sugar, milk or heavy cream, and vanilla to a small bowl and mix together. Drizzle over completely cooled scones. If pink glaze desired, mash one raspberry into the mixture.
Notes
- You can store your scones in an airtight container on the counter for up to 3 days and refrigerate them for up to 7 days.
- You can store your scones in an airtight container on the counter for up to 3 days and refrigerate them for up to 7 days.
- Make your own buttermilk or replace with heavy cream. Place 2 teaspoons of vinegar or lemon juice into a 1-cup measuring cup and pour in ⅔ cup of milk, stir and let sit 5-7 minutes until slightly thickened.
- knife
- cooling rack
- These scones have been tested at both high altitude (5280 feet) and at sea level!
- Freeze the butter: Place your grated butter in the freezer until you are ready to use it. Don't let it sit at room temperature for too long.
- Freeze the butter: Place your grated butter in the freezer until you are ready to use it. Don't let it sit at room temperature for too long.
- Don't twist: When you cut the butter into the dough, don't twist your pastry cutter; just move it up and down. Also, when you slice them with a knife or biscuit cutter, punch it straight down, do not twist. When you twist, it actually seals the edges of the dough, which prevents scones or biscuits from rising to their full fluffy height!
- Don't twist: When you cut the butter into the dough, don't twist your pastry cutter; just move it up and down. Also, when you slice them with a knife or biscuit cutter, punch it straight down, do not twist. When you twist, it actually seals the edges of the dough, which prevents scones or biscuits from rising to their full fluffy height!
- Overworking is bad: When you overwork pastry dough it gets cranky, tough and dense (kinda like people). So make light work of the mixing just until you have a light crumbly dough.
- Overworking is bad: When you overwork pastry dough it gets cranky, tough and dense (kinda like people). So make light work of the mixing just until you have a light crumbly dough.
Freeze scone dough: Freezing the dough does two things.
Hardens the butter; which when it hits the heat of the oven, melts quickly creating steam, which in turn puffs it up giving you light, fluffy and tender scones.
It also allows the glutens to relax, and just like us, when the glutens are relaxed it gives you a tender, tasty, bakery-style scone.
- Hardens the butter; which when it hits the heat of the oven, melts quickly creating steam, which in turn puffs it up giving you light, fluffy and tender scones.
- Hardens the butter; which when it hits the heat of the oven, melts quickly creating steam, which in turn puffs it up giving you light, fluffy and tender scones.
- It also allows the glutens to relax, and just like us, when the glutens are relaxed it gives you a tender, tasty, bakery-style scone.
- It also allows the glutens to relax, and just like us, when the glutens are relaxed it gives you a tender, tasty, bakery-style scone.
- Don't overbake: Baked goods keep on baking when they are removed from the oven, so remove your scones as soon as they are golden and puffed. Allow to cool on the pan for 5-10 minutes, then move to a cooling rack.
- Don't overbake: Baked goods keep on baking when they are removed from the oven, so remove your scones as soon as they are golden and puffed. Allow to cool on the pan for 5-10 minutes, then move to a cooling rack.
- Add raspberries to the glaze! For added flavor and a pink hue, you can add some raspberries into the glaze.
- Add raspberries to the glaze! For added flavor and a pink hue, you can add some raspberries into the glaze.
- Reduce Baking Powder 2 ¾ teaspoons.
- Increase Flour by 1 tablespoon.
- Increase the amount of buttermilk by 2-3 teaspoons, but only enough to help hold the pastry dough together, some flour in the bottom of the bowl is fine. Texture will be crumbly.
- Bake as directed!
Nutrition Information
Show DetailsNutrition Facts
Serving: 8Servings
Amount Per Serving
Calories 416 kcal
% Daily Value*
| Serving | 1scone | |
| Calories | 416kcal | 21% |
| Carbohydrates | 60g | 20% |
| Protein | 6g | 12% |
| Fat | 17g | 26% |
| Saturated Fat | 10g | 50% |
| Polyunsaturated Fat | 1g | 6% |
| Monounsaturated Fat | 4g | 20% |
| Trans Fat | 0.5g | 25% |
| Cholesterol | 56mg | 19% |
| Sodium | 437mg | 18% |
| Potassium | 131mg | 3% |
| Fiber | 2g | 8% |
| Sugar | 29g | 58% |
| Vitamin A | 429IU | 9% |
| Vitamin C | 2mg | 2% |
| Calcium | 153mg | 15% |
| Iron | 2mg | 11% |
* Percent Daily Values are based on a 2,000 calorie diet.
User Reviews
Overall Rating
5.0
You'll Also Love