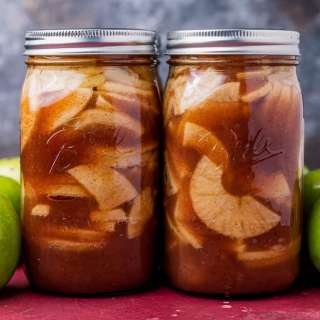
Boiling Water Canning Method
User Reviews
4.6
15 reviews
Excellent
Boiling Water Canning Method
Report
This delightful recipe is easy to follow and perfect for any occasion.
Share:
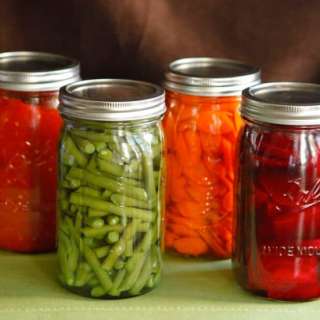
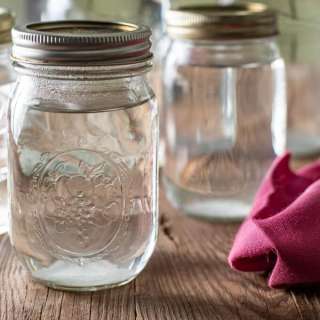
Ingredients
- 3-piece canning jars includes jar, flat lid and ring
- Canning pot - any large pot will work as long as it's deep enough to fully submerge the jars with an extra couple of inches at the top
- Round rack that will fit into the bottom of your canning pot. This will lift the jars away from the direct heat of the burner and allow water to circulate more easily, decreasing the chance of breakage
- Jar lifter
- Small saucepan
- Magnetic lid lift optional
- Tongs
- Wide mouth funnel
- A few clean kitchen towels
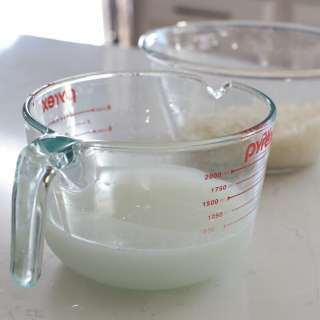
- Heat-safe measuring cup
Instructions
- Before you start, make sure your hands and all of the tools you'll be using are very clean.
- Remove the lids and rings from your jars. If you are re-using jars that you’ve had around the house, be sure that you aren’t using any with cracks or chips. Keep in mind that canning lids can only be used once, so don't reuse old ones-- buy fresh lids before you begin.
- Place a round rack into the bottom of your canning pot, then place your canning jars on top of the rack.
- Fill the pot, and jars, with enough water to cover. Bring to a boil.
- Place the lids into a small saucepan. Cover with water and bring to a low simmer. This will soften the sealing strip around the edge of the lid.
- While your jars and lids are sterilizing, prepare the product that you will be canning. When your recipe is complete, carefully remove the jars from the water using a jar lifter (take care not to burn yourself with the hot water!). Pour the water from the jars back into the canning pot. Set the jars on a clean towel. Keep the canning pot water at a simmer; you'll need to boil the jars again once they've been filled.
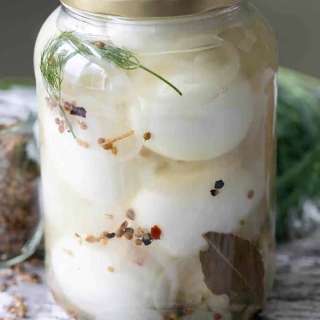
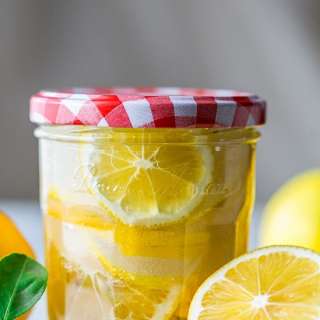
- Using a wide mouth funnel, carefully fill the jars with your product. Depending on what you will be canning, you will need to leave 1/2 – 1/4 inch of space at the top of the jar. Most recipes will specify what is necessary, but as a general guideline, most jams or jellies will need 1/4 inch, while pickles and thicker products will need 1/2 inch.
- Clean the rims of the jars with a damp paper towel or clean kitchen towel. If you’re dealing with a sticky product, you can use a bit of distilled white vinegar.
- With tongs or a magnetic lid lifter, remove the lids from the simmering water and place on a clean towel.
- Place the lids with warm seals directly onto the jars and seal with the round bands using just your fingertips so that they are secure, but not too tight.
- Carefully lower the jars back into your canning pot of boiling water using the jar lifter. Remove any water as needed with a heat-safe measuring cup to prevent overflow.
- Start your timer once the water has returned to a boil. Cook time will vary depending on your recipe.
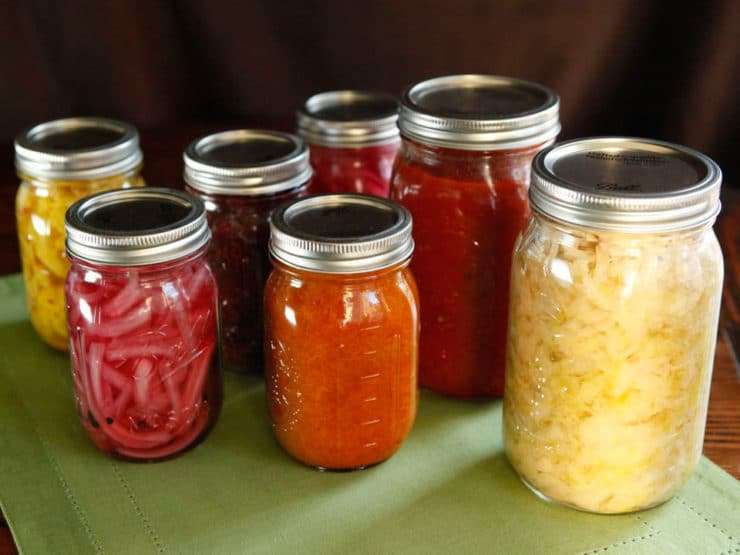
- As soon as the timer goes off, quickly and carefully remove the jars using the jar lifter. Place them on the clean towels to cool. You should hear a “ping” sound shortly after you remove the jars from the water. This is a good sign. It means that the seal has formed. You will also notice that the lid becomes concave once the seal has taken hold.
- Allow your jars to cool for 24 hours. Remove the round outer bands from your lids and test your seals by lifting the jar by the flat lid a few inches from the countertop. The jar should lift without any separation. Jars with good seals can be kept in a cool dark place for up to a year.
- A broken seal doesn’t mean that your product has gone bad, it just has a shorter shelf life. Those jars should be placed directly into the refrigerator and used within two weeks or until the product has spoilage, whichever occurs first.
Genuine Reviews
User Reviews
Overall Rating
4.6
15 reviews
Excellent
Other Recipes
You'll Also Love