Flaky Graham Flour Pie Crust (Flaky Graham Cracker Crust)
User Reviews
5.0
-
Prep Time
1 hr 30 mins
-
Cook Time
1 hr 30 mins
-
Additional Time
2 hrs 40 mins
-
Total Time
5 hrs 15 mins
-
Servings
2 crusts
-
Calories
1861 kcal
-
Course
Dessert, Baked Goods
-
Cuisine
North American, American

Flaky Graham Flour Pie Crust (Flaky Graham Cracker Crust)
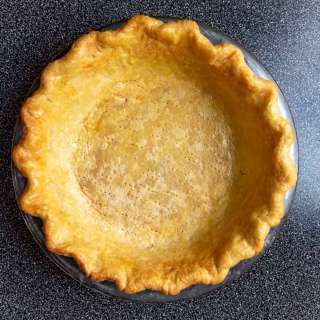
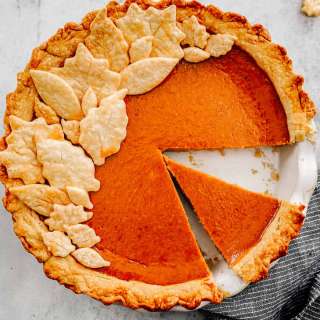
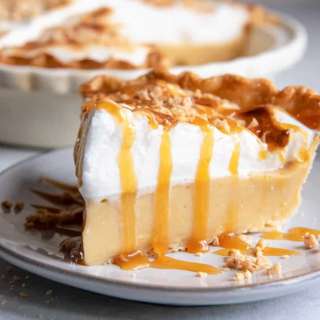
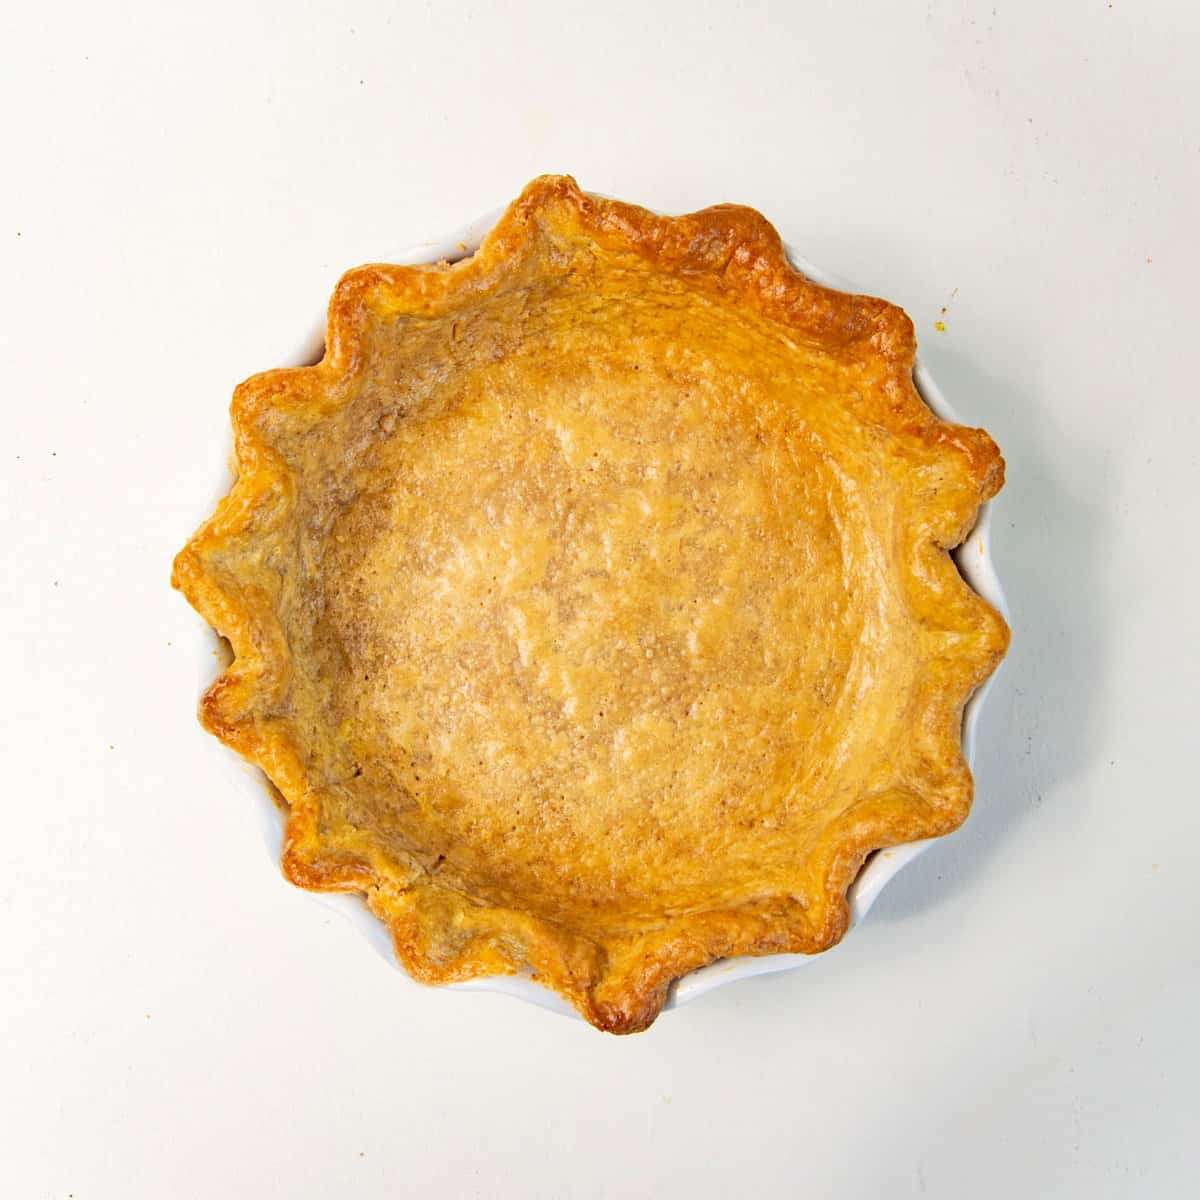
This graham flour pie crust is the delightful cross between a regular buttery, flaky pie crust and a nutty, delicious graham cracker crust. Graham cracker flour (or graham cracker crumbs) is mixed with AP flour to create the best of both worlds. Incredibly flaky results with the flavor of classic graham crackers. You can use this crust in place of a classic pie crust in any pie recipe!INTERMEDIATE - This recipe will be easier for those with some baking experience. However, the detailed step-by-step recipe is designed for beginners. This makes 2 crusts to fit a standard 9 - 9.5 inch pie plate. Enough for 1 double pie, or 2 single crust pies. US based cup, teaspoon, tablespoon measurements. Common Measurement Conversions. Weight measurements are recommended for accurate results. You can switch between the measurement types using the toggle button below the ingredients list.
Ingredients
- 150 g Graham crackers (about 9 - 11 cracker sheets)
- 300 g unsalted butter chilled
- 120 mL ice water
- 30 mL chilled vodka or replace with ice water
- 250 g all purpose flour (spooned and leveled when using cup measurements)
- 30 g sugar
- ¾ tsp fine sea salt
- Spray bottle with ice water optional
Instructions
Making the dough
- Ideally, you should have all the ingredients chilled well. However, it's crucial that at least the butter, water, and vodka (if using) are chilled well.
- Cut the butter into cubes, about 1 x 1 cm OR 1 x 2 cm. Keep the butter in the freezer until you're ready to use it.
- Place the graham crackers in a food processor. Pulse until the crackers are processed into fine crumbs - like coarse flour. Set aside.
- Mix the graham cracker crumbs, flour, sugar, and salt together in a large bowl.
- Add the cubed butter, and toss to coat the butter with the flour mix.
- Using your fingers, squish each piece of butter, making sure to toss the butter in the flour from time to time so that it’s still coated with flour. Work fast, so that the butter won't soften or melt.
- For a flaky pie crust, most of the butter pieces should be larger and flatter. Ideally, at least hazelnut-sized or walnut-sized, but flatter.
- Toss once more to make sure the butter pieces are coated in flour.
- Mix half of the iced water with the vodka (if using). Drizzle this into the flour mixture, and mix it in using your fingers or a fork.
- The lumps will become bigger as you mix in the liquid. Add more water until more of the dough forms larger, stickier clumps.
- Toss the clumps in the flour mix using your fingers to ensure that the water is mixing as evenly as possible. However, you will find that there will be large wet clumps of dough, and lots of dry spots in the flour mix as well. This is OK!
- Move the larger clumps of dough out of the way to check if there is a large amount of flour or butter mix that is very dry. Either drizzle a few drops or spray ice water on the very dry flour at the bottom of the bowl to help them hydrate a little. If there is only a little dry flour/butter mix at the bottom, then you can skip this step.
- The dough will have enough water if you can form a dough that is just holding together when squeezed, AND there should also be a few dry spots of flour. The more familiar you become with this dough, this stage will be easier to recognize. I usually never need more than 150 mL of water.
- Place a piece of parchment paper on your work surface.
- Turn the pie dough out onto the parchment paper. If the butter softens at any stage, remember to refrigerate / freeze the dough for a few minutes as needed.
- Use the parchment paper to fold the dough over to form a rough dough mound. Add a few water drops (or use the spray bottle) if needed, so that the dough sticks together. There should still be some dry flour spots.
- If there is too much water, and the dough is sticky, sprinkle more flour on the dough.
- Slightly flatten the dough mound into a circular disc. Cut it into four portions. Stack these portions on top of each other.
- Flatten the dough again slightly, and cut it in half. You could either weigh the dough and cut it in half precisely, or cut the two portions approximately.
- Form a dough disc with each portion. Be careful and gentle when handling the dough. Wrap each disc with plastic wrap and let it rest in the fridge for at least 1 hour. I prefer to let it rest at least 2 hours, or overnight.
Rolling the dough
- Take one portion of the graham flour pie dough. Unwrap the plastic wrap and place it on a floured surface.
- Since the butter will be very firm, it'll be hard to roll out the dough right away. Strike the dough disc a few times with a rolling pin, on both sides, to make it more pliable and easy to roll out.
- Roll out the dough, from the center out when possible, while maintaining the shape of a circle as best you can. Squeeze any cracked dough together to seal.
- Turn the dough a quarter turn after each roll, to ensure that the dough maintains the shape of a circle and also does not stick to your work surface. Use a light dusting of flour as needed, and also remember to flip the dough so that you roll it on both sides. This will ensure that both sides of the dough will be smooth.
- Roll the dough until it’s about 3 mm in thickness. The diameter could vary, but it should definitely fit a 9.5 inch diameter, deep pie dish.
- If the dough starts to shrink as you roll it, lightly flour the dough surface and either fold it into quarters OR roll it onto a rolling pin, and then cover it with plastic wrap. Let the dough rest in the fridge for at least 20 minutes, and then proceed with rolling it out again.
- Now transfer the dough onto the pie dish. You can do this by rolling up the dough on a rolling pin and then carefully unrolling it over a pie dish (see pictures in my classic pie crust post for guidance).
- DO NOT stretch the dough to fit it inside the pie dish. This is crucial and a common beginner's mistake. Instead, carefully lift the pie crust and let it gently fall into the pie dish. Use the back of your fingers to gently coax the dough into the bottom of the pie dish, so that it fits neatly in the dish.
- There should be an overhang over the pie dish rim. Using scissors or a sharp knife, cut the excess pie crust, leaving at least a 1 inch (or up to 1.5 inches) overhang for single crust pies. Or a 0.5 - 1 inch overhang for double crust pies.
- If the butter softens at any stage, refrigerate the crust. Do not discard the scraps, as you can use these to "fix" any issues in the pie crust.
- For single crust pies - Roll the dough overhang under the pie crust to form a thick border. This should be flush against the rim of the pie dish.
- For a fluted crimped edge - Hold your thumb and index finger on one hand parallel to each other, and rest the tips of those fingers against the outside edge of the pie border. Then using the index finger or thumb on the other hand, gently push the inside edge of the pie border between the two fingers on your other hand, to create the crimped edge. Repeat this all along the pie border to form a fluted pie crust edge (see the video clip below for guidance).
- Cover the pie crust loosely with plastic wrap and let it rest in the fridge for at least 45 minutes.
Blind baking pies
- Preheat the oven to 350°F / 180°C (conventional oven). Place the oven rack in the lower third of the oven, and place a pizza stone OR baking tray on the rack. Let the oven preheat for at least 30 - 45 minutes.
- Take a large piece of foil or parchment paper (large enough to fit inside the pie plate), and gently crumple it, making sure not to tear the foil / paper. You may need two pieces of foil / parchment paper - depending on the width.
- Then unfold the foil / paper carefully, and smooth it out. The foil / paper should now be flexible enough to fit inside the pie plate, on top of the chilled pie crust. Make sure the foil / paper is touching the whole surface of the pie crust, and loosely covers the border of the pie crust as well.
- If needed, use two pieces of foil (overlapping) to make sure the bottom and sides of the pie crust are fully covered.
- Fill the pie plate with sugar or rice (not both!), or ceramic pie weights. Make sure the weights come at least ¾ of the way up the pie plate.
- Transfer the pie plate into the preheated oven, on top of the baking tray or pizza stone. If you're keeping the pie plate on the pizza stone, then keep the pie plate on a baking tray (with a lip) and then place this on top of the pizza stone. The baking tray will catch any butter that will melt from the crust.
- Bake for about 60 minutes, rotating once halfway through the baking time, if needed.
- After 60 minutes, the bottom of the crust should start to caramelize and turn golden brown in color. The sides and top of the crust will still be very blonde in color (i.e. only have a little bit of color).
- Remove the pie plate from the oven and then VERY CAREFULLY, remove the foil / paper from the pie plate along with the baking weights (making sure not to spill anything!). Immediately transfer the weights into an empty bowl or plate. Be careful with this step since the foil will be hot, and you need to hold it firmly to prevent any tearing and spilling of contents.
- Using a fork, prick the entire bottom of the pie crust in the pie plate.
For par baking
- Return the blind baked pie crust to the oven and bake for a further 5 - 10 minutes until the bottom of the crust looks matte or dry, and the sides have a little golden brown color. If the crust is browning too much, place a pie shield or a shaped piece of foil to cover the edges of the pie crust.
Fully baked pie crust (blind baked)
- Return the blind baked pie crust to the oven and bake further for about 15 - 20 minutes, until the crust turns golden brown. For a shiny finish, brush an egg wash all over the pie crust before the last 5 minutes of baking. Then bake for the last 5 minutes, until the crust is golden in color and shiny. If the crust is browning too much, place a pie shield or a shaped piece of foil to cover the edges of the pie crust.
For a double crusted pie crust
- Roll out the second portion of dough until it's about 3 mm in thickness. Fold this in quarters and cover it in plastic wrap, and then keep it in the fridge with the pie plate until the filling is ready.
- Fill the pie plate with your filling and cover the pie with the second rolled out pie crust. You can either keep the top crust whole, or cut out shapes from it as well. You can also cut the second dough into strips, so that you can form a lattice on top (like in this classic apple pie).
- Next, brush the bottom border of the pie crust with a little water and then press the top crust down so that it sticks well to the bottom crust.
- Cut the excess dough from the top crust leaving the same 0.5 - 1 inch overhang. Roll this overhang under the pie crust to form the same pie crust border and crimp it with a fork OR create a fluted edge.
- Refrigerate the pie for at least 30 minutes, before baking according to the pie recipe instructions.
Nutrition Information
Show DetailsNutrition Facts
Serving: 2crusts
Amount Per Serving
Calories 1861 kcal
% Daily Value*
| Serving | 1crust | |
| Calories | 1861kcal | 93% |
| Carbohydrates | 168g | 56% |
| Protein | 22g | 44% |
| Fat | 124g | 191% |
| Saturated Fat | 77g | 385% |
| Polyunsaturated Fat | 5g | 29% |
| Monounsaturated Fat | 32g | 160% |
| Trans Fat | 5g | 250% |
| Cholesterol | 323mg | 108% |
| Sodium | 893mg | 37% |
| Potassium | 250mg | 5% |
| Fiber | 5g | 20% |
| Sugar | 16g | 32% |
| Vitamin A | 3749IU | 75% |
| Calcium | 67mg | 7% |
| Iron | 9mg | 50% |
* Percent Daily Values are based on a 2,000 calorie diet.
