Homemade Ciabatta Bread
User Reviews
5
Homemade Ciabatta Bread
Description
Homemade Ciabatta Bread is crafted using a two-stage dough method. First, a yeast starter dough is prepared and left to sit for 8-12 hours, allowing flavors and fermentation to develop slowly without rising substantially. The second phase combines this starter with additional flour, water, yeast, and salt to form a wet, sticky dough that requires careful mixing with a hand mixer and resting periods to build gluten and strength.
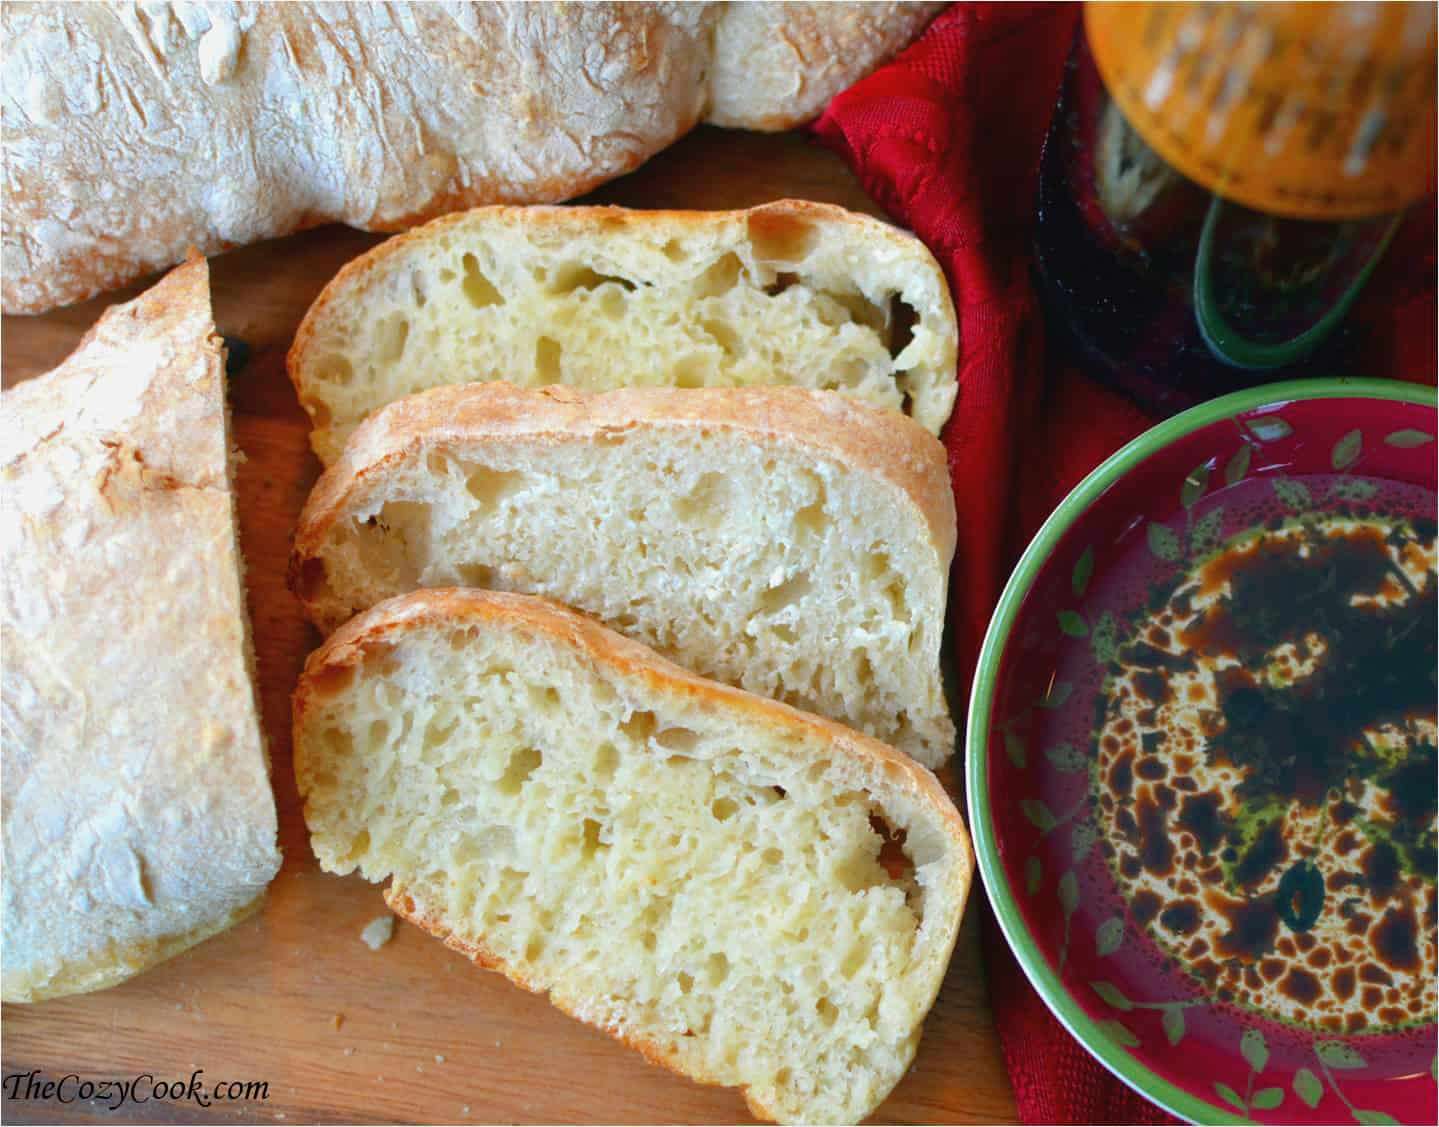
The dough is then dropped into an oiled bowl to rise, and after resting, it is handled gently on a floured surface where it is folded to create structure despite its high hydration. The dough’s wet, sticky nature is key to producing the characteristic holes of ciabatta. Baking this bread results in a chewy interior with an airy texture and a thin, slightly crunchy crust.
This bread suits sandwiches thanks to its open crumb that soaks up fillings well and its flavorful crust. The extended fermentation and careful folding give it depth and texture distinct from other homemade breads. No extra flour is added during shaping to keep the dough delicate, and careful handling preserves the bread’s airy quality.
Ingredients
Yeast Starter Dough: (Needs to sit for 8-12 hours. Overnight works well too)
- 1/2 tsp. Rapid Rise Yeast
- 3/4 cup water room temperature
- 1 cup bread flour or all-purpose flour
Ciabatta Dough:
- 1/2 teaspoon Rapid Rise Yeast
- 3/4 cup water room temperature
- yeast starter dough from above
- 2 cups bread flour or all-purpose flour
- 1 1/2 teaspoons salt
Instructions
Phase One: Starter Dough:
- Combine the ingredients in a medium bowl, stirring well. Cover with Saran Wrap and let it sit at room temperature for 8-12 hours, or overnight. This dough doesn't rise so you won't need excess room in the bowl.
Phase Two: Ciabatta Dough:
- In a large bowl, combine the yeast and the water. Add the starter dough and mix gently. Add the flour and salt and mix until combined.
- Use a hand mixer and mix the dough on low for 3 minutes, then let it sit for 10 minutes.
- Repeat, mixing for another 3 minutes and letting it sit for 10.
- Remove the dough with a silicone spatula and drop into a large oiled bowl. Cover with plastic wrap and let it sit for 45 minutes.
- Use the same silicone spatula and drop the dough onto a floured surface. Sprinkle the top of the dough with flour. The dough will be extremely sticky.
- Take one end of the dough and fold it up into the middle. Take the other end, and fold that one into the middle.
- Sprinkle more flour on top of the dough and let it sit for 15 minutes.
- Repeat the two prior steps again, folding and letting it sit for another 15.
- Take the bread and create an 8x8 inch square.
- Use a sharp knife and cut the square in half. Cover each of the loaves with a light dish towel and let it sit for about 30 minutes.
- Preheat the oven to 475 degrees while it sits.
- Gently lift the loaves onto a greased baking sheet, trying to touch them the least amount possible.
- Bake for 17-25 minutes, (mine was ready after 17 exactly so I’d keep an eye on it a little before that time.)
- Let it cool on a cooling rack and then slice it up and serve!
Nutrition Information
Show DetailsNutrition Facts
Serving: 20slices
Amount Per Serving
Calories 69 kcal
% Daily Value*
| Calories | 69kcal | 3% |
| Carbohydrates | 13g | 4% |
| Protein | 2g | 4% |
| Sodium | 175mg | 7% |
| Potassium | 21mg | 0% |
| Calcium | 3mg | 0% |
| Iron | 0.2mg | 1% |
* Percent Daily Values are based on a 2,000 calorie diet.
User Reviews
Overall Rating
5
You'll Also Love