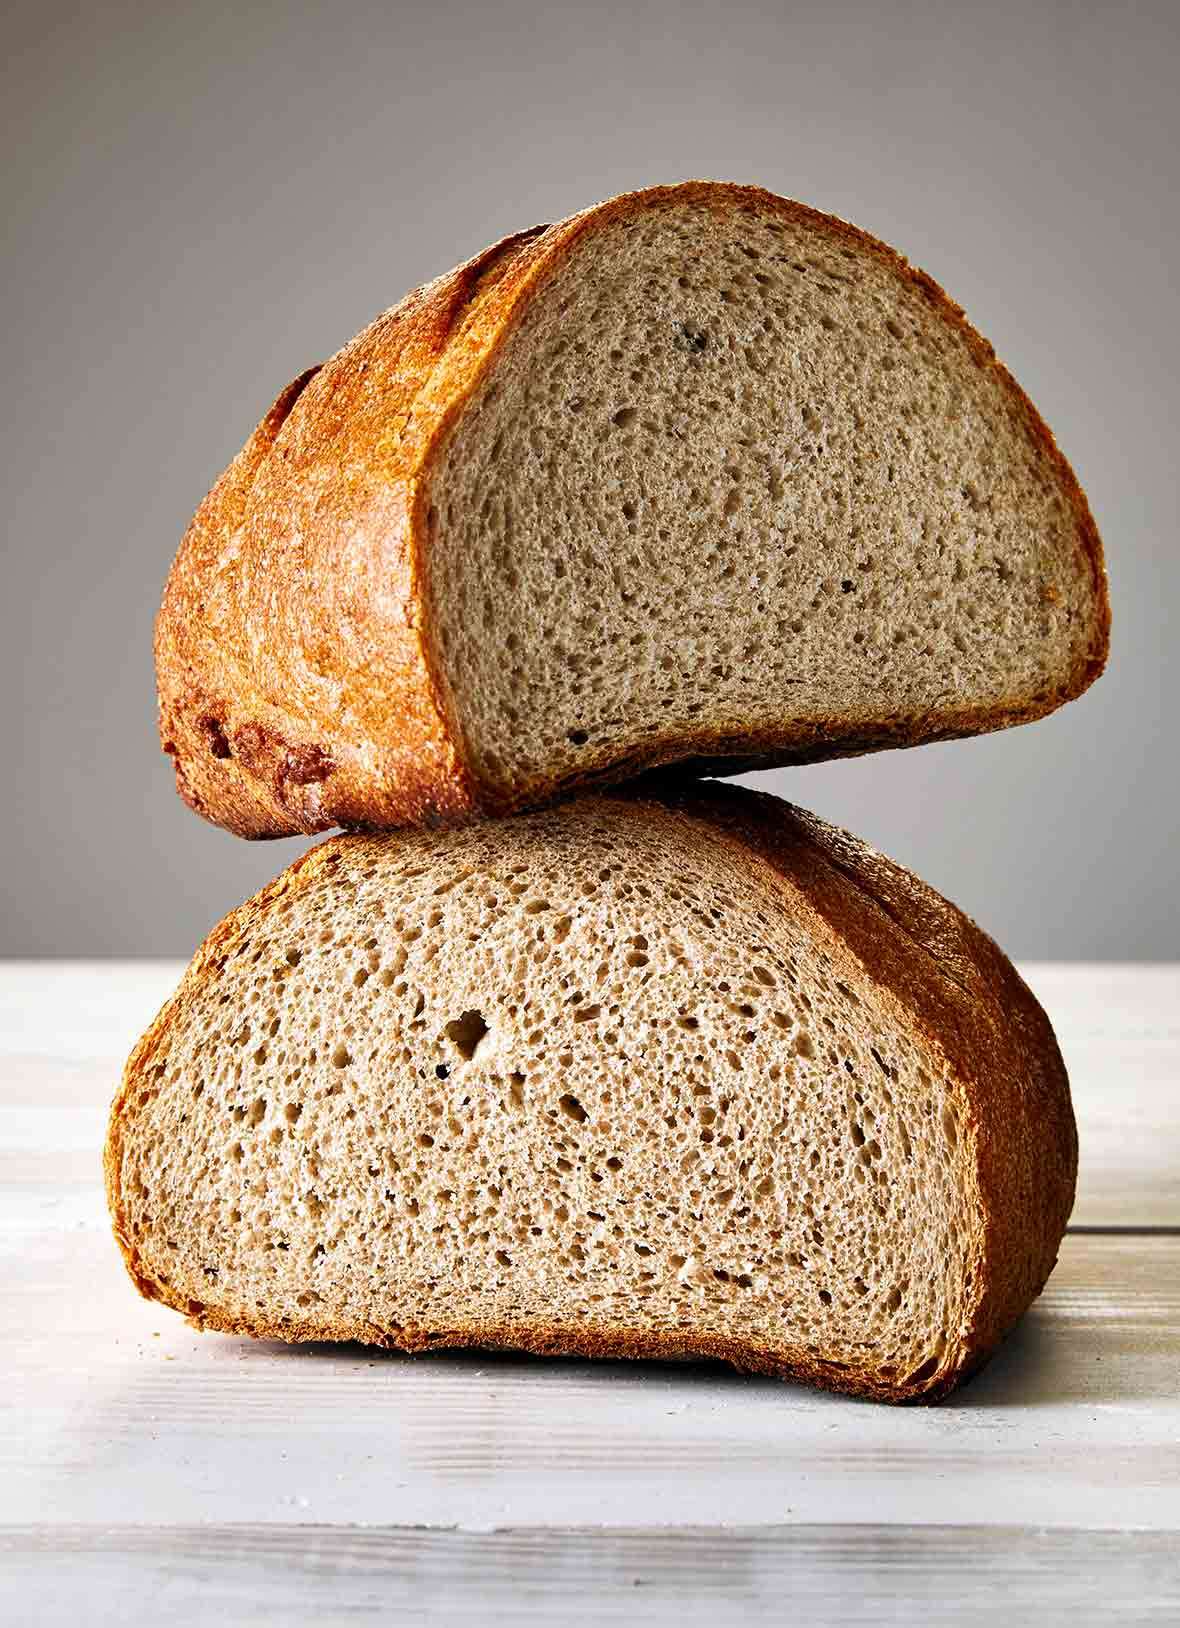
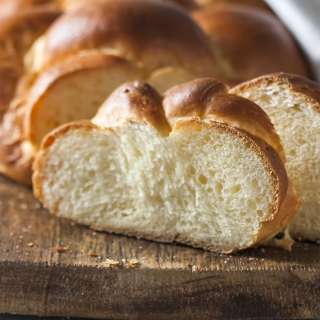
Jewish Rye Bread
User Reviews
4.3
27 reviews
Good
Jewish Rye Bread
Report
This Jewish rye bread is as authentic as it comes, without having to make a trip to the bakery. Made with rye flour, onion, and caraway, you'll also find yourself with a gorgeous starter that you'll be able to feed and use indefinitely.
Share:
Ingredients
For the rye sour starter
Day 1
- 1 cup (4 oz) medium rye flour
- 3/4 cup water room temperature
- 1/8 teaspoon instant yeast
- 1/2 cup (2 1/2 oz) coarsely chopped onion
- 1 1/2 teaspoons caraway seeds
Day 2
- 3/4 cup water room temperature
- 1 cup (4 oz) medium rye flour
Once a week feeding (to maintain the rye sour starter)
- 1 cup (7 oz) rye sour
- 3/4 cup water room temperature
- 1 cup (5 oz) medium rye flour
For the Jewish rye bread
- 1/4 cup day-old bread torn into pieces (preferably rye but any type will do)
- 1 cup plus 3 tablespoons water room temperature
- 2 1/4 cups (15 oz) rye sour
- 1 1/2 teaspoons instant yeast
- 1/2 teaspoon ground caraway
- 3 1/2 cups plus 1 tablespoon (17 1/2 oz) all-purpose flour plus more for the work surface
- 1 tablespoon sea salt
- cornmeal for dusting
Instructions
Make the rye sour starter--Day 1
- In a large bowl, combine the rye flour, water, and yeast, stirring until the mixture is completely smooth.
- Tie the onion and caraway seeds together tightly in cheesecloth fashioned like a homemade tea bag and then sink the bag completely into the flour mixture.
- Cover the bowl tightly with plastic wrap and place it in a nice warm spot (70° to 75°F|21° to 24°C) and leave it overnight until it’s thick and airy, sorta like whipped cream. Remove the bag, scraping the sour mixture off the bag and back into the bowl, and discard the cheesecloth bag.
Day 2
- Add the water and rye flour to the sour and mix until smooth. Cover with plastic and let it ferment at room temperature until it’s visibly fermented and frothy and quite possibly almost double in size, 3 to 4 hours more.
- The rye sour can now be used to make your rye bread recipe. You’ll probably have plenty leftover to put in the fridge. The sour may be kept alive and well in the refrigerator forever if it is fed regularly. Store it in a tightly sealed container and feed it once a week. The chopped onion and whole caraway seeds should have been removed by now and discarded after the first day and not used in future feedings. (See instructions below.)☞ TESTER TIP: If you're going to make this recipe infrequently, just make fresh sour each time. There’s no need to keep your sour alive for weeks or months in between uses. If you are going to bake weekly, feed your sour at least once between baking sessions.
Once a week--Maintain the rye sour
- Turn the sour into a large bowl, add the water and rye flour, and mix until smooth. Cover with plastic wrap and let ferment at room temperature until it’s nice and frothy and full of fermentation bubbles, 3 to 4 hours. The rye sour can now be used to make your rye bread recipe. Or you can put it back in a tightly sealed container and return it to the refrigerator where it will be okay for another week. Feed the sour at least once per week and you will be able to use it indefinitely.
Make the Jewish rye bread
- Take the bread, break it into pieces, and moisten it with 1/4 cup plus 3 tablespoons water. Let sit for 15 minutes. Measure out 1/4 cup (95 g) of the bread and water mixture.
- In a large, wide bowl combine the rye sour starter, the remaining 3/4 cup water, the wet bread mixture, instant yeast, and ground caraway. Stir with a wooden spoon until well blended. Add 1 3/4 cups of the flour and stir until the mixture looks like thick pancake batter, about 2 minutes. Add the salt and remaining flour and stir until it starts to form a gloriously shaggy mess.
- Scrape the dough out of the bowl and onto a clean, unfloured work surface and gently knead until it forms a smooth ball, 6 to 8 minutes. If the dough begins to stick to the surface, use a plastic scraper to scrape it up and maybe even to scrape the dough from your hands. (Rye has a different chemical makeup than wheat flour and tends to be sticky. Don’t be alarmed if that’s the case and resist the temptation to add flour. Keep gently kneading and the dough will come together.)
- Lightly oil the bowl, place the dough back in the bowl, and cover with plastic wrap. Let it ferment at room temperature until the dough has increased in size by about 50%, roughly 60 to 90 minutes.
- Uncover the dough and turn it out onto a lightly floured work surface. Divide the dough into 2 equal pieces. Gently shape both pieces into rounds and cover with plastic. Let rest for 30 minutes.
- Shape the rounds into loaf shapes. Place on a cornmeal-coated cutting board and cover with plastic wrap.
- Preheat the oven to 450°F (230°C) and adjust the oven rack to the middle position. Place a baking stone on the rack and a cast iron skillet on the lowest rack or bottom of the oven about 1/2 inch (12 mm) away from the door so it’s accessible to add ice (to create steam to hydrate the bread while it bakes). Preheat the oven for 45 minutes before baking. Have ready a large stainless steel bowl or aluminum roasting pan that’s larger than your baking stone.
- While the oven is preheating, let the loaves rest and continue to ferment for 30 to 60 minutes. When you think it’s ready, gently touch the dough with a finger to see if it is ready for the oven. If the indentation is slow to fill back in, the loaf is ready for baking. If it fills back in quickly, give it about 15 more minutes.
- Uncover the loaves and use a spray bottle filled with water to heavily spritz the loaves. Place the loaves on a cornmeal-dusted wooden peel. With a razor blade or sharp knife, score the tops of the loaves with 5 uniform slices perpendicular to the length of the loaf.
- Slide the loaves onto the preheated baking stone. Add a few ice cubes to the heated cast iron skillet and cover the loaves with the upside-down large stainless steel bowl or aluminum roasting pan in order to capture the steam. Bake for 8 minutes. Then uncover the loaves and bake until the desired color has been achieved, roughly 30 to 35 minutes, although baking times will vary depending on the size of your loaves.
- Remove the loaves from the oven, place them on a wire cooling rack, and spray heavily with water. Let cool completely before cutting.
Nutrition Information
Show Details
Serving
1serving
Calories
244kcal
(12%)
Carbohydrates
51g
(17%)
Protein
8g
(16%)
Fat
1g
(2%)
Saturated Fat
0.2g
(1%)
Monounsaturated Fat
0.2g
Trans Fat
0.001g
Sodium
305mg
(13%)
Fiber
8g
(32%)
Sugar
1g
(2%)
Nutrition Facts
Serving: 24servings (makes 2 loaves)
Amount Per Serving
Calories 244 kcal
% Daily Value*
| Serving | 1serving | |
| Calories | 244kcal | 12% |
| Carbohydrates | 51g | 17% |
| Protein | 8g | 16% |
| Fat | 1g | 2% |
| Saturated Fat | 0.2g | 1% |
| Monounsaturated Fat | 0.2g | 1% |
| Trans Fat | 0.001g | 0% |
| Sodium | 305mg | 13% |
| Fiber | 8g | 32% |
| Sugar | 1g | 2% |
* Percent Daily Values are based on a 2,000 calorie diet.
Genuine Reviews
User Reviews
Overall Rating
4.3
27 reviews
Good
Other Recipes
You'll Also Love


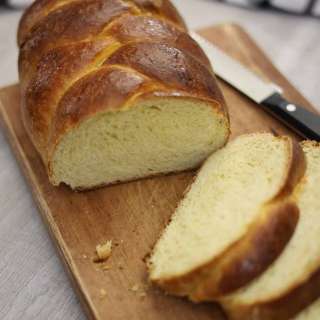


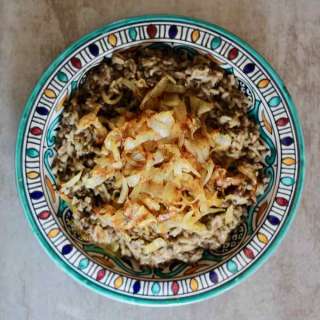
Mujaddara (Levantine Rice and Lentil Pilaf)
Middle Eastern, Israeli, Lebanese, Syrian, Vegan, Jordanian, Iraqi
5.0
(3 reviews)

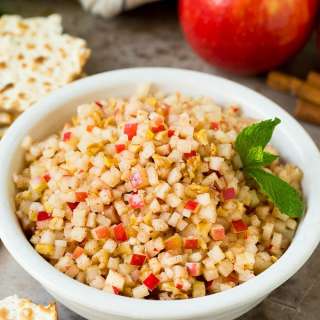
Couscous Salad Recipe (with Pickled Vegetables)
Mediterranean, Middle Eastern, Israeli
5.0
(9 reviews)