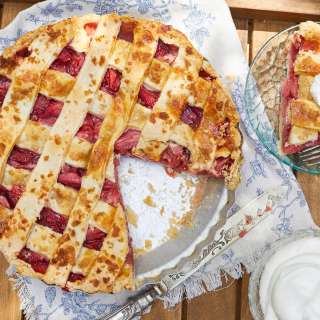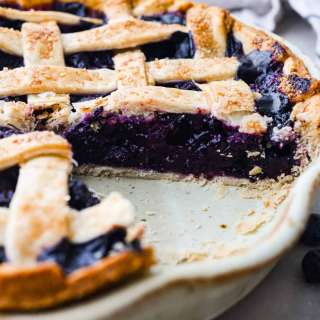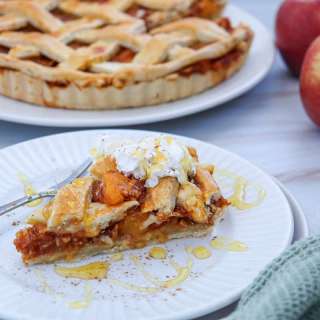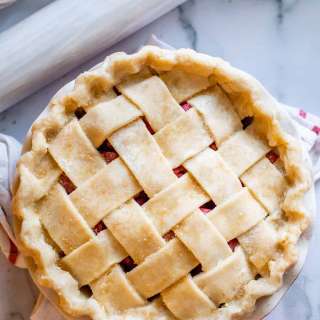
Lattice Apple Pie
User Reviews
0.0
0 reviews
Unrated
Lattice Apple Pie
Report
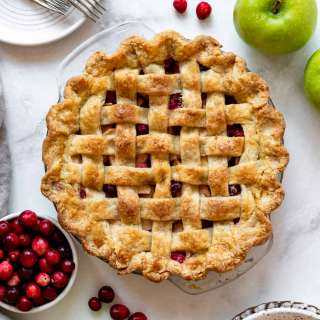
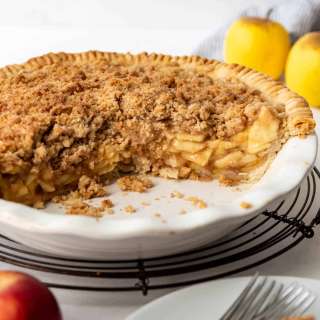
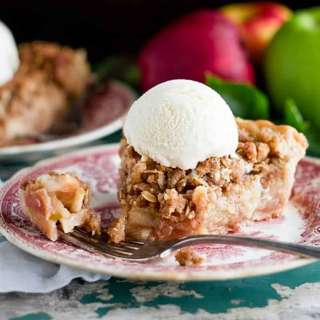
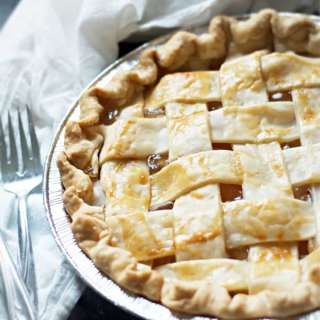
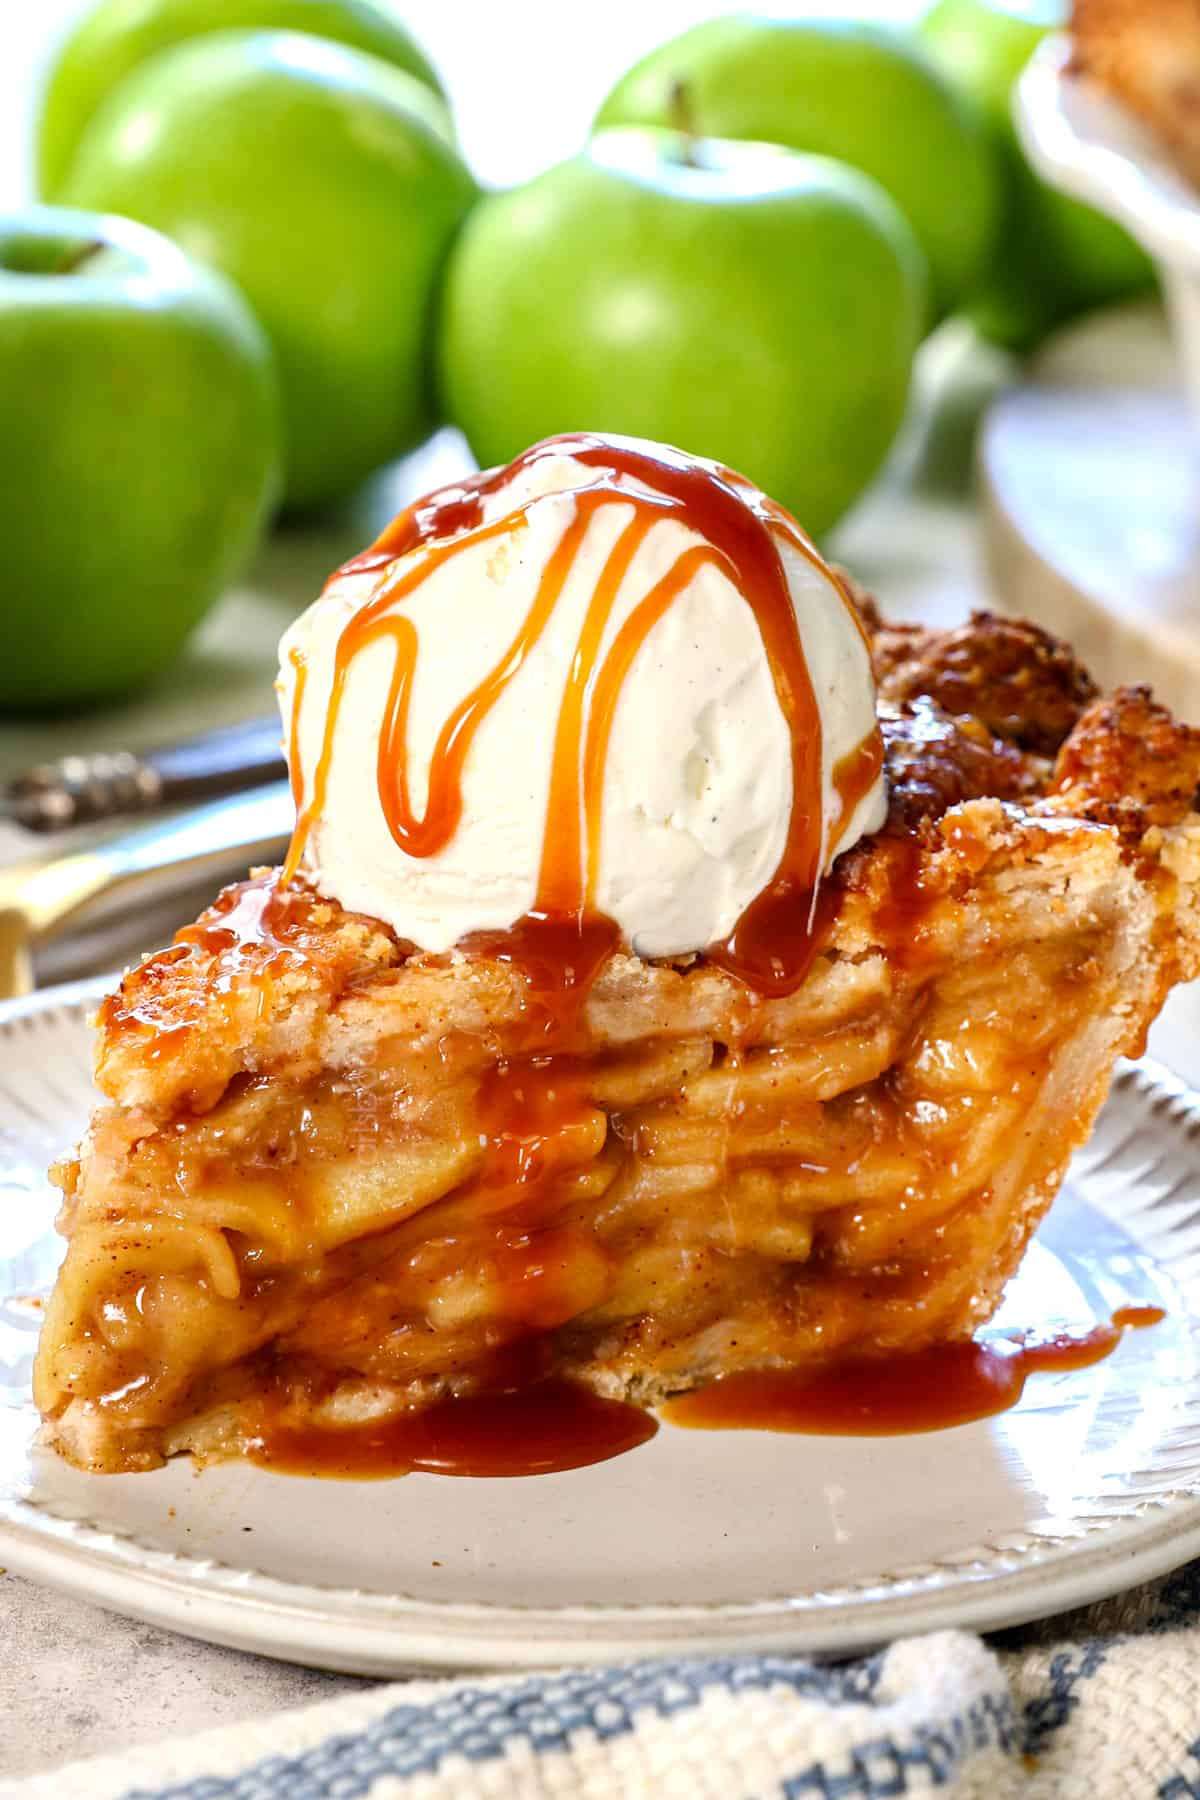
This is the BEST 100% foolproof Apple Pie recipe, so bring it to Thanksgiving with confidence! By following my technique, you and your guests will sink your teeth into a mountain of perfectly tender, flavorful apples enveloped in a caramel-like sauce that is never runny, the right balance of sweet and tart, and a golden, never-soggy crust. See the post for step-by-step photos and helpful tips and tricks.
Share:
Ingredients
Pie Crust
- 2 recipes Homemade Pie Crust (1 for bottom crust and 1 for lattice top)
- Egg wash: 1 egg beaten with 1 TB heavy cream (may sub milk)
- Optional: Coarse raw sugar for sprinkling on lattice topping
Apple Filling
- 3 1/2 pounds Honeycrisp Apples
- 1 1/2 pounds Granny Smith apples
- 2/3 cup packed light brown sugar
- 1/2 cup granulated sugar
- 1/3 cup + 1 TB all-purpose flour
- 2 tablespoons lemon juice, divided
- 1 1/2 teaspoons ground cinnamon
- 1/2 tsp EACH ground ginger, ground nutmeg, allspice
- 1/8 teaspoon salt
- 1 teaspoon vanilla extract
Instructions
- Note: The Apple Pie Filling can be made at any time and refrigerated until ready to add to the pie pan. See Note/Warning if using a glass pie pan before you begin.
- Make the Pie Dough: Prepare one pie crust recipe through step 6 under Make Dough (click HERE for the recipe.) Prepare the second pie crust through step 2 under Roll Dough using a standard 9-10-inch pie pan (1 1/2-inches deep).
- Make the Bottom Pie Crust: Lightly brush the bottom and sides of the crust in the pan (not edges that will be fluted) with the egg wash. Reserve the egg wash in the refrigerator for later. Tip: I find it easiest to add the egg wash after the pie dough has firmed up a bit, so I place the pie in the freezer for 20 minutes. After adding the egg wash, immediately cover the pie and refrigerate it while you prep the rest of the recipe (at least 45 minutes up to 5 days before baking).
- Roll Out the Dough for the Lattice Top: Place a large piece of parchment paper on a baking sheet and generously dust with flour. Roll the dough disc into a rough 11×11-inch rectangle on the parchment paper. At this point, I cover and freeze the dough (on the baking sheet) for 20-30 minutes for easier/cleaner slices.
- Make the Lattice Strips: After chilling, use a ruler and a pizza cutter, pastry wheel, or sharp knife to cut the dough into 1-inch-wide strips. Cover with plastic wrap and freeze for 30 minutes or refrigerate for up to 24 hours for MUCH easier-to-handle lattices. When you're ready to use the lattices, make the apple pie filling first:
- Slice the apples: Peel the apples and make 4 slices around the core to remove it. Lay the 4 remaining apple segments, cut side down, on a cutting board, and slice into 1/8-inch slices. Transfer the apples to a large Dutch oven as you go to keep the workspace clean.
- Apple pie filling: Add the sugars, flour, 1 tablespoon of lemon juice, and spices to the sliced apples and set over medium heat. Gently stir until evenly coated. Cover and cook for 15-20 minutes, stirring every couple minutes and replacing the lid. The apples are done when they reach YOUR desired apple pie tenderness – they will not become more tender in the oven. They should be fork-tender but still hold their shape. (They will not become mushy when baked; see the science behind it in the post.) Once tender, stir in the remaining 1 tablespoon of lemon juice and the vanilla.
- Cool the Apples: Line a rimmed baking sheet with parchment paper or a silicone baking mat for easy cleanup. Transfer the apples and their caramel juices to the baking sheet. Pop the pan in the fridge or freezer to cool to room temperature for about 25 minutes.
- Assemble: Once the apples have cooled, transfer them and the sauce to the chilled pie shell, rearranging and layering them horizontally to compact.
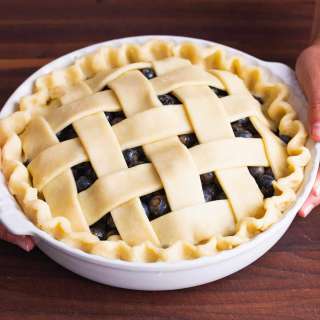
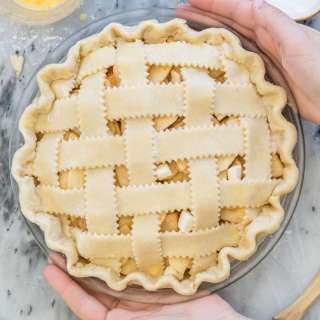
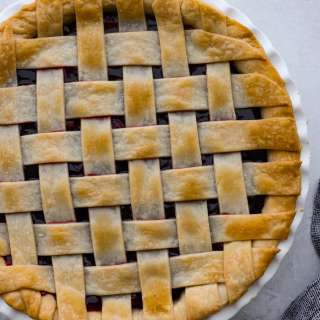
- Weave the Lattice Top (See Post for Photos): If the strips become too stiff to work with, let them rest on the counter for 10 minutes. Start by laying five horizontal strips evenly spaced over the pie (center the middle strip). Fold the first, third, and fifth horizontal strips back and place a vertical strip on the left side. Unfold the first, third, and fifth strips over the perpendicular strip and fold the second and fourth strips back. Add a second vertical strip, then unfold the second and fourth strip. Repeat the process for a total of ten strips, five running in each direction.
- Make the Edges: Press the edges of the strips into the edges of the crust to seal. Flute, crimp, or create whatever edge design you prefer. Lightly brush the edges and the lattice top with the egg wash. Sprinkle the lattice top (avoid the edges) with coarse sugar if using.
- Refrigerate: Chill the unbaked pie for 30 minutes. Don’t skip this step—it will help the crust not shrink unless you have a glass pie pan. Then, bake without chilling, or the pan can shatter (see Notes).
- Preheat the Oven: Immediately after transferring the pie to the fridge, place a baking sheet on the bottom rack of your oven and preheat the oven to 425 degrees F so the baking sheet can get very hot.
- Bake: Transfer the chilled pie to the rimmed baking sheet. Bake at 425 degrees F for 25 minutes (keep an eye on the crust so it doesn't become too brown). Reduce the heat to 375 degrees F and continue to bake for 35-45 minutes or until the filling is bubbling around the edges (if you don’t wait for it to bubble, your filling will be runny). Cover the edges with a pie shield or the top with foil if they are browning too quickly.
- Cool: Transfer the pie to a cooling rack and let it rest for 4 hours to cool to room temperature so the filling can set. You can pop the pie in the fridge or freezer to speed up the cooling process. The pie can rest at room temperature for up to 2 days or be refrigerated for up to 5.
- Reheat: After the pie has cooled, you can reheat/refresh it in the oven. Tent the pie with foil and place it in a cold oven. Turn the oven to 375 degrees F, and when the preheat bell dings, leave the pie in for another 10-15 minutes or until warmed.
Notes
- You can either make the pie entirely ahead of time or pre-make portions. Here’s how:
- Allow plenty of time to make the pie. Apple pie is best if the different elements— the crust, apple filling, lattices, assembled pie, and baked pie—have time to chill. I suggest making the apple pie a day ahead and warming it when ready to serve.
- GLASS PIE AN WARNING: I suggest a ceramic pie dish or HIGH-QUALITY glass made from borosilicate glass, not soda-lime glass, which seems more prone to thermal shock and shattering (newer Pyrex is not to be trusted).
- Pre-cooking the apples delivers a foolproof filling that is never runny, mushy, or crunchy. Cooks Illustrated explains that as you cook the apples slowly, the pectin in the apples is converted to a heat-stable form, which prevents the apples from continuing to cook in the oven—so no, the apples will NOT become mushy when baked!
- Storage: Baked apple pie can be stored at room temperature, covered, for up to two days. After that, it can be refrigerated to keep it fresh for another three days. To prevent the crust from becoming too soft, reheat slices in the oven instead of the microwave.
- To warm a whole apple pie: Place it on a baking sheet, tent it with foil, and place it in a cold oven. Turn the oven to 375°F, and when the preheat bell dings, leave the pie in for another 10-15 minutes or until warmed through.
- To warm individual slices: Preheat your oven to 350°F and place the slices on a baking sheet. Cover them loosely with foil and heat for about 10-12 minutes. Alternatively, you can microwave slices for 30-45 seconds, which will soften the crust.
- 100% Make Ahead: Bake the pie a day in advance and store it at room temperature. If you need to store it longer, refrigerate it for up to 2 days. See the steps above for reheating a whole pie.
- Freeze Unbaked Pie: You can freeze an unbaked pie for up to 3 months. Bake from frozen, adding 15-20 minutes to the baking time.
- Pie Crust: The dough can be made 5 days ahead of time and refrigerated until ready to use. You can also go one step further and mold it in the pie pan, brush with egg wash, cover, and refrigerate for up to 2 days. You can freeze the pie dough or the formed pie crust, covered tightly for up to 3 months. Thaw in the refrigerator overnight.
- Apple Pie Filling: Can be made/cooked two days ahead, covered tightly, and refrigerated for one day.
Genuine Reviews
User Reviews
Overall Rating
0.0
0 reviews
Unrated
Other Recipes
You'll Also Love