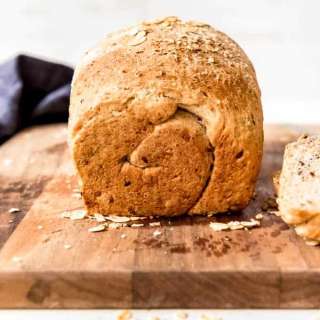
Multigrain No Knead Bread (in a Dutch Oven)
User Reviews
5.0
12 reviews
Excellent
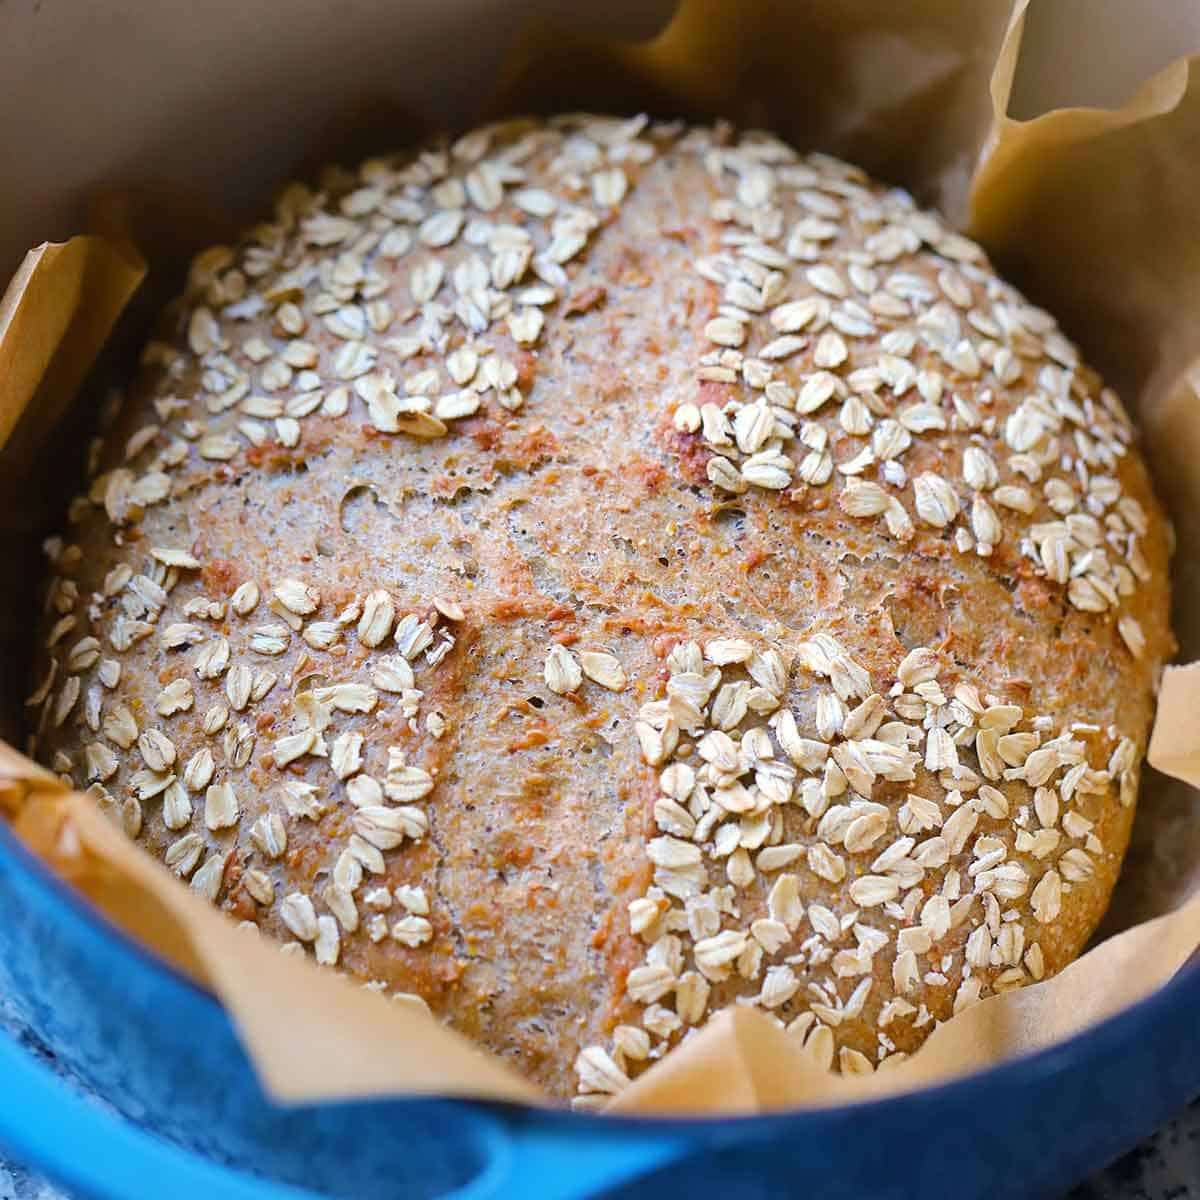
Multigrain No Knead Bread (in a Dutch Oven)
Report
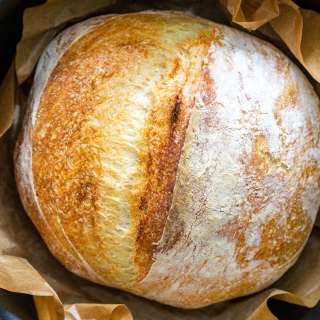
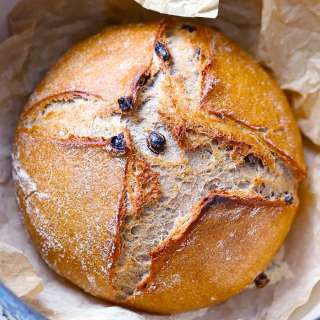
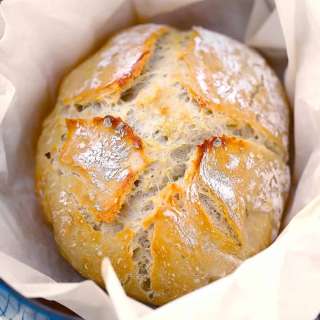
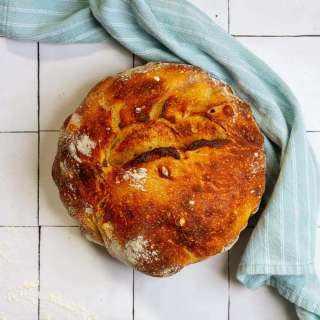
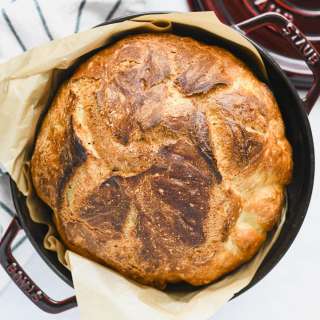
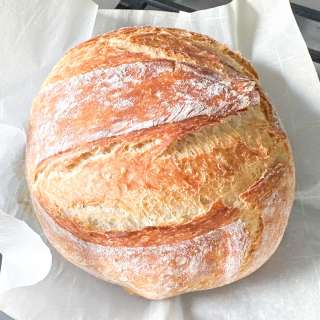
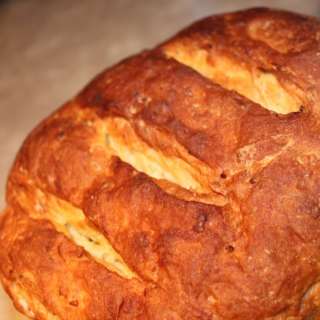
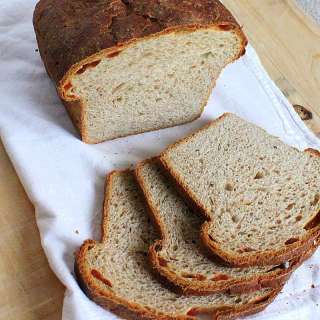
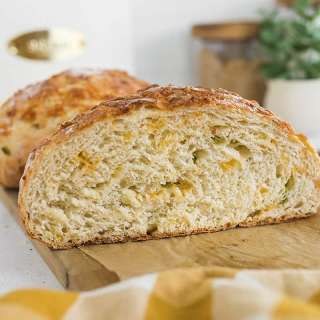
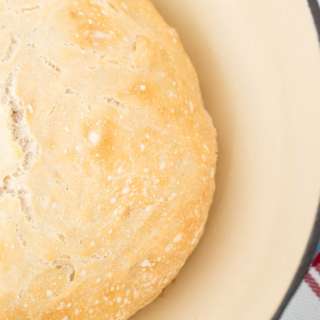
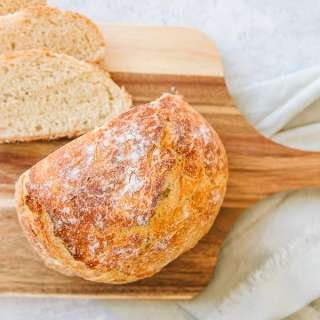
Using a multigrain cereal mix, such as 10-grain hot cereal, adds texture, taste, nutrition, and fiber to an artisan no knead bread loaf! This recipe also has three kinds of seeds added to it. Baking the loaf covered in a Dutch oven allows the steam to get trapped inside, resulting in a bread that's never dry and gets relatively tall for a whole grain version as it bakes with a deliciously crusty crust. The taste and texture of this multigrain bread is incredible - it tastes "healthy," in a good way! - nutty and earthy from all the grains and seeds.
Share:
Ingredients
- 1 ¾ cups warm water heated to about 105 degrees F, see notes
- 2 ¼ teaspoons active dry yeast 1 packet, see notes for rapid or quick rise
- 2 tablespoons honey or maple syrup for a vegan option
- ½ cup multigrain hot cereal mix such as Bob's Red Mill 10- or 7-grain hot cereal mix
- ¼ cup raw sunflower seeds
- 2 tablespoons golden flaxseeds or brown
- 2 tablespoons sesame seeds
- 1 ½ teaspoons fine-grain sea salt see notes
- 2 cups bread flour see notes for all-purpose flour
- 1 cup whole wheat flour
- handful of rolled oats or more seeds for topping the loaf, optional
Instructions
- Whisk the 1 ¾ cups warm water, 2 ¼ teaspoons active dry yeast, and 2 tablespoons honey together in a large bowl or the bowl of a standing mixer. Let it sit for 2 minutes; the mixture should have a few bubbles on top (this will indicate that the yeast is good - see notes if you don't see bubbles!).
- Add the ½ cup multigrain hot cereal mix, ¼ cup raw sunflower seeds, 2 tablespoons golden flaxseeds, and 2 tablespoons sesame seeds. Stir together well and allow to sit for 3-5 minutes, until the grains and seeds soften and absorb some of the water.
- Add the 1 ½ teaspoons fine-grain sea salt and give it a quick mix to help dissolve and distribute the salt. Then, add the 2 cups bread flour and 1 cup whole wheat flour and mix together very well (the longer you mix, the more gluten will develop, which will help make a taller loaf; a standing mixer with a dough hook makes easy work of this).
- Cover the bowl tightly with plastic wrap or a damp towel. Let the dough rise for 1 ½ - 2 hours in warm place until at least doubled in size (see notes for more information on letting the dough rise - it may take longer or shorter depending on the environmental factors so be prepared to be flexible on timing here).
- Preheat the oven to 450 degrees F when you are almost ready to bake. Optional: You can place your Dutch oven and cover into the oven while it preheats, getting the pot nice and hot. Then, you'll transfer the loaf into a preheated Dutch oven when it's time to bake - but be VERY CAREFUL and remember to use potholders! This may yield a taller loaf.
- Shape the dough into a round or oval shape. Then, place the shaped dough seam-side-down on the center of a piece of parchment paper. (Shaping can be done a few different ways, if you are unfamiliar I recommend looking at this original no knead bread recipe which has an easy shaping method great for beginners!).
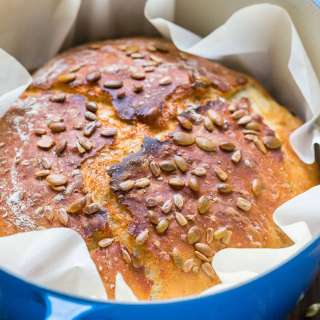
- Optional: Using your hands or a pastry brush, dampen the top of the loaf with water. Sprinkle a handful of rolled oats or more seeds on top and use your hand to gently press them on so it sticks. If you like, you can also score the top of the loaf using a lame, razor blade, or very sharp knife.
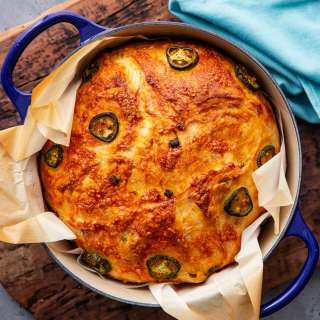
- Pick up the parchment paper by the edges and place the bread AND parchment paper inside the Dutch Oven. Optionally, you can add 1-2 ice cubes to the pot in between the parchment paper and the pot, which will melt during baking and help increase the steam.
- Bake for 40 minutes covered at 450 degrees F. Then, uncover and bake for 10-15 minutes more, until nice and brown on top.
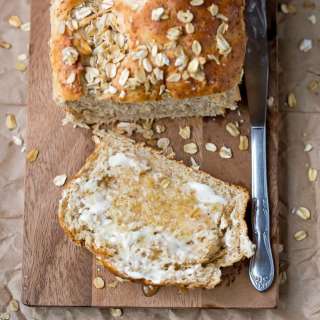
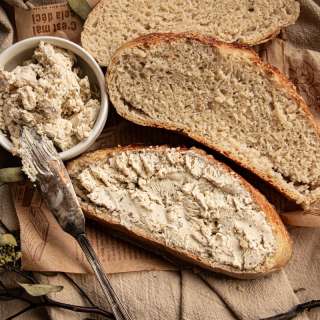
- Carefully transfer the loaf to a wire rack to cool. I recommend cooling for at least one hour before slicing into it - any earlier and the bread may have a gummy texture. It's difficult to wait, but you can do hard things. Store leftover bread in an airtight container for up to 24 hours (beyond that it will dry out significantly) or slice once completely cool and store in a zip-top bag in the freezer and take out a slice to defrost or toast as needed.
Equipments used:
Notes
- The temperature of the water is important. It can be anywhere between 100 degrees and 115 degrees F. Any hotter than that and it may kill the yeast. Any cooler may cause the yeast to not activate which may cause the dough to rise extremely slowly. A quick read meat thermometer is a good way to get an accurate reading on temperature, but you can also put a little water on the inside of your arm and if it feels pleasantly warm and doesn't burn you, it should be fine!
- Rapid or quick rise yeast can be used here, but they will, as the name suggests, cause the dough to rise faster. So keep an eye on it so the dough doesn't overproof (which is when it starts to deflate because the yeast runs out of food to eat and stops multiplying).
- Letting the dough rise in a warm place helps the yeast multiply faster causing a faster rise. The cooler the environment, the longer it will take to rise. I like to place my bowl in the oven and turn on the oven light - the heat from the lightbulb makes the temperature inside my oven about 110 degrees F which is perfect! You can also microwave a mug of water until it's boiling, then put the bowl in the microwave with the steaming mug of water and close the door to create a warm, humid environment.
- If using kosher salt or coarse salt, be sure to up the amount to about 2 teaspoons since there is less salt per teaspoon. For those who like salty flavor, you may want to up the total amount of fine salt to 2 teaspoons. It's preferable to not use iodized salt as there is some thought that iodine can hinder yeast development and add a taste to the bread, so sea salt is often used with bread baking for this reason. If all you have is iodized salt, just use it- it will be fine!
- Bread flour is used instead of all purpose flour because it has a higher gluten content. Because whole wheat flour has much less gluten, and the seeds and grains weigh the bread down, the loaf will benefit from having more gluten in terms of getting a taller, stronger loaf. That said, if all you have is all purpose, no need to go to the store. Use 2 tablespoons more all purpose flour if you are substituting it for the bread flour. Or, if you happen to have some vital wheat gluten, feel free to add 1 tablespoon of it to the mixture to help increase the gluten content if using all purpose flour (in this case, don't do the extra 2 tablespoons flour).
- If your yeast doesn't bubble when mixed with warm water and honey: that likely means the yeast is not good. Yeast is a living organism and sometimes you get a dead batch or if it's been sitting around for a while it may die off. If the yeast is dead, the dough won't rise and your bread won't turn out! If after a couple of minutes it doesn't look like it's bubbling, let it sit for a full 10 minutes. After 10 minutes, it should foam up substantially and double in size. If it doesn't, it either means the water temperature was not accurate or you have a dud batch of yeast. Try again with new yeast from the store and double check your water temp!
- No Dutch Oven? A Dutch Oven is used to help trap the steam inside while the bread bakes. As an alternative, you can use another covered pot, or a pot with a skillet inverted on top or tightly covered in foil, or something like that. Just make sure everything is oven-safe! Alternatively, you may have a "steam bake" function in your oven (I do, and it works beautifully!). Or you can create a steamy environment by placing a rimmed baking sheet on the bottom rack filled with water, which will evaporate and create steam while the bread bakes on the top rack (in this case, you can bake the bread on a baking sheet or cast iron skillet or pizza stone, etc.). I've had hit or miss results with the latter method but it's OK in a pinch!
- If you want to omit the seeds, just leave them out and add about two tablespoons more of the multigrain cereal mix.
Nutrition Information
Show Details
Calories
216kcal
(11%)
Carbohydrates
35g
(12%)
Protein
7g
(14%)
Fat
4g
(6%)
Saturated Fat
0.5g
(3%)
Polyunsaturated Fat
2g
Monounsaturated Fat
1g
Sodium
353mg
(15%)
Potassium
136mg
(4%)
Fiber
4g
(16%)
Sugar
4g
(8%)
Vitamin A
3IU
(0%)
Vitamin C
0.1mg
(0%)
Calcium
34mg
(3%)
Iron
1mg
(6%)
Nutrition Facts
Serving: 10servings
Amount Per Serving
Calories 216 kcal
% Daily Value*
| Calories | 216kcal | 11% |
| Carbohydrates | 35g | 12% |
| Protein | 7g | 14% |
| Fat | 4g | 6% |
| Saturated Fat | 0.5g | 3% |
| Polyunsaturated Fat | 2g | 12% |
| Monounsaturated Fat | 1g | 5% |
| Sodium | 353mg | 15% |
| Potassium | 136mg | 3% |
| Fiber | 4g | 16% |
| Sugar | 4g | 8% |
| Vitamin A | 3IU | 0% |
| Vitamin C | 0.1mg | 0% |
| Calcium | 34mg | 3% |
| Iron | 1mg | 6% |
* Percent Daily Values are based on a 2,000 calorie diet.
Genuine Reviews
User Reviews
Overall Rating
5.0
12 reviews
Excellent
Other Recipes
You'll Also Love