Sweet Tart Crust
User Reviews
4.6
192 reviews
Excellent
Sweet Tart Crust
Report
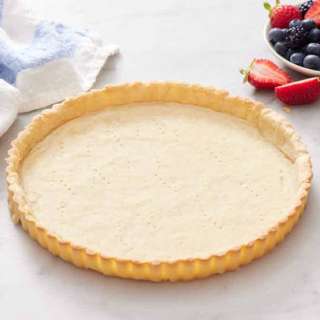
With a buttery, crumbly, crispy, cookie-like texture, this is my favorite Sweet Tart Crust (Pastry Crust) recipe. It goes well with any sweet filling of your choice.
Share:
Ingredients
- 1¼ cups all-purpose flour (plain flour)
- ½ cup confectioners’ sugar
- ¼ tsp Diamond Crystal kosher salt
- ½ cup unsalted butter (1 stick, 8 Tbsp; cold)
- 1 large egg (50 g each w/o shell) (cold)
- ½ tsp pure vanilla extract
Instructions
Make the Dough
- Gather all the ingredients. If possible, keep all ingredients chilled in the refrigerator until ready to start.
- Cut ½ cup unsalted butter into small cubes. Crack 1 large egg (50 g each w/o shell) into a small bowl.
Choice #1: Pastry Cutter
- In a large bowl, stir together 1¼ cups all-purpose flour (plain flour), ½ cup confectioners’ sugar, and ¼ tsp Diamond Crystal kosher salt.
- Add the butter to the flour mixture. Using a pastry cutter or 2 knives, cut the butter into flour mixture until the texture resembles coarse cornmeal, with butter pieces no larger than small peas.
- Add the egg and ½ tsp pure vanilla extract and mix with a fork just until the dough pulls together.
Choice #2: Food Processor
- Process 1¼ cups all-purpose flour (plain flour), ½ cup confectioners’ sugar, and ¼ tsp Diamond Crystal kosher salt in a food processor for a few seconds until combined.
- Add the butter and pulse until mixture resembles coarse meal, about 15 pulses.
- Add the egg and ½ tsp pure vanilla extract and pulse until the dough forms clumps, about 15 seconds.
To Form the Dough into a Disc
- Transfer the dough clumps to a lightly floured surface (I use a pastry mat) and form into a ball. If sticky, lightly sprinkle some flour.
- Flatten the ball with your hands to form a thick disc. Wrap with plastic wrap and refrigerate for at least 1 hour (or 30 minutes in the freezer). The dough must be completely chilled before using. To Store: If you don’t use the dough right away, you can store in the refrigerator for up to 3 days, or freeze it for up to 2 months. Thaw overnight in the refrigerator, then let sit at room temperature until easily rollable.
Roll Out the Dough
- Take the dough out from the refrigerator and let it sit on the counter for a few minutes to soften slightly for easy rolling. Meanwhile, lightly butter a 9-inch (23 cm) fluted tart pan with a removable bottom.
- Lightly flour your working surface and place the dough on top. Using a rolling pin, roll out the dough into an 11-inch circle ⅛ inch (3 mm) thick. If the dough is too soft, put it back into the refrigerator.
- Flour the rolling pin and roll the dough loosely around it, then unroll it into the tart pan.
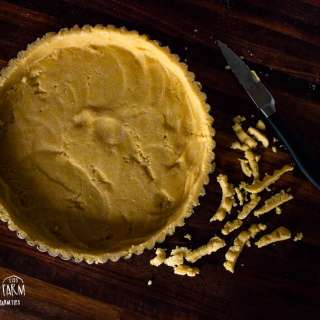
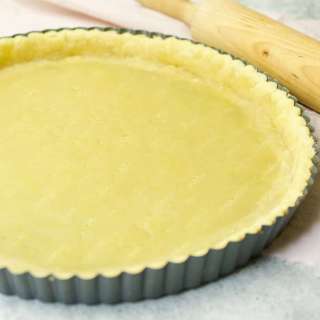
- Evenly pat the dough onto the bottom and sides of the greased tart pan. Seal any cracks in the dough.
- Trim off excess dough with a sharp knife, or with the rolling pin by rolling over the tart pan. A good tip I learned from a Japanese cookbook (optional): Using your index finger, gently press the dough onto the side so the dough will peek out 2 mm from the pan. The dough tends to shrink while baking, so this helps to keep the height of the crust.
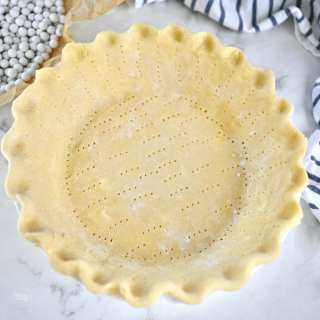
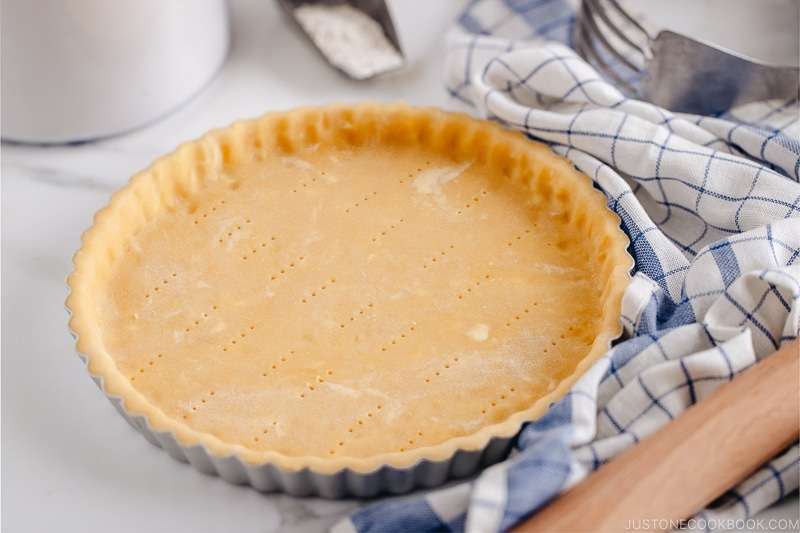
- With a fork, gently prick the dough several times. Cover the tart pan with plastic wrap and place in the freezer until firm, about 30 minutes. Freezing the dough before baking prevents it from shrinking.
To Blind Bake the Crust
- To prevent the crust from becoming soggy, I always like to blind bake the crust. Preheat the oven to 375ºF (190ºC) and place the rack in the center. For a convection oven, reduce the cooking temperature by 25ºF (15ºC).
- When the oven is ready, tightly line the chilled crust with 2 layers of parchment paper, covering the edges to prevent them from burning. Fill the crust with pie weights (or dried beans, uncooked rice, pennies, and so forth). Make sure they are evenly distributed over the entire surface.
- Bake the crust for 20 minutes, until the foil no longer sticks to the dough. Transfer the crust to a wire rack and remove the pie weights and parchment paper.
- To partially bake the crust, continue to bake the crust for 5 minutes longer. Proceed with your tart recipe: add the filling and finish baking. Check your recipe to see if the crust should be used while warm or after it’s been left to cool on a wire rack.
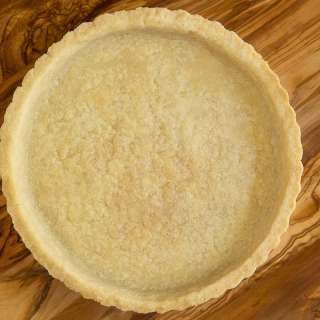
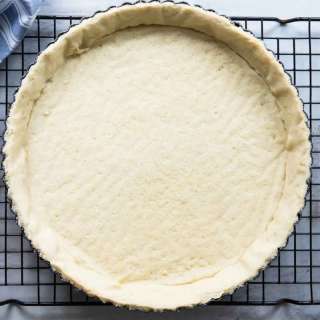
- To fully bake the crust, bake for 10 minutes longer or until it is dry and the bottom turns lightly golden. Remove the crust from the oven and place on a wire rack to cool.
To Store the Baked Crust
- The baked crust can be stored at room temperature or refrigerator for 2 days or frozen for 2 months. When ready to serve, let it thaw overnight in the refrigerator, then let sit at room temperature before filling and decorating.
Nutrition Information
Show Details
Serving
9inch tart crust
Calories
1693kcal
(85%)
Carbohydrates
180g
(60%)
Protein
23g
(46%)
Fat
98g
(151%)
Saturated Fat
60g
(300%)
Trans Fat
4g
Cholesterol
430mg
(143%)
Sodium
368mg
(15%)
Potassium
268mg
(8%)
Fiber
4g
(16%)
Sugar
60g
(120%)
Vitamin A
3106IU
(62%)
Calcium
80mg
(8%)
Iron
8mg
(44%)
Nutrition Facts
Serving: 19-
Amount Per Serving
Calories 1693 kcal
% Daily Value*
| Serving | 9inch tart crust | |
| Calories | 1693kcal | 85% |
| Carbohydrates | 180g | 60% |
| Protein | 23g | 46% |
| Fat | 98g | 151% |
| Saturated Fat | 60g | 300% |
| Trans Fat | 4g | 200% |
| Cholesterol | 430mg | 143% |
| Sodium | 368mg | 15% |
| Potassium | 268mg | 6% |
| Fiber | 4g | 16% |
| Sugar | 60g | 120% |
| Vitamin A | 3106IU | 62% |
| Calcium | 80mg | 8% |
| Iron | 8mg | 44% |
* Percent Daily Values are based on a 2,000 calorie diet.
Genuine Reviews
User Reviews
Overall Rating
4.6
192 reviews
Excellent
Other Recipes
You'll Also Love