Cherry Pie
User Reviews
5
Cherry Pie
Description
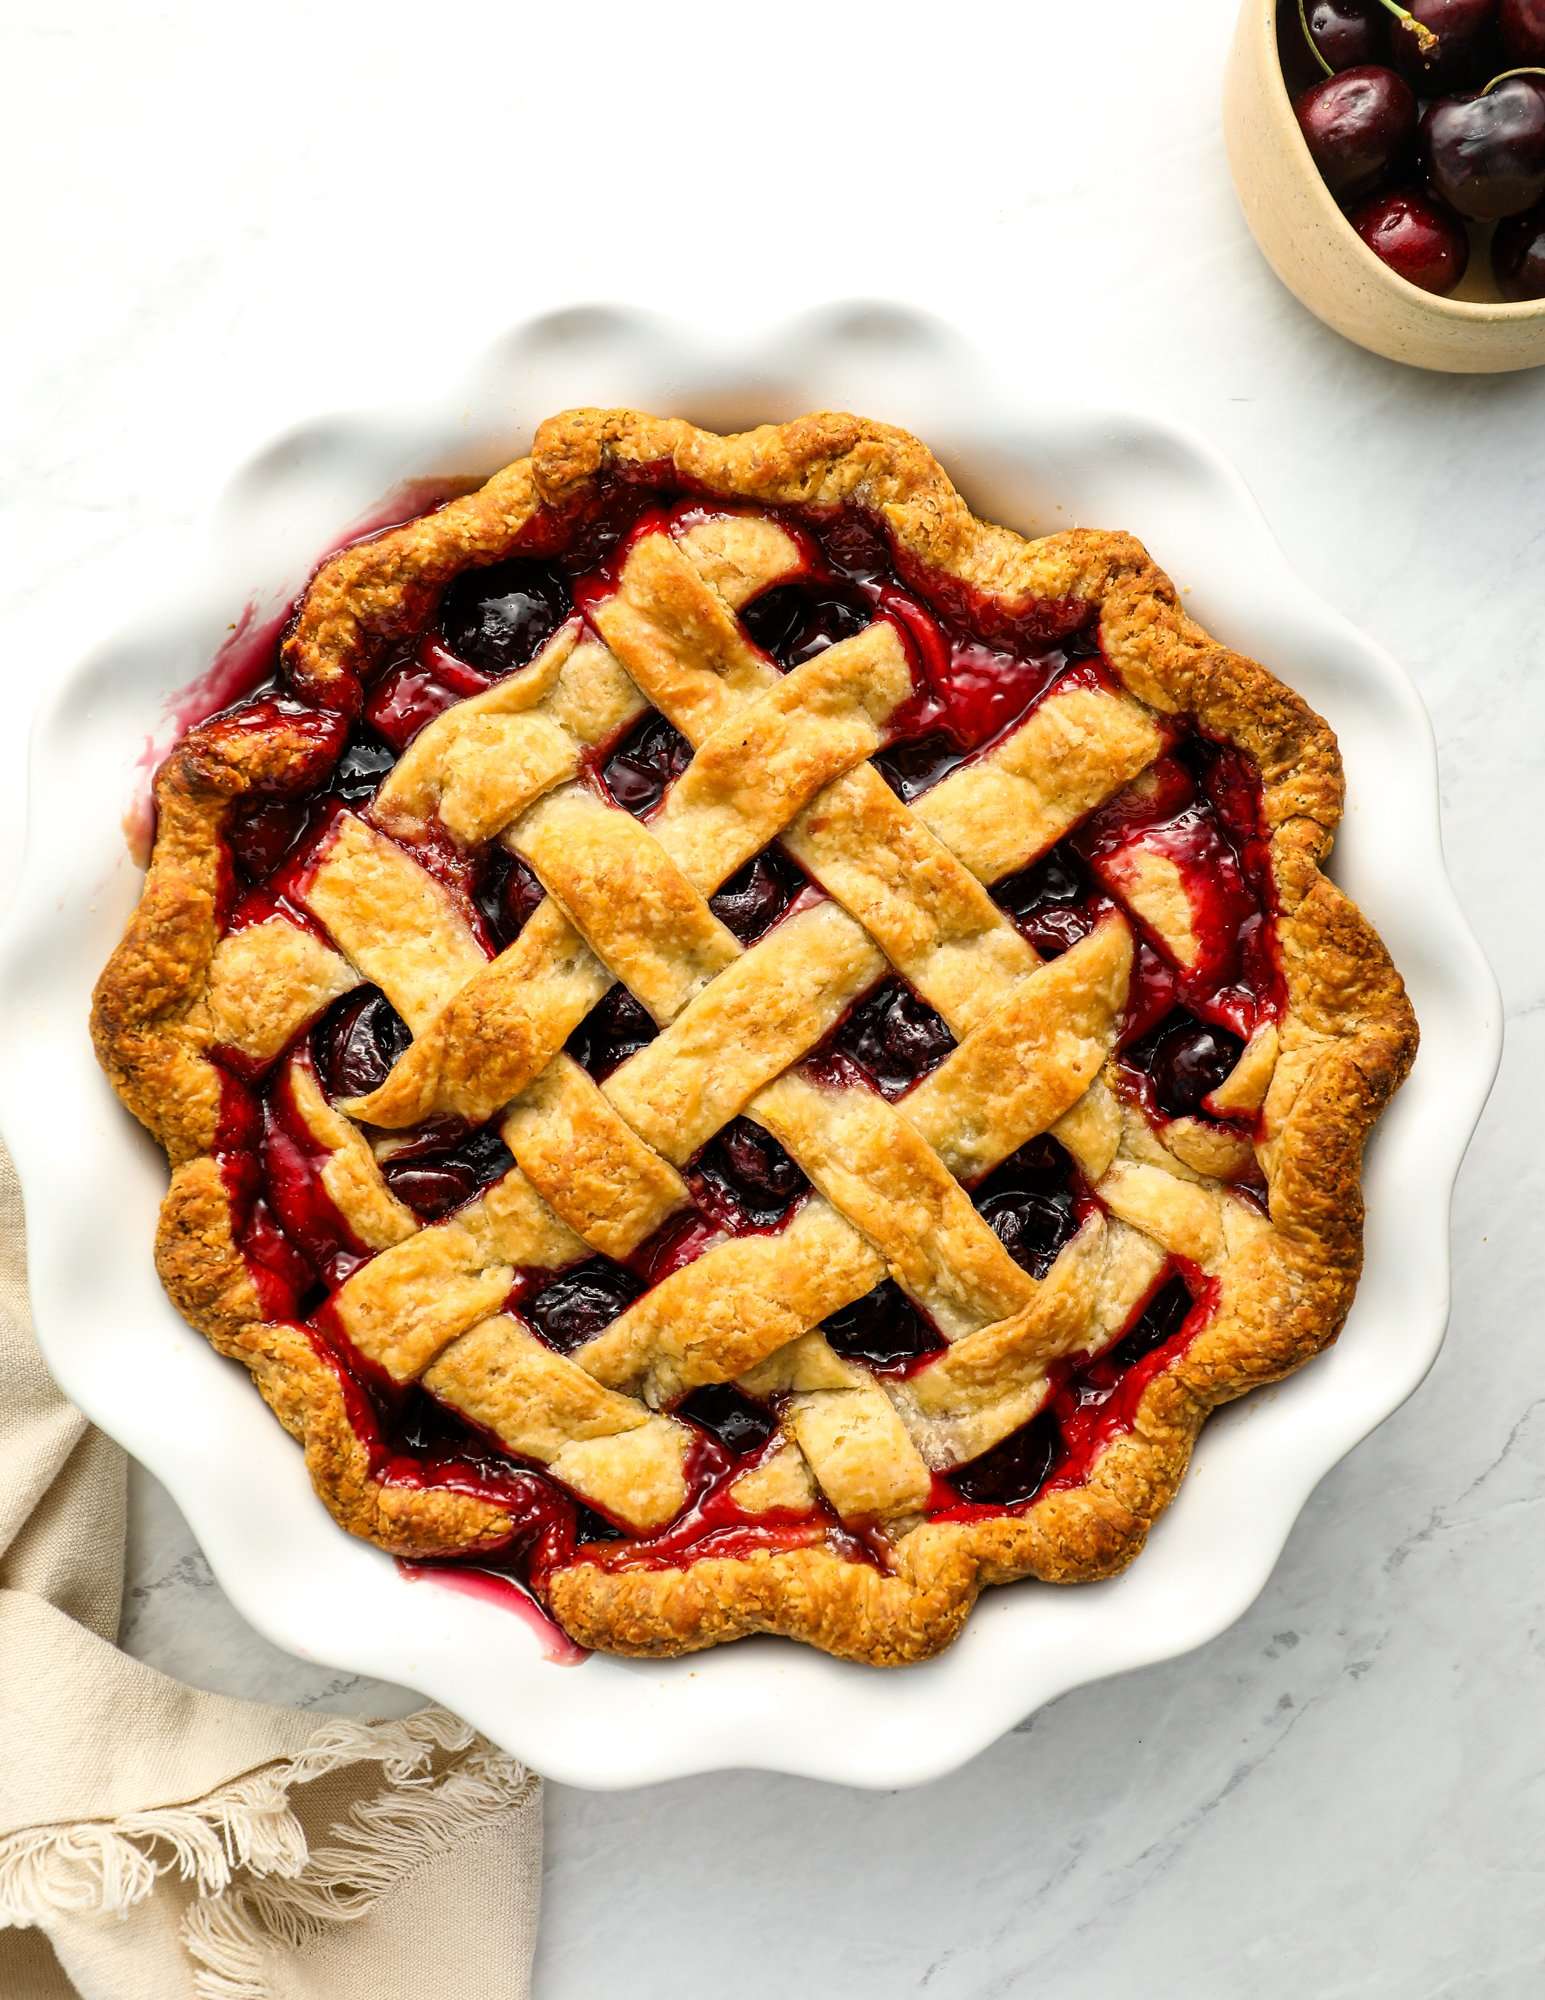
This Cherry Pie starts with a homemade crust made from flour, sugar, salt, baking powder, and butter, brought together with ice-cold water into a dough chilled before rolling. The filling consists of roughly 5¼ cups of cherries combined with lemon juice, almond extract, sugar, salt, and tapioca flour, which acts as a thickener to help the pie set during baking.
When baked, the pie crust turns golden and flaky, while the filling bubbles actively, especially in the center. Achieving a temperature of 213°F in the pie is critical for proper setting. The sugar level is important for the final texture and should not be reduced. The recipe advises that frozen cherries may need additional baking time.
Cherry Pie suits a dessert serving, especially when paired with complementary dishes like whipped cream or ice cream. Its flaky crust and balanced cherry filling make it a choice pie for cherry season or celebrations.
Pie crust and assembled unbaked pies can be made ahead and refrigerated or frozen for up to three months, with appropriate thawing before baking. Expect some cherry juice bubbling during baking, which is normal. Use pans and cooking times as guidance but test doneness primarily by checking the filling temperature.
Ingredients
For the Crust
- 3 cups all-purpose flour spooned into measuring cup and leveled-off
- 3 tablespoons sugar
- 1 teaspoon salt
- ¼ teaspoon baking powder
- 2½ ticks butter sliced into 1-inch pieces, unsalted, cold, 20 tablespoons
- ½ cup water ice cold
For the Filling
- 5¼ cups Cherry from about 2 lbs (6 cups) whole cherries, fresh or frozen (if frozen, no need to thaw, pitted
- 2 tablespoons lemon juice
- ¼ teaspoon almond extract
- ¾ cup sugar 2 tablespoons
- ¼ teaspoon salt
- ⅓ cup tapioca flour such as Bob’s Red Mill, also called tapioca starch
- 2 tablespoons unsalted butter cut into small cubes
Instructions
Prepare the Crust
- If using a food processor: Combine the flour, sugar, salt, and baking powder in the bowl of a food processor fitted with the metal blade. Pulse a few times to combine. Add the pieces of butter and pulse until the mixture is crumbly with lots of pea-size clumps of butter within. Add the water and pulse until the mixture is evenly moistened and very crumbly. Dump the dough crumbles onto a work surface and divide into two even piles. Make two balls of dough and pat each one into a 5-inch disc. Wrap the discs in plastic and refrigerate for at least 45 minutes and up to 3 days.
- If making by hand: In a large mixing bowl, whisk together the flour, sugar, salt, and baking powder. Add the butter cubes and use a pastry cutter or two knives to cut the butter into the dry ingredients until the mixture resembles coarse crumbs. Gradually add the ice water, mixing with a fork, and then your hands until the dough comes together into a ball. Divide the dough in half, shape into disks, wrap in plastic wrap, and refrigerate for at least 45 minutes and up to 3 days.
Prepare the Filling
- In a large bowl, combine the cherries, lemon juice, almond extract, sugar, salt, and tapioca flour. Toss until combined; don’t worry if the mixture is powdery.
- Preheat the Oven: Preheat the oven to 425°F and set an oven rack in the lower third position. Line a baking sheet with aluminum foil (the foil will catch the juices that bubble over from the pie, making for easy clean up).
Prepare the Bottom Crust
- Remove one disc of dough from the refrigerator. Lightly dust a clean work surface with flour and place the dough on it; sprinkle a bit of flour over the dough as well. Gently knead the dough with your hands just until it becomes soft and malleable (avoid overworking it—you want it just supple enough to roll out). Roll the dough out into a 14-inch circle, adding more flour as needed to prevent sticking. Carefully lift the dough by draping it over your rolling pin and transfer it to a 9-inch deep-dish pie pan (it should be 2 inches deep). Gently press the dough into the pan, making sure to ease it into place without stretching. Trim the edges of the dough to extend about ½ inch beyond the pie pan's lip.
Fill the Pie
- Transfer the filling into the crust and press into an even layer (do not mound). Dot the cherries with the butter. Refrigerate while you prepare the top crust.
Prepare the Lattice Top Crust
- Remove the top disc of dough from the refrigerator and roll it out into a 10x15-inch rectangle, following the same process described earlier. Using a pizza or pastry cutter, trim the edges and cut the dough into 14 one-inch-wide strips. Retrieve the filled pie from the refrigerator. Lay half of the strips horizontally over the pie filling, leaving about 1/2 inch of space between each strip. Fold back every other strip halfway over itself. Place one strip of dough vertically over the unfolded strips. Unfold the folded strips over the new strip, then fold back the alternating strips that were previously left unfolded. Lay another strip of dough parallel to the first vertical strip, about 1/2 inch away from it. Repeat the process, folding back the strips as necessary, until the lattice crust covers the entire pie. Trim any excess dough from the edges of the lattice strips, leaving a slight overhang. Fold the edges of the bottom crust over the lattice strips, then crimp or flute the edges to seal the pie.
Bake
- Place the pie on the lined baking sheet and bake at 425°F for 20 minutes. Reduce the oven temperature to 375°F and continue baking for an additional 60 to 70 minutes, or until the crust is golden brown and the filling is bubbling both on the edges and in the center (if you have a digital thermometer, it should be at least 213°F in the center). Keep an eye on the pie during the second half of baking and tent lightly with foil if it’s getting too brown on top (I usually tent it at the 40-minute mark in the second phase).
- Immediately move the hot pie off the foil and place on a heat-proof surface. If necessary, take a wad of wet paper towels and wipe any cherry juice from the edges (it gets extremely sticky as it dries). Let the pie cool completely before slicing, at least 8 hours or overnight (if you have a digital thermometer, it should be 78°F or lower in the center before slicing). Resist the temptation to cut into the pie while it’s even slightly warm, or you will end up with cherry soup!
- Once cooled, you can keep the pie at room temperature for up to 2 days, covering it loosely with foil to prevent it from drying out. If you need to store the pie for longer than 2 days, place it in the refrigerator, covered with plastic wrap or aluminum foil, and store for up to 4 days.
Notes
- Allow the pie filling to reach 213°F to ensure it sets properly before removing from the oven.
- Frozen cherries need an additional 10 to 15 minutes of cooking time compared to fresh cherries.
- Do not reduce sugar in the filling as it is crucial for proper setting and sweetness balance.
- The crust can be made up to three days in advance or frozen for up to three months; thaw in the refrigerator before use.
- Unbaked assembled pies can also be frozen for up to three months; thaw overnight in the refrigerator before baking.
- Expect some cherry juices to bubble out during baking; this is normal and does not indicate a problem.
Nutrition Information
Show DetailsNutrition Facts
Serving: 8servings
Amount Per Serving
Calories 644 kcal
% Daily Value*
| Calories | 644kcal | 32% |
| Carbohydrates | 85g | 28% |
| Protein | 6g | 12% |
| Fat | 32g | 49% |
| Saturated Fat | 20g | 100% |
| Cholesterol | 84mg | 28% |
| Sodium | 381mg | 16% |
| Fiber | 4g | 16% |
| Sugar | 42g | 84% |
* Percent Daily Values are based on a 2,000 calorie diet.
User Reviews
Overall Rating
5
You'll Also Love