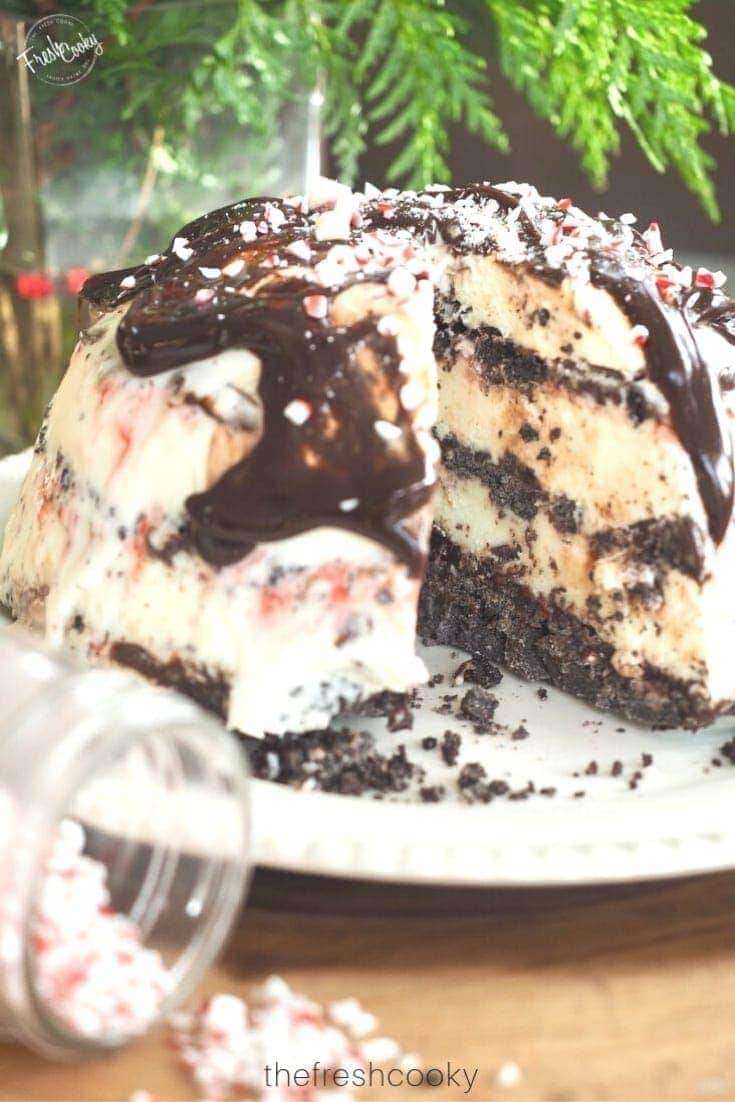
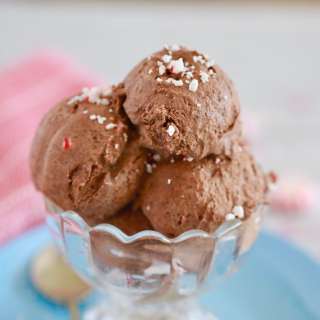
Chocolate-Peppermint Ice Cream Cake
User Reviews
5.0
6 reviews
Excellent
Chocolate-Peppermint Ice Cream Cake
Report
Layers of creamy peppermint ice cream, decadent chocolate cookie crumbs and crust, sprinkled with crushed candy canes and drizzled with fudge. This Chocolate-Peppermint Ice Cream Cake is the bomb!
Share:
Ingredients
- 1 package creme filled sandwich cookies I used Back to Nature Chocolate Creme Cookies, or use Oreos, Newman O's, Mint Fudge or your favorite.
- 1/4 cup butter 1/2 stick; melted, slightly cooled
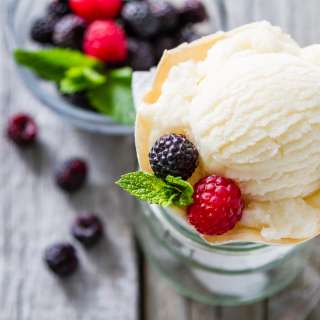
- 1 ½ gallons Ice cream Vanilla, White Chocolate and Peppermint Ice Cream. Approx. 1/2 gallon of each flavor. May not use all the ice cream
- 1 jar hot fudge sauce try and buy without High Fructose Corn Syrup or make my [Chewy Hot Fudge]
- Crushed Peppermint for layers and garnish
Ganache Ingredients
- 2/3 cup semisweet chocolate chips
- 2/3 cup milk chocolate chips or all semisweet works well too
- 1 cup whipping cream
- 2 Tablespoons butter
- 1 teaspoon vanilla extract
- Pinch of salt
Instructions
- COOKIE CRUST AND CRUMBLIES
- Place the entire package of cookies in the base of a food processor* (or a handful at a time if you have a smaller food processor) and pulse until the cookies are coarse crumbs. Melt 1/2 of a stick (1/4 cup) of butter; pour into food processor while on low/pulse until butter is incorporated. Remove 1-2 tablespoons and set all aside.
- ASSEMBLING ICE CREAM CAKE
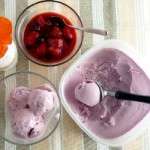
- First, grab a sturdy freezer and heat friendly bowl, like traditional clear glass Pyrex bowls, so you can see your layering. Size is your preference, use between 1.5 liter - 2.5 liter bowls.
- Making an ice cream cake is more art than recipe, it's simply taking your favorite ice creams, toppings, cookies and fillings and making it your own!
- Using an ice cream spade (a spatula will work just fine too) scoop about 1-2 inch layers of ice cream and place in the bottom of the bowl. Press using the back of the spade or a large spoon to smooth out completely, or use some parchment or plastic wrap and press down until even. Spoon on a layer of fudge topping over the ice cream. If you need to warm it to pour easier, warm slightly so you don't completely melt your ice cream. FREEZE for 30-60 minutes!
- Remove from freezer for your next round of ice cream and toppings. If desired, sprinkle on some crushed peppermint and more cookie crust.
- Scoop and press the next layer of ice cream and repeat with fudge layer; return to freezer for 1 hour. Or replace a fudge layer with a ganache layer (instructions below). I like to use 2-3 different ice creams in my ice cream cakes, appeals to most. After cookie crust and/or ganache layers are firm to the touch from freezing, add your final layer of ice cream. Smooth and refreeze for 30 minutes.
- Finally, pack on the cookie crumb crust and smooth down firmly using parchment paper or plastic wrap. Keep covered and freeze overnight preferably, or at least 4-6 hours.
- Ganache
- If making the ganache now is a great time to make it and add to your cake. In a microwave proof bowl pour in your chocolate chips and whipping cream and heat in 30-40 second bursts, stirring well in between. It melts faster than you think and will continue to melt. Do not overheat, it will burn and ruin your ganache. It might be overkill to do both a layer of cookie crumbs AND ganache, but who am I to tell you what to do!
- Once smooth, toss in your butter and stir until blended and smooth. Mix in your vanilla and a pinch of salt. Allow to cool for 10-15 minutes then spoon over frozen ice cream layer, smoothing to edges and return to fridge for 30 minutes to 1 hour.
- HOW TO UNMOLD THE ICE CREAM CAKE
- Grab a plate or platter that will fit your ice cream cake creation! Using a small knife, slide around the edge of the cookie crust.
- Fill a sink or much larger bowl with hot tap water. Carefully lower the bowl into the water, dip until just before the rim (careful, you don't want to water log your cookie crust). Hold for about a minute.
- TIP | If holding the frozen glass bowl is too chilly or the water is to hot, put on some dishwashing gloves; extra points for cute gloves!
- Place platter upside down on top of bowl; flip holding both the bowl and the plate until bowl is sitting on the plate. You may want to angle the bowl slightly and insert a knife on one edge, gently encouraging the cake to come forth! If it's being stubborn hold in the hot water for another 30 seconds and try again.
- Once plated, return to freezer for 30 minutes or more, then if desired before serving, spoon on more fudge sauce, sprinkle with tablespoon of reserved cookie crumbs and crushed peppermint. Remove ice cream cake from freezer 10 minutes prior to serving. Slice into desired size slices, running a long knife under hot tap water or setting in a glass to heat up helps cut the cake easier and leaves a smoother finish. Serve IMMEDIATELY. Freeze leftovers.
- GARNISH IDEAS
- Drizzle a little more fudge or topping of choice over top.
- Add crushed cookies chunks or chopped Andes Mints, Peppermints or candy canes. A dollop of whipped cream
- PHEW! It sounds so much harder than it is, it's seriously one of the easiest, no fuss desserts I make and I ALWAYS have people request the "recipe" from me! It's so worth the time in between layers for this work of art!
Equipments used:
Notes
- No food processor? No problem, working in several batches, place your cookies in a heavy duty plastic ziplock baggie. Using a rolling pin or heavy bottomed bottle, smash your cookies until they resemble coarse crumbs, rolling if needed, then pour into mixing bowl and add melted butter and stir to combine.
- Soften your ice cream, about 15 minutes on the counter or microwave for 15-20 seconds, no longer.
- I have been known to "RUSH" the layering process. The cake isn't as pretty if you don't freeze between layering, but guess what? It still tastes amazing, so if you are pressed for time, then do all of your layering without freezing between, work fast and get that baby in the freezer to freeze at least 6-8 hours; preferably overnight.
- Make this as big or small as you want. The calories listed may not be exact.
- GLUTEN FREE OPTION | Simply insure your ice cream is GLuten Free and replace Oreo's or cookies with Gluten Free Sandwich Cookies.
Nutrition Information
Show Details
Serving
1serving
Calories
1048kcal
(52%)
Carbohydrates
115g
(38%)
Protein
15g
(30%)
Fat
60g
(92%)
Saturated Fat
35g
(175%)
Polyunsaturated Fat
3g
Monounsaturated Fat
17g
Trans Fat
0.2g
Cholesterol
185mg
(62%)
Sodium
433mg
(18%)
Potassium
859mg
(25%)
Fiber
4g
(16%)
Sugar
96g
(192%)
Vitamin A
1849IU
(37%)
Vitamin C
2mg
(2%)
Calcium
483mg
(48%)
Iron
4mg
(22%)
Nutrition Facts
Serving: 16servings
Amount Per Serving
Calories 1048 kcal
% Daily Value*
| Serving | 1serving | |
| Calories | 1048kcal | 52% |
| Carbohydrates | 115g | 38% |
| Protein | 15g | 30% |
| Fat | 60g | 92% |
| Saturated Fat | 35g | 175% |
| Polyunsaturated Fat | 3g | 18% |
| Monounsaturated Fat | 17g | 85% |
| Trans Fat | 0.2g | 10% |
| Cholesterol | 185mg | 62% |
| Sodium | 433mg | 18% |
| Potassium | 859mg | 18% |
| Fiber | 4g | 16% |
| Sugar | 96g | 192% |
| Vitamin A | 1849IU | 37% |
| Vitamin C | 2mg | 2% |
| Calcium | 483mg | 48% |
| Iron | 4mg | 22% |
* Percent Daily Values are based on a 2,000 calorie diet.
Genuine Reviews
User Reviews
Overall Rating
5.0
6 reviews
Excellent
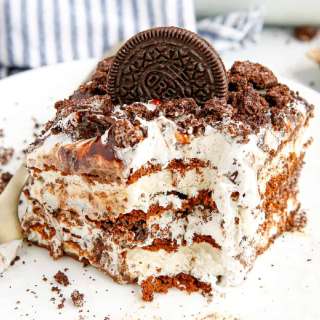
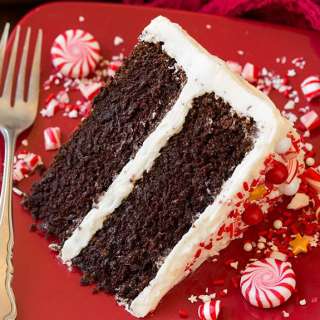
Other Recipes
You'll Also Love

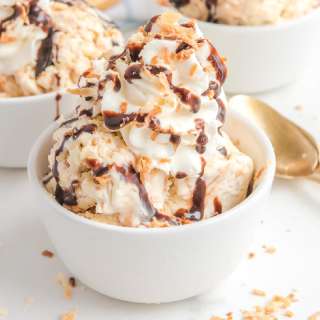
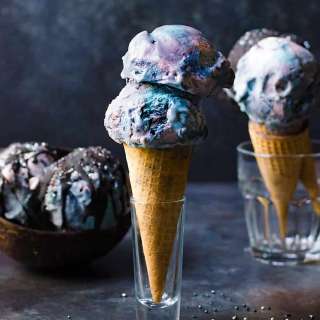
No Churn Galaxy Ice Cream (Mixed Berry Lemon Ice Cream)
North American, American, Canadian
5.0
(6 reviews)