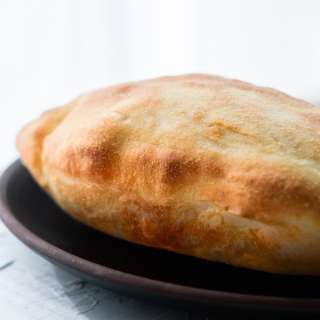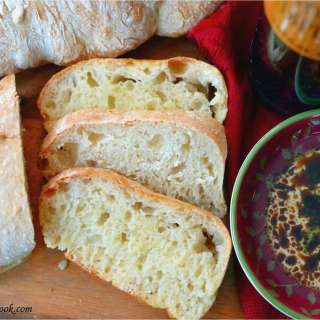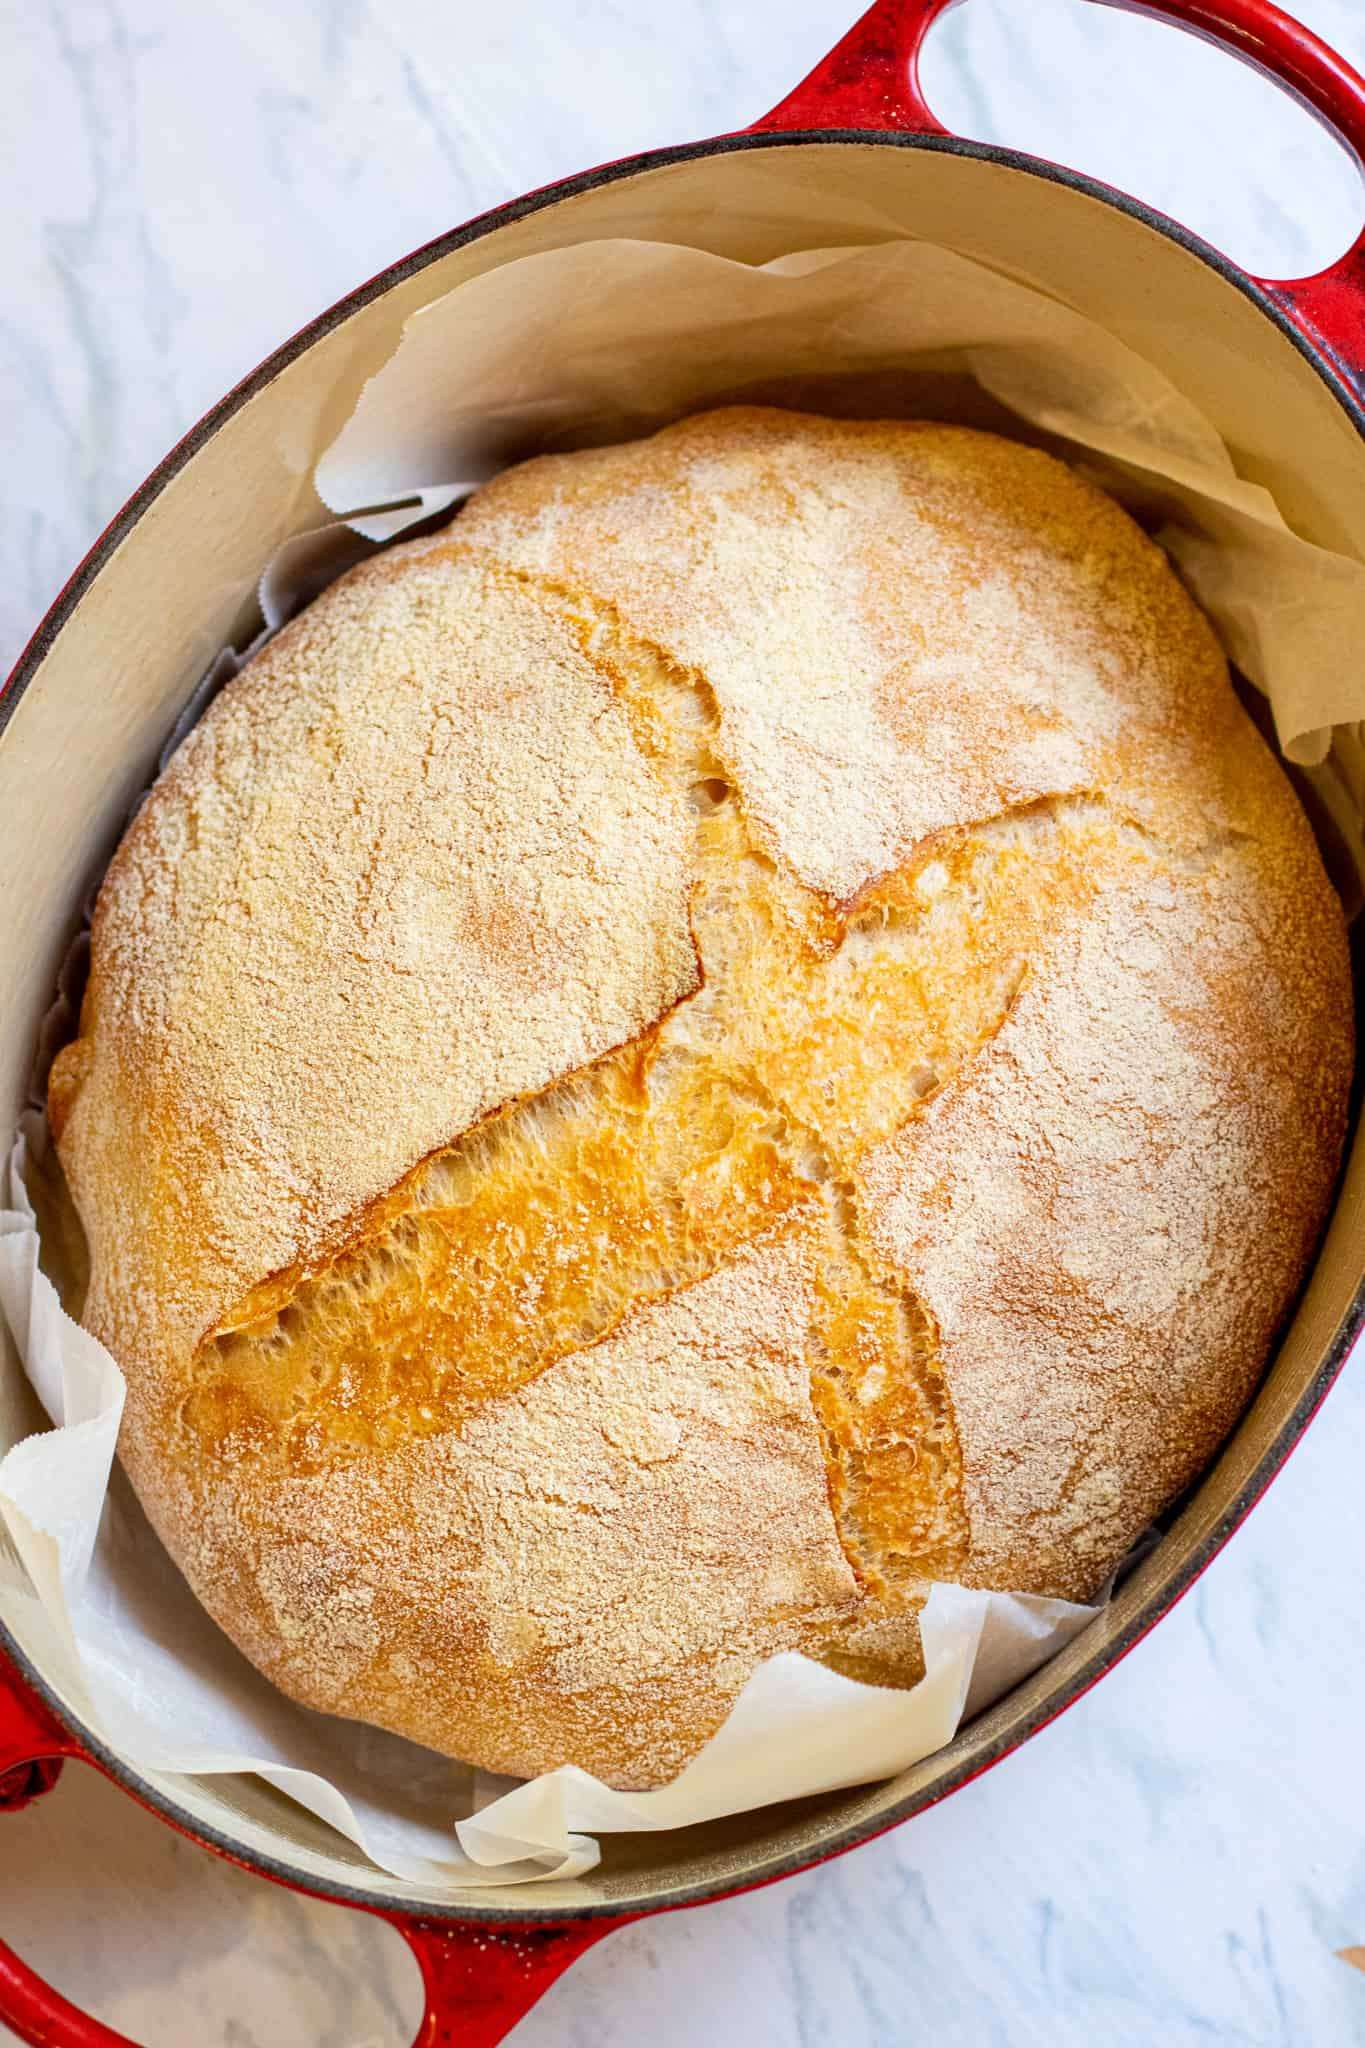
Dan's Como Bread
User Reviews
5.0
99 reviews
Excellent
Dan's Como Bread
Report
This delightful recipe is easy to follow and perfect for any occasion.
Share:
Ingredients
Starter
- 1 teaspoon active yeast 5 grams
- 1 teaspoon malt barley syrup 10 grams
- 1/3 cup warm water 80 grams
- 2/3 cup 2% milk, at room temperature 151 grams
- 1 cup all purpose flour 135 grams
Dough
- 2 cups warm water 480 grams
- 7 1/8 cups all purpose flour 860 grams
- 1 tablespoon salt 17 grams
- 1/2ish cup semolina for dusting
Instructions
Make the Starter
- In a medium sized bowl, add the water, yeast, and molasses. Mix well and then let sit for 5-10 minutes, until the yeast is frothy.
- Add milk and flour and stir until combined.
- Cover the bowl with plastic wrap and let it sit out on the counter until it is bubbly - at least 8 hrs or overnight.
Make the Dough
- In the bowl of a stand mixer add 2 cups of warm water and stir with a spoon until starter is all incorporated.
- In a large bowl, measure out flour and salt and mix. Then add to the stand mixer with the starter and gently mix with a large metal spoon (by hand) until as much of the flour as your can manage is wet and incorporated. It's ok if all of the flour isn't - the stand mixer will take care of it. This is just helping it along.
- Return bowl to stand mixer with dough hook attachment and then mix on medium for 4 minutes. The dough will be a little sticky and elastic. While mixing, the dough should easily come away from the sides of the bowl, but still stick to the bottom of the bowl. If all of the dough is in a ball around the dough attachment and isn't sticking to the bottom of the bowl, your dough is too dense. See recipe notes.
- Lightly oil a large bowl with misto and add the dough. Cover with plastic wrap and let dough bulk ferment (rise) until it has doubled. About 90 minutes. You can speed this along if you have a proof setting in your oven or you can just turn the oven light on and put in the oven.
- Prep bannetons by generously coating them with semolina flour. If using bowls or pots, line with linen towels.
- Once doubled, turn dough from bowl onto UN-floured counter. Divide the dough in half and then shape them into round loaves. Do this by gently stretching the dough into rectangles, then fold over in thirds (like a letter), and repeat. Then on the sides where you'll see the layers that you just folded on top of each other, pull a small piece of the edge of the bottom layer to the top of the dough and gently pinch it into the center to hold it in place. Do this until you have a pretty round dough. Do for each half and then place in prepared bannetons or bowls. Gently lift the sides of the doughs to add a little more semolina (or flour if using regular bowls). Optional- Use a dough scraper to round the dough and get rid of the "seam" which will help with the oven spring. To do this, use the scraper to pull the dough (while keeping the ball shape) toward you. The dough will stick to the counter, but use the scraper to gently pull it and unstick it from the counter as you pull. Refer to video in post if necessary.
- Gently cover bannetons with linen towels and let the dough proof until it has roughly doubled in size, about another hour. Be careful to not over-proof.
- Meanwhile, pre-heat oven to 400 degrees and set oven rack to center (or as close to it to fit your pot with lid).
- Once doughs have proofed, gently cover with parchment paper. Hold banneton in one hand and parchment paper covered top with the other. Gently turn out the dough onto the parchment paper and on to a clean countertop. If using heavy bowls or pots, enlist some help or you can just gently turn doughs on to parchment paper, trying to maintain round shape as much as possible.
- Using a sharp knife or bread lame, score the top of your loaves at least 1/2 inch deep.
- Lift doughs on parchment paper and gently place in dutch oven or pot. Cover with lid and bake for 20 minutes - you can bake both at the same time.
- After 20 minutes remove the lids and continue baking for another 40 minutes or until tops of loaves are golden brown.
- Gently tap the bottom of the loaves and if they sound hallow, they're done. You can also check the internal temperature and if it is 200 degrees F, it is done.
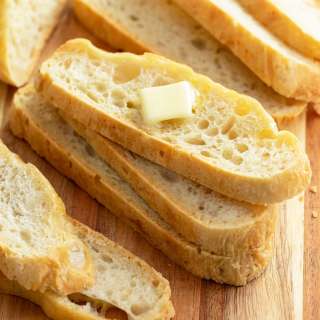
- Allow the loaves to cool completely on a wire rack (at least an hour otherwise you can make the crumb of your loaf gummy) before slicing and enjoy!
Equipments used:
Notes
- Measuring by weight is a more accurate way to bake, but if you do use measuring cups, be sure to spoon flour into cup and level with the flat edge of a knife.
- Substitutions:
- Substitutions
- Barley Malt Syrup: You can also use Molasses or even maple syrup.
- Flours: Your can use all purpose flour for the dough, but it makes a looser dough. Also, you could use bread flour in the starter, but it makes for a thicker starter which will change the overall hydration of the dough.
- Instant Yeast: You can use this but it will lessen the time of your pre-ferment while making the starter which will affect the flavor. Your starter is active when it has doubled in size.
- Equipment:
- Equipment:
- No Stand Mixer: No problem. It will just take a little more work. After you incorporate all of the flour, turn dough onto clean un-floured surface, and knead with hands for at least 10 minutes until dough is smooth, elastic, and somewhat sticky. Check with the poke test - if it springs back after you poke it, it's good. Do not flour countertops! It will feel super sticky, but that friction will help stretch the dough and actually make it take less time.
- No Bannetons: You can use linen towel lined bowls or pots for the proofing if you don't have bannetons. Be sure to NOT use terry cloth towels and use regular flour instead of semolina for coating - it just sticks better to the linen cloths.
- Using Loaf Pans: Grease the pans well (bottom and sides) and then cut a piece of parchment paper to fit on the bottom of the loaf pan. Add doughs directly to pan to proof before baking. This will make tall sandwich style loaves.
Nutrition Information
Show Details
Calories
1917kcal
(96%)
Carbohydrates
396g
(132%)
Protein
57g
(114%)
Fat
7g
(11%)
Saturated Fat
2g
(10%)
Cholesterol
6mg
(2%)
Sodium
3554mg
(148%)
Potassium
762mg
(22%)
Fiber
15g
(60%)
Sugar
8g
(16%)
Vitamin A
80IU
(2%)
Calcium
185mg
(19%)
Iron
24mg
(133%)
Nutrition Facts
Serving: 2loaves
Amount Per Serving
Calories 1917 kcal
% Daily Value*
| Calories | 1917kcal | 96% |
| Carbohydrates | 396g | 132% |
| Protein | 57g | 114% |
| Fat | 7g | 11% |
| Saturated Fat | 2g | 10% |
| Cholesterol | 6mg | 2% |
| Sodium | 3554mg | 148% |
| Potassium | 762mg | 16% |
| Fiber | 15g | 60% |
| Sugar | 8g | 16% |
| Vitamin A | 80IU | 2% |
| Calcium | 185mg | 19% |
| Iron | 24mg | 133% |
* Percent Daily Values are based on a 2,000 calorie diet.
Genuine Reviews
User Reviews
Overall Rating
5.0
99 reviews
Excellent
Other Recipes
You'll Also Love