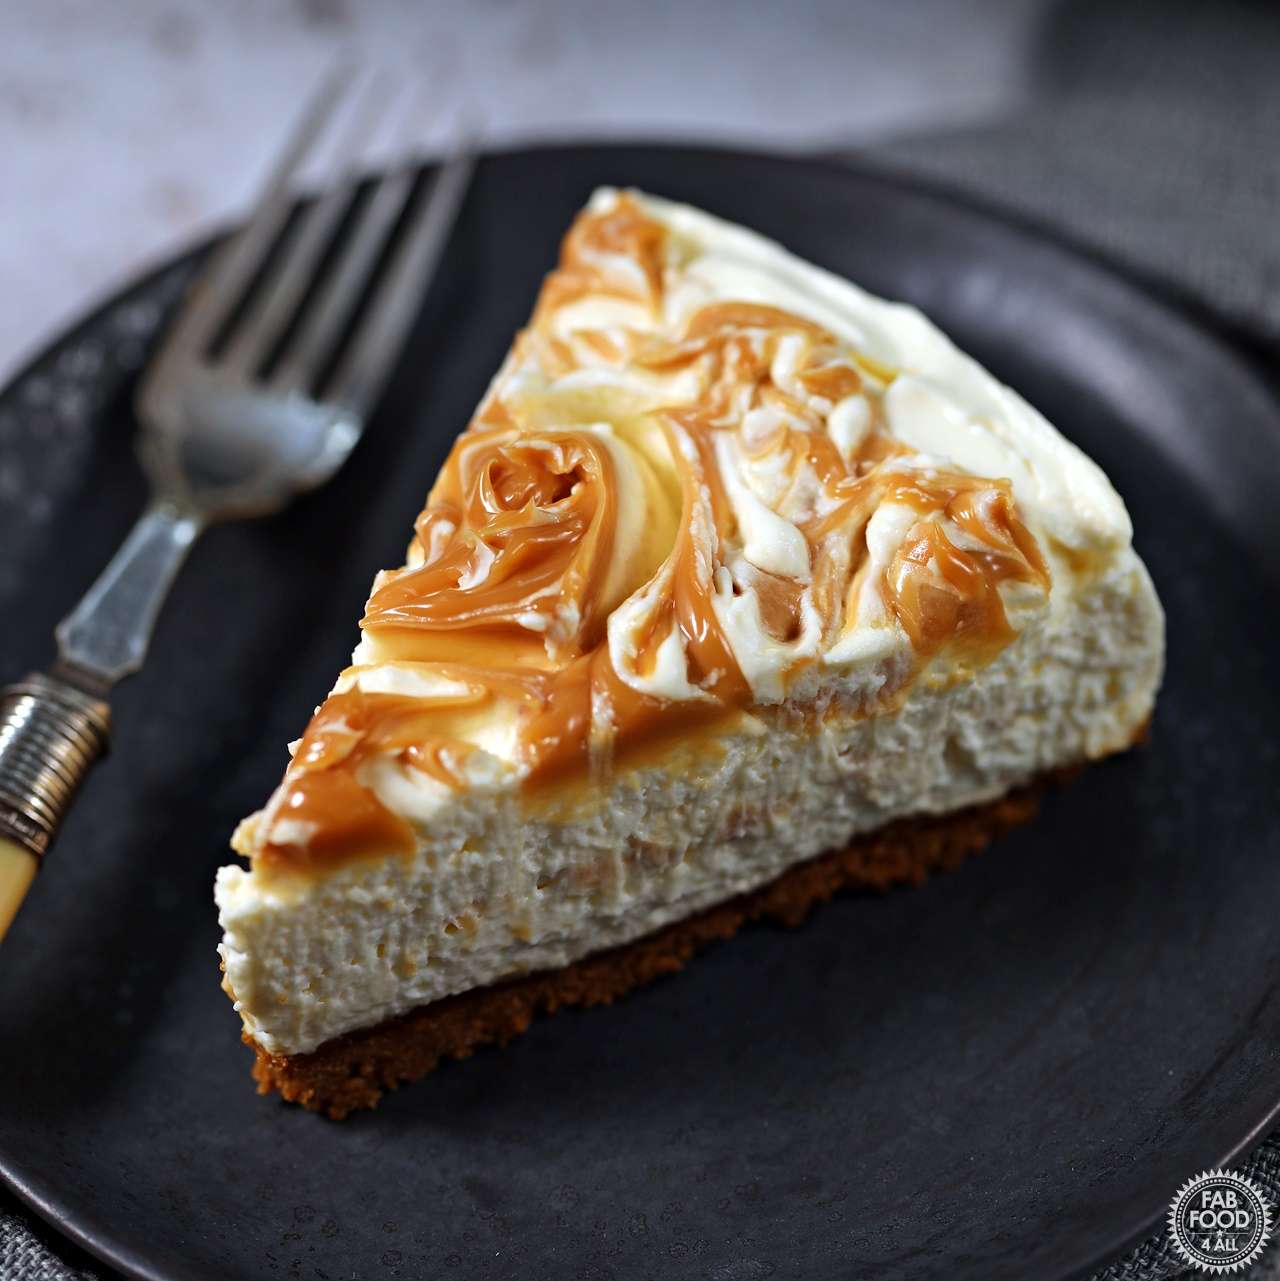
Easy No Bake Salted Caramel Cheesecake
User Reviews
5
Easy No Bake Salted Caramel Cheesecake
Description
Easy No Bake Salted Caramel Cheesecake features a base made from finely crushed Lotus Biscoff biscuits mixed with melted unsalted butter. This crust is pressed tightly into a cake tin, then chilled to set. The filling is prepared by whisking double cream to soft peaks and combining it with cream cheese, caster sugar, and vanilla extract to create a creamy mixture. The salted caramel spread adds a distinctively rich and slightly salty flavor that complements the sweet and tangy filling. The no-bake method preserves the smooth texture and keeps preparation simple.
The cheesecake texture balances a crisp, buttery biscuit base with a luxuriously creamy center. This contrast in textures enhances the eating experience while the salted caramel adds a flavorful highlight that enriches the dessert's overall profile. As a chilled dessert, it holds well for serving straight from the refrigerator, maintaining its structure and creaminess.
This cheesecake is suitable as a dessert for gatherings or personal indulgence, especially when a baked option is not desired or feasible. The biscuit crust offers a sturdy foundation while the salted caramel brings an appealing flavor twist that distinguishes it from traditional no-bake cheesecakes.
To remove the cheesecake from the tin cleanly, warming a palette knife in hot water and running it around the edges helps prevent sticking and keeps the sides neat. This small step can improve presentation without affecting the dessert's texture or taste.
Ingredients
- 200 g Lotus Biscoff biscuits Speculoos Biscuits
- 75 g butter melted, unsalted
- 300 ml cream double
- 340 g cream cheese Original Philadelphia brand, tub
- 100 g caster sugar
- 1 tsp vanilla extract
- 210 g salted caramel spread jar
Instructions
- Line a 20 cm (8 inch) round cake tin with greaseproof or baking paper (no need to grease).
- Make the biscuits into fine crumbs by either placing in a blender or use the end of a rolling pin to bash in a bowl.
- Add the melted butter and blend or mix in with a spoon until evenly distributed. (If using a blender, you’ll need to poke the biscuit crumb down with a wooden spoon at intervals as it tends to stick to the sides).
- Tip crumb mix into the cake tin and pat down evenly with a rubber spatula then smooth it around the outer edge to give a crisp edge.
- Place tin in the freezer (or fridge if you don’t have room) while you make the cheesecake topping.
- Whisk the double cream with an electric whisk (or by hand) until it forms soft peaks (it’s so easy to overwhip double cream so only go this far, we don’t want stiff cream as it will get whisked more later).
- Place cream in fridge.
- Then whisk together the Philadelphia cream cheese, caster sugar and vanilla extract until thoroughly combined.
- Next, add the cream and whisk in until just combined. Again, you don’t want to overdo this stage.
- Place half of the mixture over the biscuit base and smooth out with a spatula.
- Spoon over half of the salted caramel spread with a teaspoon in 6 evenly spaced mounds.
- Using a metal skewer (or tip of a very small knife), swirl out each mound to spread the salted caramel (it’s good practice for what you’ll be doing on the top layer).
- Add the rest of the cream cheese mixture and smooth over with a spatula.
- Repeat the spooning on of the salted caramel spread (6 mounds) to use up the rest of the jar.
- Finish off by making more swirls with a metal skewer to make a pretty pattern and fill the surface.
- Chill the cheesecake in the fridge for at least 5 hrs or overnight.
- Remove springform tin (see notes for tip) and slide onto a serving platter (the greaseproof paper can stay in place).
Notes
- Warm a palette knife in just-boiled water and dry before running it around the cheesecake edge to release it cleanly from the tin.
- Patting down the biscuit crust firmly creates a crisp border that contrasts nicely with the creamy topping.
- Use soft peaks when whisking the cream to avoid overwhipping and to ensure a smooth, light filling.
User Reviews
Overall Rating
5
You'll Also Love











