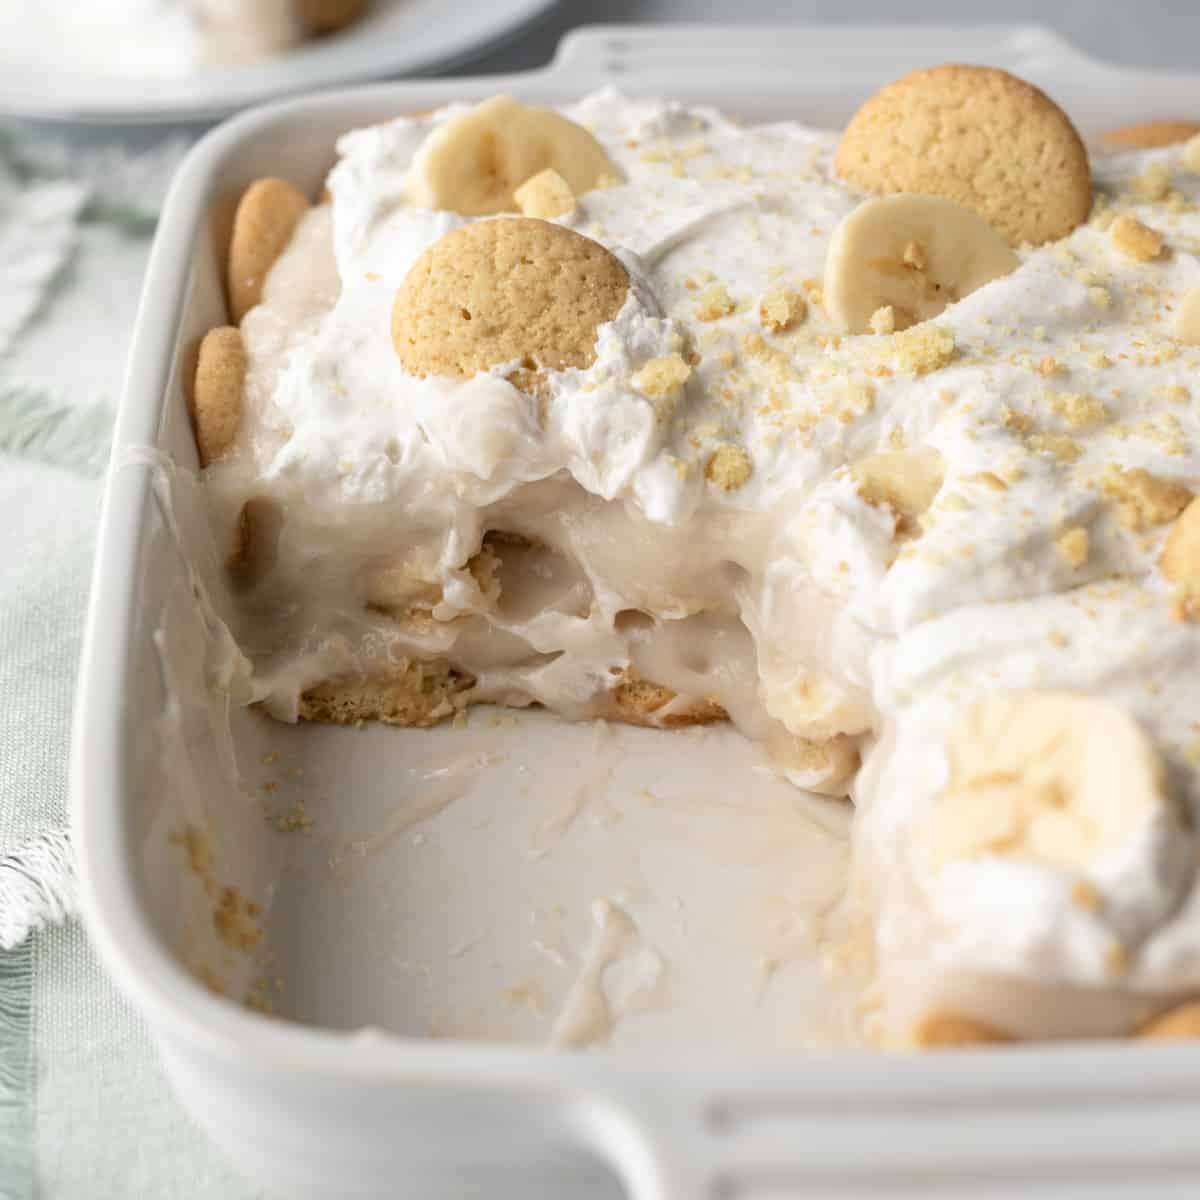
Easy Vegan Banana Pudding (No-Cook)
User Reviews
5
Easy Vegan Banana Pudding (No-Cook)
Description
Easy Vegan Banana Pudding (No-Cook) uses vegan vanilla pudding mix whisked into unsweetened non-dairy milk such as almond or coconut milk. The pudding is blended and beaten until thick, then layered with vanilla wafers and fresh bananas. Whipped coconut cream adds a light, fluffy topping enhancing the richness. This method produces a chilled treat with creamy texture and gentle banana sweetness balanced by vanilla wafer crunch.
The pudding’s no-bake preparation makes it accessible for various dietary needs and quick assembly. The layering of wafers with banana slices provides texture contrast, while the lemon juice optionally helps prevent bananas from browning.
For best results, the pudding can be made ahead and refrigerated to allow it to set fully. Whipped topping and additional banana slices are added just before serving for freshness. The dessert stores well in the fridge for several days but should not be frozen to preserve its texture.
Ingredients
- 2 (3.7 oz) boxes vegan vanilla pudding mix I like the 365 brand linked here and pictured above. See Notes for homemade option, instant
- 4 cups non-dairy milk We preferred unsweetened almond milk, unsweetened such as almond, coconut, or soy
- 9 ounces vegan vanilla wafers I used the 365 brand.
- 2 or 3 barely ripe banana
- 1 tablespoon lemon juice Helps prevent browning of bananas but isn't necessary, optional
- 2 to 3 cups whipped coconut cream So Delicious Coco Whip, thawed in the refrigerator, or homemade
Instructions
- NOTE: Check the instructions on the pudding mix. The brand I used called for simply whisking the powder into milk, but that led to clumpy pudding. So I decided to use a blender to combine the powder and the milk, and then use a handheld electric mixer. If you don't mind a few clumps in the pudding, feel free to skip the blending.
- Prepare one box of pudding: add 2 cups of milk to a blender. Remove the small center cap in the blender's lid. Turn the blender on low speed, and pour the pudding mix through the hole in a slow but steady stream. Blend for just a few more seconds on low speed, until incorporated. Immediately pour the pudding into a large mixing bowl, and use an electric handheld or stand mixer to beat the pudding until thickened, 1 to 2 minutes. Set aside.
- Arrange vanilla wafers across the bottom and sides of an 8- or 9-inch square ceramic or glass dish (approx. 2.5 liter capacity). Crumble 3 or 4 wafers by hand, and sprinkle the crumbs into the gaps between the cookies. Slice one banana, and arrange on top of the cookies. (One large banana should be enough for each layer.) Spread the pudding on top, all the way to the edges so that the banana is covered.
- Now make the 2nd batch of pudding: add the remaining 2 cups of milk to the blender and prepare the pudding the same way you did before. Set aside.
- Repeat the layering process: a layer of wafers, sliced banana, and the 2nd batch of pudding.
- Refrigerate for at least 3 hours. Cover with plastic wrap if refrigerating longer. Before serving, top with dairy-free whipped topping. If also decorating with sliced banana, toss banana with lemon juice to prevent browning. Crumble a few vanilla wafers on top and serve.
Notes
- If desired, substitute cook-and-serve pudding mix and allow longer chilling time to set, usually at least 4 hours.
- The pudding can be prepared up to step 5 the day before and refrigerated overnight; add whipped coconut cream and fresh bananas just before serving.
- Store leftovers covered in the refrigerator for up to 3 days; avoid freezing as it may alter texture.
Nutrition Information
Show DetailsNutrition Facts
Serving: 8servings
Amount Per Serving
Calories 325 kcal
% Daily Value*
| Calories | 325kcal | 16% |
| Carbohydrates | 60g | 20% |
| Protein | 2g | 4% |
| Fat | 9g | 14% |
| Saturated Fat | 4g | 20% |
| Cholesterol | 0mg | 0% |
| Sugar | 32g | 64% |
* Percent Daily Values are based on a 2,000 calorie diet.
User Reviews
Overall Rating
5
You'll Also Love











