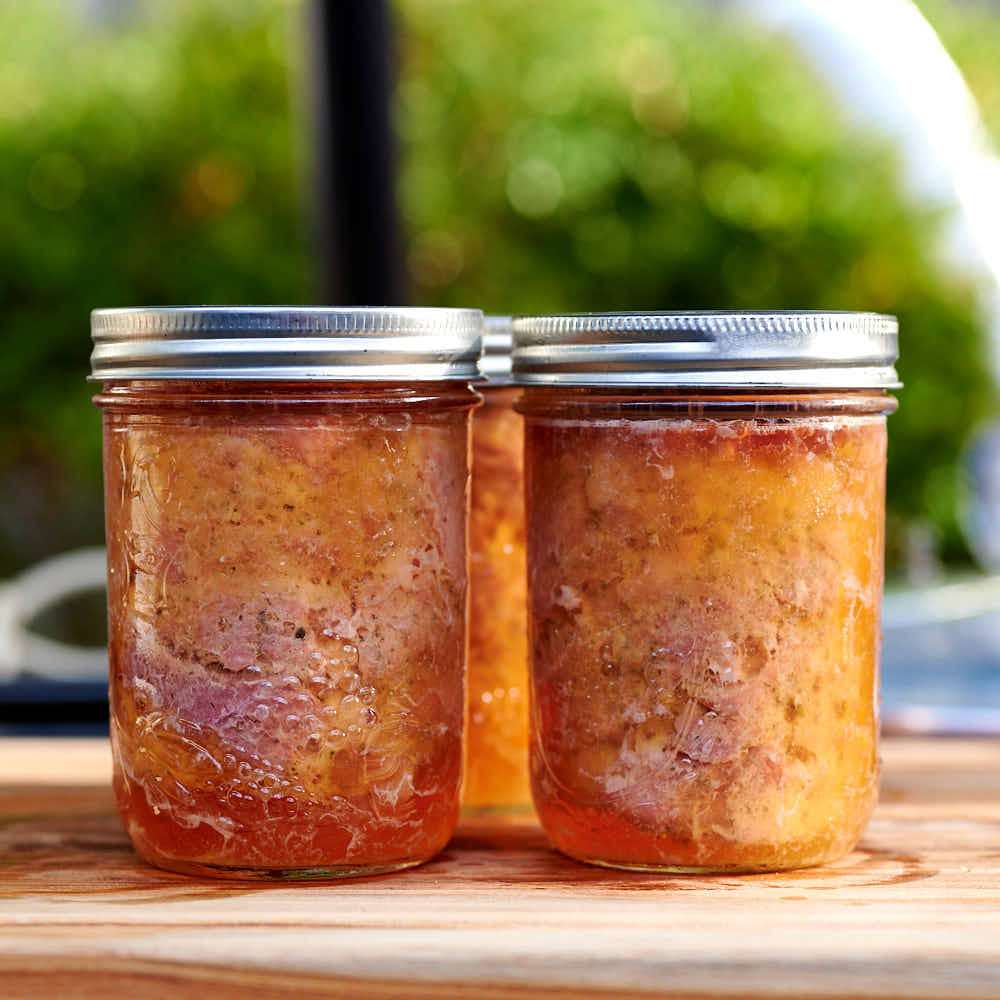
Homemade Canned Luncheon Meat
User Reviews
5
-
Prep Time
1 hr
-
Cook Time
2 hrs
-
Additional Time
2 d
-
Total Time
2 d 3 hrs
-
Servings
3 jars
-
Calories
880 kcal
-
Cuisine
American, Eastern European
Homemade Canned Luncheon Meat
Description
Homemade Canned Luncheon Meat combines pork butt with curing salt, kosher salt, black pepper, nutmeg, sugar, and caraway seeds to develop a seasoned meat mixture. After curing the meat for 24-48 hours for flavor and safety, lean and fatty pieces are separated, ground finely with ice water for moisture, and then packed into mason jars with appropriate headspace. The jars are sealed and processed in a pressure canner at 250°F for 70 minutes to ensure thorough cooking and preservation.
The pressure canning process allows long-term storage without refrigeration, making it economical and convenient. The use of curing salt and spices adds depth and helps develop the correct texture and taste. This homemade version can be sliced or fried similarly to store-bought luncheon meat.
Handling includes curing the meat well before grinding, and packing jars loosely but without air gaps. After canning, the jars cool down naturally to preserve vacuum seals. The optional addition of gelatin can improve the product’s juiciness and texture in the jar.
Ingredients
- 2.2 lbs pork 1000 g; pork butt, or pork butt and ham mix
- 1/2 tsp salt level; 2.5 g, curing salt #1
- 1 1/2 tsp kosher salt one level, one heaping; 9 g
- 3/4 tsp black pepper 1.5 g; ground;
- 1/4 tsp nutmeg 0.5 g; ground
- 1/2 tsp sugar 2 g
- 1/4 tsp caraway seeds 0.5 g; ground
- 1/4 cup water ice
Instructions
- Cut the meat into 1-inch pieces. Mix the salt with Cure #1. Place the meat in a bowl, sprinkle with the kosher salt and cure #1 mix, and mix well. Cover and refrigerate for 24-48 hours.
- Take the meat out of the fridge, sprinkle with the pepper, nutmeg, sugar and caraway, and mix well. (See note 1)
- Separate lean meat pieces from fattier pieces. Grind the fatty pieces through a 3/8" (10 mm) plate, add the lean pieces back, add the ice water, and mix well.
- Before proceeding, review the detailed guide on how to can meat.
- Pack the meat (not very tightly) into 16-oz mason jars, leaving 1/2" headspace.
- Wipe the rims, place the lids on top and screw on the bands finger-tight.
- Process at 250F (15 PSI) in a pressure canner for 70 minutes (see note 2).
- Remove the canner from heat and let it depressurize naturally.
- Using a jar lifter, carefully remove the jars and place them on a towel or a cooling rack to cool down to room temperature for about 12 hours.
- Remove the bands. Wipe the jars with a damp towel or paper towels. Test the seals.
- Store in a cool, dark, and dry place for up to 2-3 years. The most optimal storage temperature is about 35F-59F (2C-15C).
Notes
- Adding 1-2 teaspoons of gelatin per jar will help the meat juices set into a gel for improved texture.
- A 60-minute pressure canning cycle at 250°F is sufficient, but processing for 70 minutes can yield a firmer texture.
Nutrition Information
Show DetailsNutrition Facts
Serving: 3jars
Amount Per Serving
Calories 880 kcal
% Daily Value*
| Calories | 880kcal | 44% |
| Carbohydrates | 1g | 0% |
| Protein | 56g | 112% |
| Fat | 71g | 109% |
| Saturated Fat | 26g | 130% |
| Cholesterol | 239mg | 80% |
| Sodium | 2125mg | 89% |
| Potassium | 955mg | 20% |
| Fiber | 1g | 4% |
| Sugar | 1g | 2% |
| Vitamin A | 23IU | 0% |
| Vitamin C | 2mg | 2% |
| Calcium | 47mg | 5% |
| Iron | 3mg | 17% |
* Percent Daily Values are based on a 2,000 calorie diet.
User Reviews
Overall Rating
5
You'll Also Love