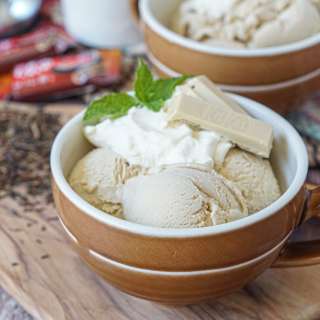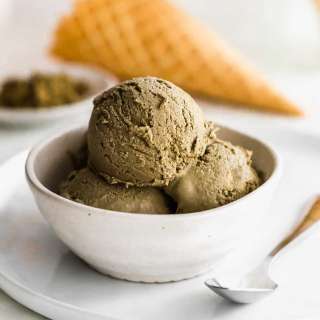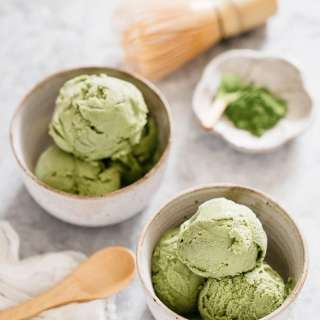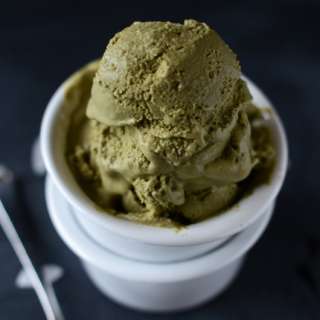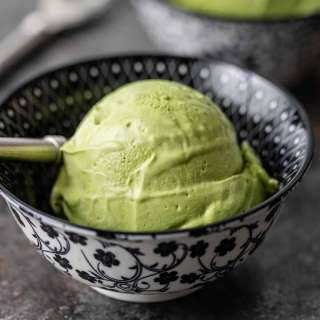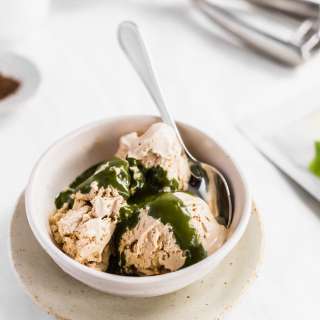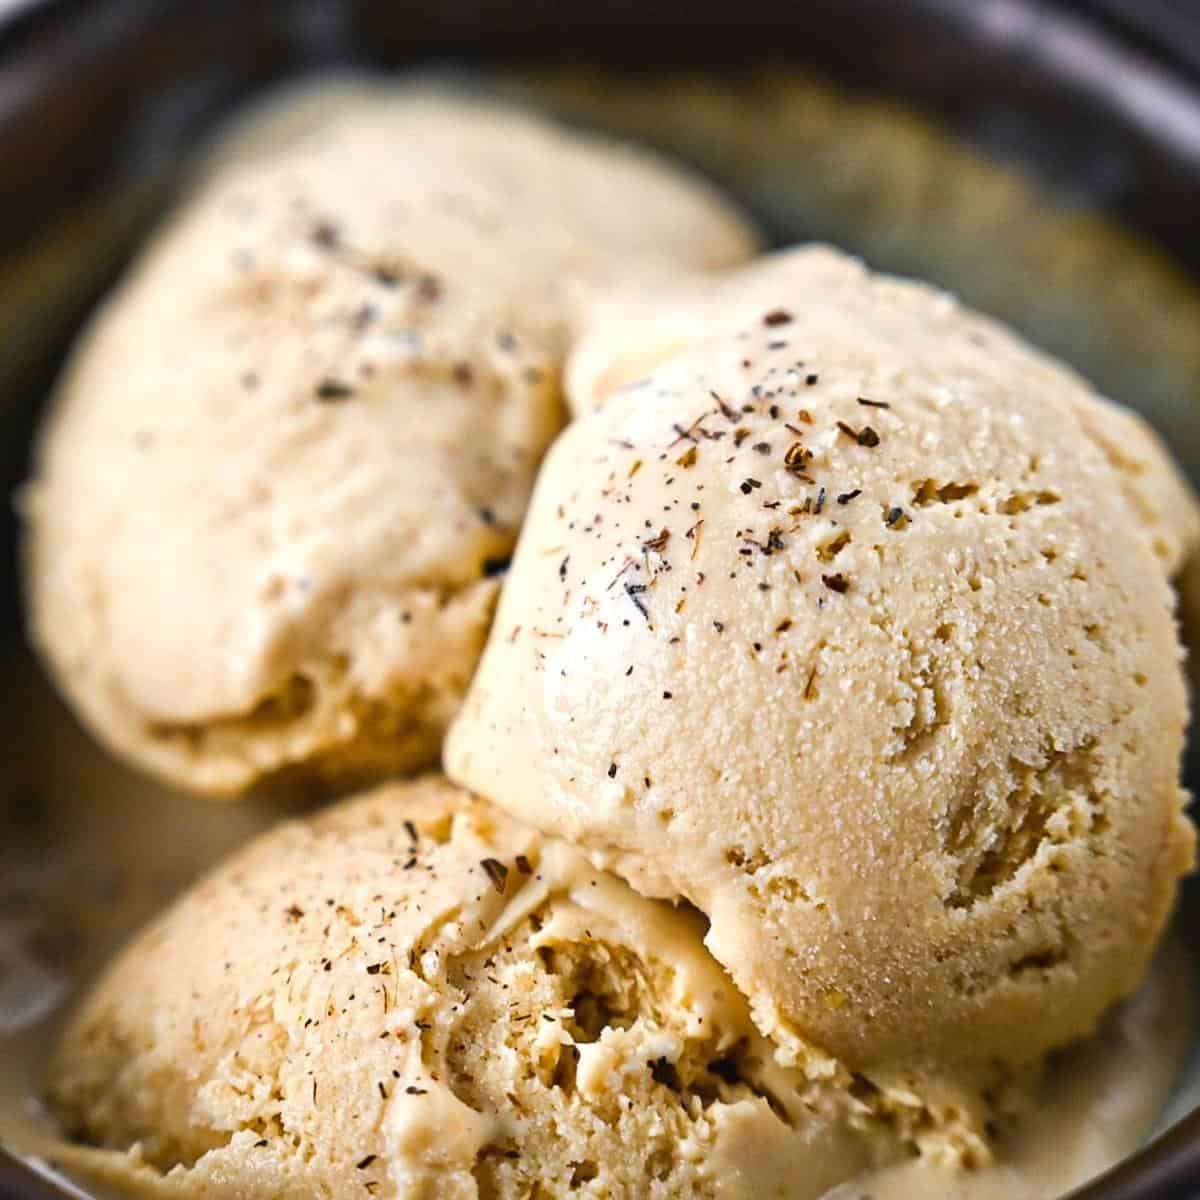
Homemade Hojicha Ice Cream (Roasted Green Tea Flavor)
User Reviews
0.0
0 reviews
Unrated
Homemade Hojicha Ice Cream (Roasted Green Tea Flavor)
Report
A simple and flavorful recipe that's sure to be a favorite.
Share:
Ingredients
- 200 ml whole milk
- 3 teabags roasted green tea (hojicha) 1 tea bag = 3g loose tea
- 2 pasteurized egg yolk
- 75 g sugar
- 1 tsp cornstarch
- 200 ml heavy cream
Instructions
- Add 200 ml whole milk and 3 teabags roasted green tea to a saucepan. Leave them to steep while you prepare your other ingredients.
- Whisk 2 pasteurized egg yolk, 75 g sugar and 1 tsp cornstarch together in a heatproof bowl.
- Heat up the pan of milk and stir the tea around to help release the flavor. Don't let it to boil.
- When you start to see tiny bubbles appear around the edges of the pan, add 200 ml heavy cream.
- Continue to heat on medium-low until the little bubbles start appearing around the edge again. Once they do, turn off the heat and remove the teabags. Use tongs to squeeze the teabags.
- Temper the eggs and sugar mixture by adding a ladle of the hot milk/cream to the bowl and whisk it well. This prevents the egg chunks in the mixture.
- Gradually pour the rest of the milk and cream into the bowl while whisking.
- Once well incorporated, pour the mixture back into the sauce pan. Pour it through a sieve to catch any lumps.
- Stir continuously on a low heat until it thickens into a custard consistency.
- Transfer it to a loaf tin/metal container and cover the top with plastic wrap touching the surface. (This is to prevent a skin from forming.)
- Allow the mixture to cool down, speed up the process by placing the container in a casserole dish with ice.
- Once it's cool, put it in the freezer and whisk every 30 minutes for 3 hours. (6 times in total)
- After the final churn, freeze for 3-4 hours.
- Enjoy! (After 4 hours or so, it will need 5-10 minutes on the counter top to soften before serving.)
Notes
- Don't allow the milk or cream to boil, this will effect the taste and texture. Keep it on a low heat, take your time.
- If you make this recipe in the morning, it will be ready by the afternoon!
- If the teabag breaks, do not fear! Just pour the mixture through a fine mesh strainer to remove it.
- Using wide containers rather than tall ones will help it freeze faster!
- If you double or triple the recipe, setting time will take longer. Distribute between 2-3 containers to keep the freezing time the same.
- Eat within 1-2 weeks for best taste and texture.
- Try this recipe with other types of tea such as breakfast tea, earl grey or jasmine!
Genuine Reviews
User Reviews
Overall Rating
0.0
0 reviews
Unrated
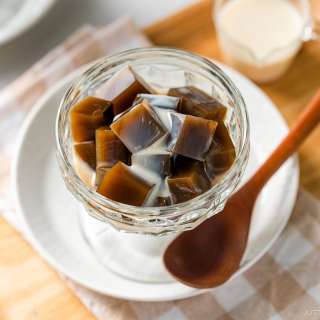
Other Recipes
You'll Also Love