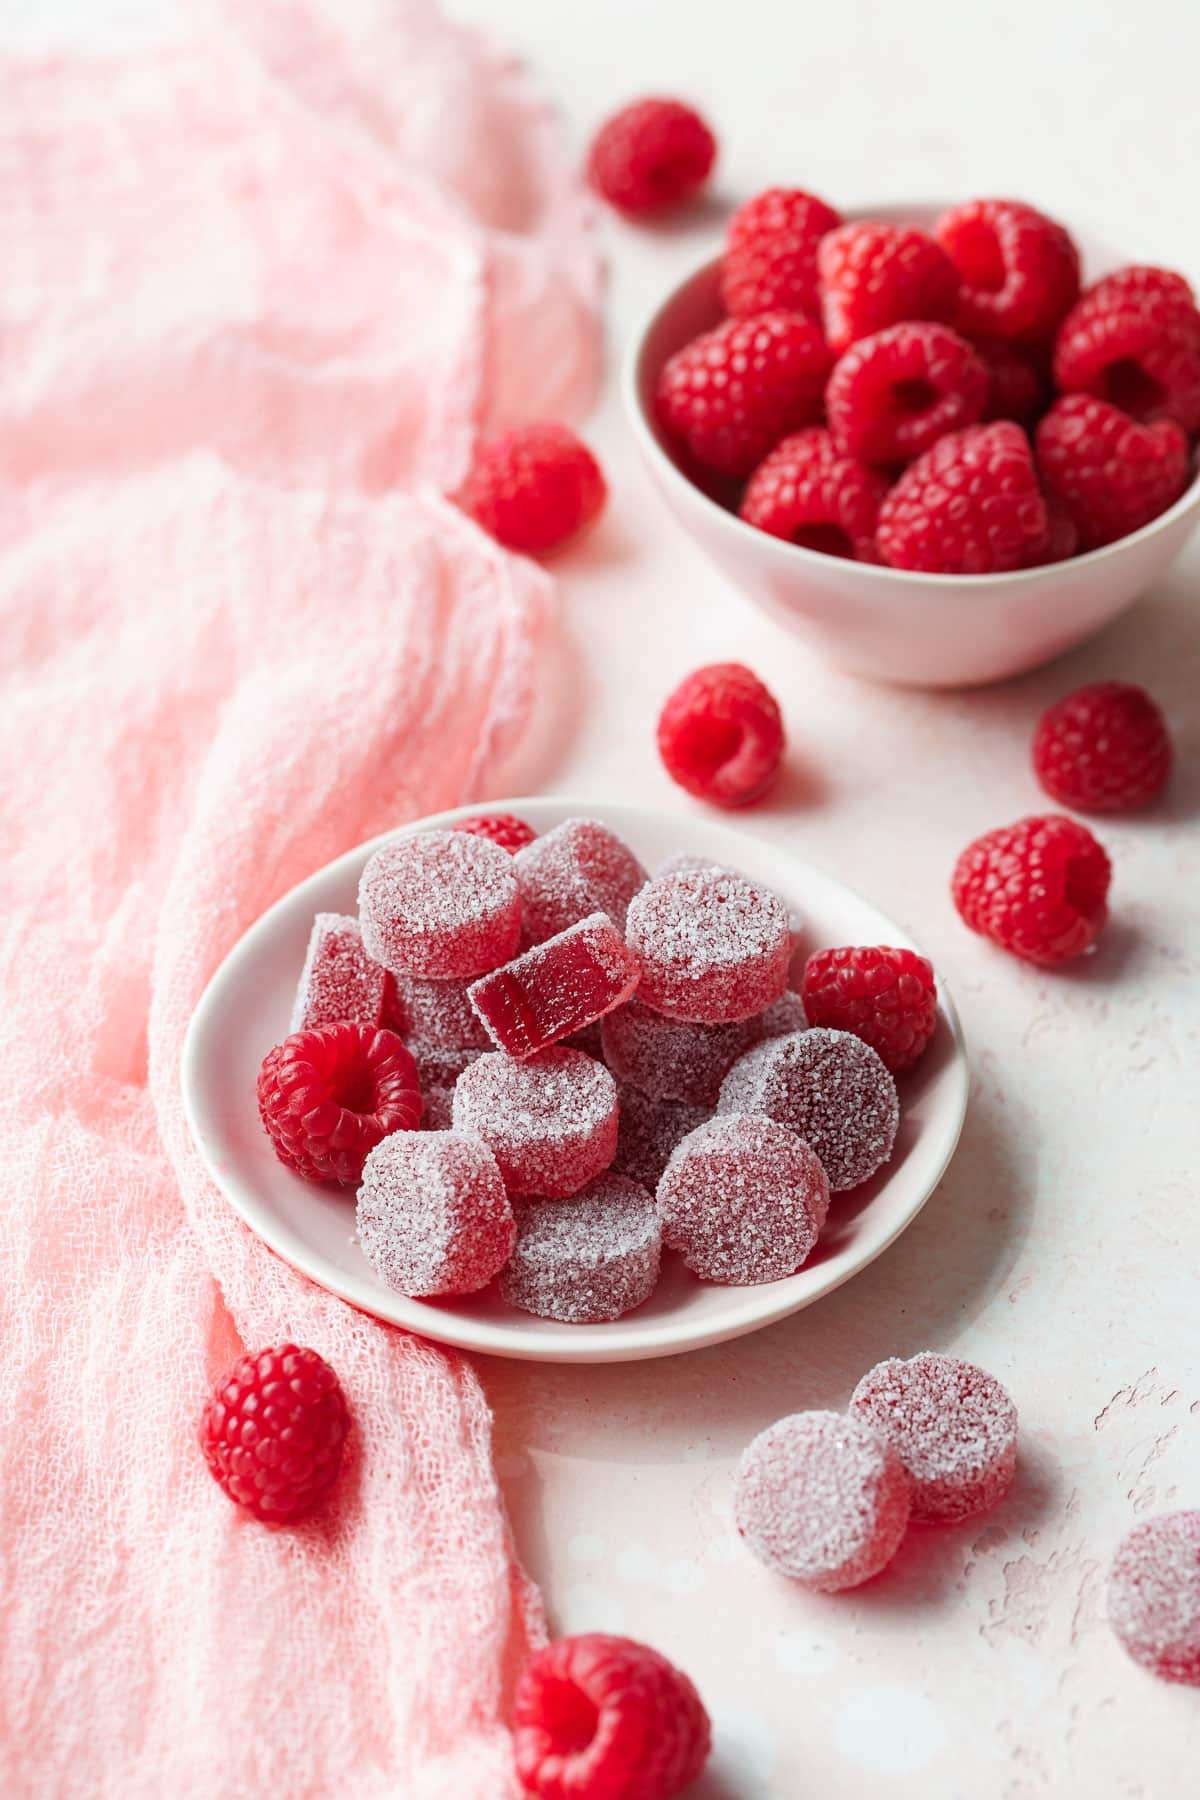
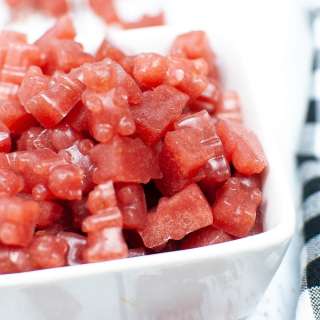
Homemade Raspberry Pectin Gummies
User Reviews
0
0 reviews
Unrated
Homemade Raspberry Pectin Gummies
Report
These homemade raspberry pectin gummies are bursting with raspberry flavor from real fruit puree, coated with granulated sugar for a perfect finish.
Share:
Ingredients
- 18-20 ounces fresh raspberries or 20-22 ounces frozen raspberries, thawed
- 1¾ cup granulated sugar* plus more for coating
- 3 tablespoons corn syrup
- 6 tablespoons regular fruit pectin I used Sure Jell Original in the yellow box, Ball Classic pectin or any other HM pectin should work here.
- ½ cup filtered water
- 1 teaspoon baking soda
- ¼ cup filtered water
- 1 teaspoon powdered citric acid
Instructions
- Prepare your silicone molds or a silicone cake pan (9x9 square ideally) set on a cookie sheet on a heat-proof surface (the candy will be very hot when it goes into the molds, you don't want to melt your countertops). You can also use a regular baking pan lined with parchment paper (NOT waxed paper or plastic wrap).
- Puree raspberries in a food processor or blender until smooth (if using a high-powered blender, use a medium-low speed so you don't pulverize the seeds). Strain puree through a fine mesh sieve. Measure out exactly 1 1/2 cups (350 grams) of seedless raspberry puree.
- In a medium (3-4 quart) heavy-bottomed saucepan, combine 1 1/2 cups raspberry puree, sugar, and corn syrup. Set over medium to medium-high heat and bring to a boil.
- Meanwhile, combine pectin, baking soda, and water in a small saucepan; it will foam up quite a bit. Bring to a simmer over medium-high heat, stirring occasionally, then add to saucepan with raspberry mixture.
- Attach a candy thermometer to the side of the saucepan. Continue to cook over medium to medium-high heat, stirring occasionally, until the mixture reads 230-240°F. This will take about 45 minutes. As it gets above 220, start stirring more frequently, scraping the sides and bottom with a heat-proof spoon or spatula to ensure the mixture cooks evenly and doesn't burn.
- Once the mixture hits your target temperature (I aimed for 236°F), remove from heat and quickly mix in citric acid dissolved in water (careful as it will sputter and steam). Immediately transfer to a large spouted measuring cup (ideally pre-warmed) and pour into molds. The mixture will thicken as it cools, so you want to get it into your molds quickly; this is especially important for small molds (since it'll take longer to fill more of them). For reference, this recipe will make about 450 mL of liquid candy, if you need to calculate how many molds you'll need to fill.
- Set aside the filled molds and let cool completely to room temperature, at least 2 hours or ideally overnight, until candies are fully set.
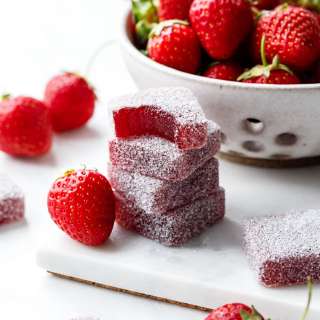
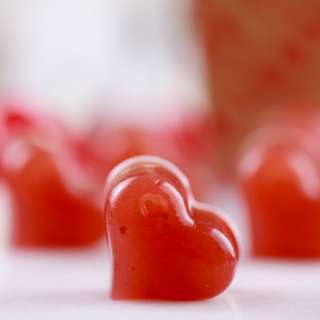
- Remove candies from molds (or, if you used a single pan, remove the entire piece from the mold and cut it into bite sized pieces or use a cookie cutter to stamp out shapes). Roll individual pieces in granulated sugar until fully coated.
- Store candies uncovered at cool room temperature for up to 1 week, covered in the refrigerator (separate with layers of parchment) for up to 2 weeks, or in in the freezer (in a container between layers of parchment) for up to 3 months.
Notes
- Do not reduce the sugar in this recipe! You'll only be setting yourself up for failure. This is not a low sugar recipe and cannot be made with less sugar and/or sugar substitutes, nor can you use low-sugar pectin. Read the full post for more info.
Genuine Reviews
User Reviews
Overall Rating
0
0 reviews
Unrated
Other Recipes
You'll Also Love


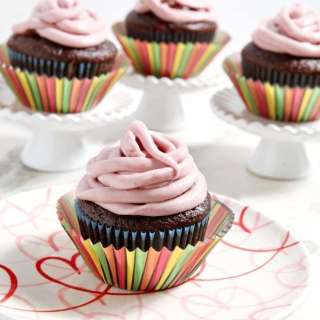


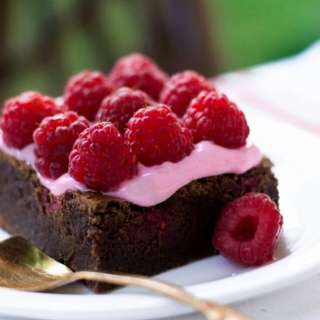
Chocolate Cupcakes with Raspberry Filling and Raspberry Chocolate Buttercream
American
5.0
(9 reviews)